
You've got a strong track, a folder full of clips, and a timeline crowded with tiny cuts that still don't feel right. The problem usually isn't finding a beat. It's deciding which beats deserve a visual change, which shots need room to breathe, and when an automated edit has sacrificed the story for perfect timing.
Music to video works best when rhythm supports the message instead of replacing it. AI can identify tempo, drops, and motion peaks quickly, but a publishable short clip still needs human judgment around clarity, emotion, captions, and brand safety.
Table of Contents
- The Shift From Manual Editing to AI Automation
- Setting Up Your Project in ClipNova
- Mastering AI Beat Matching and Visual Sync
- Balancing Rhythm With Narrative Clarity
- Adding Dynamic Captions and Exporting
- Your Repeatable Production Checklist
<a id="the-shift-from-manual-editing-to-ai-automation"></a>
The Shift From Manual Editing to AI Automation
For years, syncing visuals to music meant enlarging the audio waveform, marking every downbeat, and trimming clips one cut at a time. A short social edit could contain dozens of micro-cuts, and a single timing change near the beginning might force you to rebuild the sequence that follows. That process gives you control, but it also makes frequent publishing expensive in attention and time.
The underlying format has been around far longer than social media. One cited promotional music film dates to 1894, when Edward B. Marks commissioned a magic-lantern slideshow for “The Little Lost Child.” MTV then launched on August 1, 1981, with The Buggles' “Video Killed the Radio Star” as its first broadcast video, while Michael Jackson's “Thriller” in 1983 helped establish the music video as a premium cultural product. The history of music videos shows that the central idea has stayed consistent, pairing sound with moving imagery to attract attention and promote music.
<a id="why-the-workflow-changed"></a>
Why the workflow changed
The modern version has a different production pressure. You're often creating vertical clips for several platforms, testing multiple openings, and adapting one track into several edits. A single polished production still has value, but repeatable output matters more when your audience discovers content through a constant stream of short videos.
That's where AI automation changes the job. Instead of manually marking every beat, you can give a system the track and a set of visual instructions, then review its decisions. The tool handles repetitive timing work while you spend your effort on shot selection, narrative order, and the moments that need deliberate restraint. A useful overview of this workflow is how to automate video editing.
Practical rule: Let automation create the first rhythm pass. Don't let it make the final storytelling decision.
The format's scale explains why beat matching, captions, and multi-aspect exports have become baseline production features. One industry summary reports that YouTube represented 58% of global music-video consumption in 2023, compared with TikTok at 21% and Spotify at 10%, while global music-video streaming revenue was estimated at $6.7 billion in 2023. These figures come from the music video industry statistics summary, and they point to a practical reality: creators need systems that can produce platform-ready variations without rebuilding every edit manually.
<a id="setting-up-your-project-in-clipnova"></a>
Setting Up Your Project in ClipNova
A beat-synced project starts with the right inputs. If you upload random clips, choose a vague style, and leave the format undecided, the generator has to solve creative problems that you should settle first.
<a id="choose-the-track-before-the-visuals"></a>
Choose the track before the visuals
Start by uploading the audio track or selecting it inside the Music to Video workspace. Listen for the song's main hook, quieter passages, drops, and changes in energy. You don't need to label every musical event, but you should know where the viewer should feel momentum and where the edit should become more readable.
If you're sourcing music separately, a guide on how to add music to your video can help you prepare the audio before bringing it into a video workflow. Keep the final audio version consistent throughout the project. Swapping the track after visual generation can shift every timing decision.
<a id="define-the-platform-and-visual-language"></a>
Define the platform and visual language
Choose the output shape before generating scenes. Use 9:16 when the primary destination is vertical short-form content, 16:9 for horizontal placements, and 1:1 when the asset needs to sit comfortably in square feeds. The crop affects composition, so a centered subject that works in horizontal framing may feel cramped in a vertical frame.
Next, select a visual direction. Realistic B-roll suits product demonstrations, travel clips, and creator-led commentary. Stylized cartoon or anime scenes can support entertainment, music promotion, and playful concepts, but they need consistent character and color instructions. Add concrete details to the prompt, such as subject, setting, camera movement, lighting, wardrobe, and emotional tone.
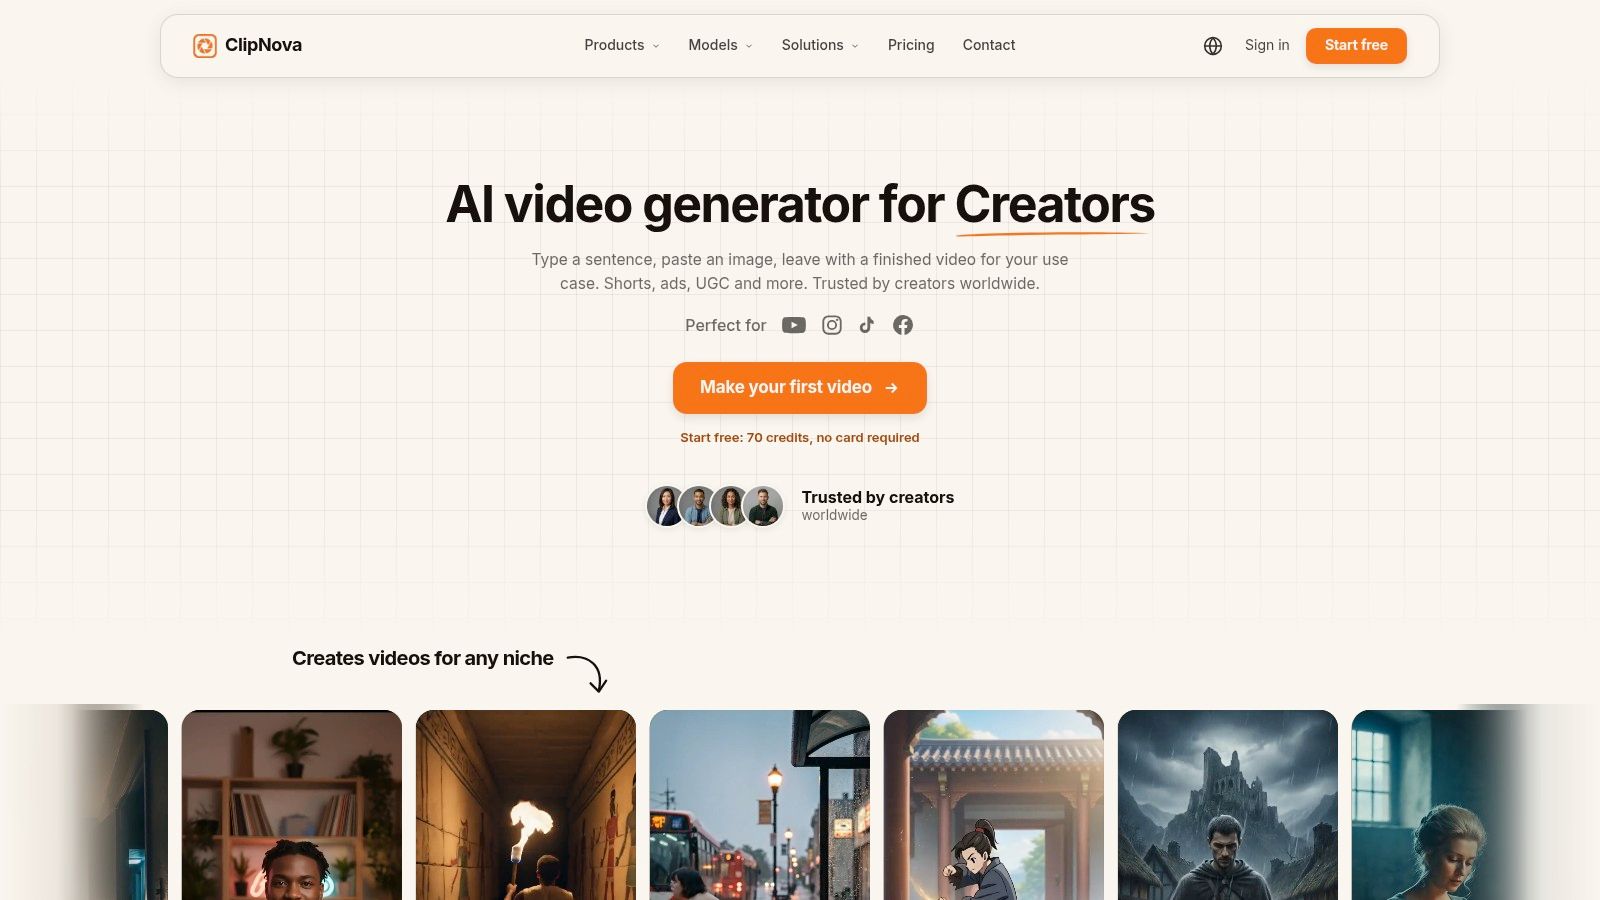
Use the built-in ideation tools to test hooks that fit the track rather than generating disconnected concepts. A fast song may support a visual reveal, transformation, or movement-led opening. A restrained track may work better with a close-up, a sequence of details, or a single clear emotional premise.
<a id="give-the-generator-useful-constraints"></a>
Give the generator useful constraints
Your initial prompt should describe the job of the video, not just its appearance. Specify the audience, the intended action, the subject that must remain visible, and the moments where the edit can become more active. If the video promotes a product, tell the system when the product needs to be readable. If it supports an artist, define whether the performance, lyrics, atmosphere, or story carries the clip.
Generate with variation in mind. One version can prioritize fast visual changes, another can preserve longer shots, and a third can emphasize the hook. Comparing those versions is more useful than endlessly polishing the first automated result.
<a id="mastering-ai-beat-matching-and-visual-sync"></a>
Mastering AI Beat Matching and Visual Sync
A cut can be technically close to a beat and still feel late. The difference often comes from motion. If a subject turns, a hand lands, a camera pushes forward, or a product enters frame just after the downbeat, the viewer perceives the action as part of the musical event. AI beat matching works best when it considers both the audio marker and the visual movement.
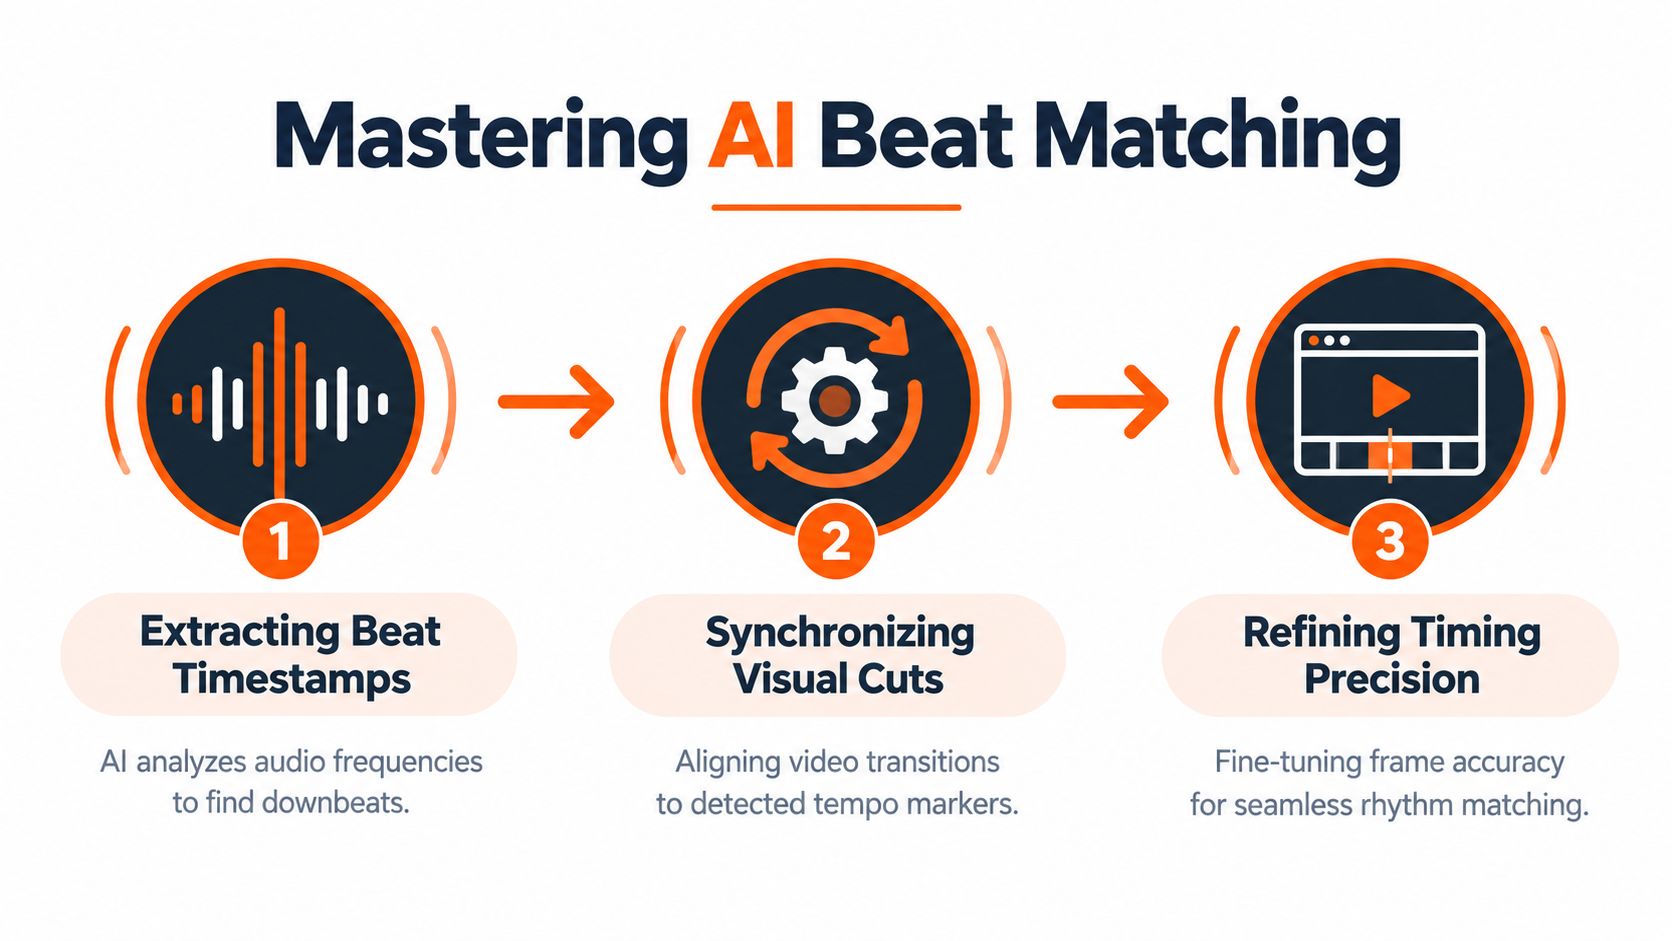
Recent work on music-driven video editing describes a two-stage workflow. The system first extracts beat timestamps from the audio and motion peaks from the video. It then aligns sparse keyframes before filling the gaps with rhythm-aware inpainting, which helps preserve the source content while synchronizing motion to the track. The music-driven video editing research is useful because it treats beat alignment as a structured process rather than a simple cut-everywhere command.
<a id="evaluate-timing-with-your-eyes-and-ears"></a>
Evaluate timing with your eyes and ears
A large-scale synchronization benchmark reported audio-visual harmony scores of 86.5 for an agentic editor, compared with 76.4 to 84.9 for its baselines. The same evaluation measured beat-to-cut timing offsets of 0.1 seconds or less, using 24 hours of raw film and vlog footage. The music synchronization benchmark provides a useful quality reference, but don't confuse timing precision with narrative quality.
When reviewing a generated sequence, check three layers:
- Audio marker: Does the transition land on the intended beat, accent, or section change?
- Visual action: Does movement peak near the same moment, or does the cut interrupt a gesture?
- Meaning: Does the new shot answer the question created by the previous shot?
If the cut hits the beat but breaks a sentence, hides a product detail, or removes the emotional reaction that makes the scene understandable, move it. A slightly delayed cut can feel more intentional than a mathematically perfect one.
For high-energy edits, preview the sequence at normal playback speed rather than judging every cut only on the timeline. If the rhythm feels muddy, reduce competing transitions and reserve the strongest effects for drops or visual reveals. For gaming content, choosing appropriate songs for gaming edits in 2026 can help establish the right energy before you start cutting.
<iframe width="100%" style="aspect-ratio: 16 / 9;" src="https://www.youtube.com/embed/P5S6VechlgY" frameborder="0" allow="autoplay; encrypted-media" allowfullscreen></iframe>You can also review ClipNova's broader application to make video with music when comparing music-led creation workflows. The key test remains simple: if removing a cut makes the story clearer without weakening the musical impact, the automation was too aggressive.
<a id="balancing-rhythm-with-narrative-clarity"></a>
Balancing Rhythm With Narrative Clarity
Cutting on every beat is a reliable way to create activity, but activity isn't the same as engagement. A rapid sequence can make a dance clip feel energetic, yet the same approach can make a product demonstration unreadable or cause a talking-head message to sound fragmented.
The right pacing depends on the track's role in the video. Music-creator research indicates that 27% of creators prioritize strong hooks for short-form content, while another 27% prioritize consistent flow for longer-form content, as reported in the music and creator workflow research. The practical lesson is to match the musical trait to the communication goal.
<a id="when-fast-sync-earns-its-place"></a>
When fast sync earns its place
Use aggressive beat alignment when the visual payoff depends on momentum. Examples include a choreography sequence, a before-and-after reveal, a montage of game highlights, or a series of product details that benefit from quick accumulation. In those cases, cuts can reinforce the viewer's expectation and make the hook feel immediate.
Don't use the same treatment for every shot. Let the opening establish the subject, then increase cut density as the track builds. A strong chorus or drop can carry more visual change, while a verse may need longer shots to establish context.
<a id="when-to-override-the-automation"></a>
When to override the automation
Override the cut when the viewer needs to read, trust, or understand something. Keep a testimonial speaker visible through the important statement. Hold a product shot until the label or feature is legible. Leave space around an emotional reaction instead of replacing it with a decorative transition.
Brand safety also requires deliberate review. Automated systems may pair an upbeat musical accent with an image that feels insensitive, place a joke beside a serious claim, or create an edit that implies an endorsement the footage doesn't support. The system can recognize rhythm, but it can't reliably judge every cultural, legal, or reputational implication of the sequence.
The best music-to-video edit doesn't maximize cuts. It maximizes the number of moments the viewer understands and remembers.
Before export, watch the clip once with the audio muted and once with the visuals minimized. If the story collapses without the beat, add stronger visual continuity. If the music disappears when you focus on the images, strengthen the major rhythmic moments rather than forcing every transition onto the grid.
<a id="adding-dynamic-captions-and-exporting"></a>
Adding Dynamic Captions and Exporting
Captions are part of the edit, not a final decoration. Viewers may encounter your clip without sound, and even viewers who hear the track need text to catch names, claims, instructions, or dialogue in a fast feed.
Start by generating a transcript, then correct it manually. Automatic captions often need edits for names, product terms, punctuation, and line breaks. Keep each caption block short enough to scan while the visual remains active. Avoid placing text over faces, product labels, or the focal movement that carries the shot.
<a id="style-captions-for-comprehension"></a>
Style captions for comprehension
A bold, animated style such as the Hormozi format can work for direct-response clips, but animation should emphasize meaning rather than compete with it. Use a stable position for most of the video, highlight only important words, and choose contrast that remains readable on bright footage. For a more detailed workflow, follow this guide on how to add subtitles to a video.
Check the caption timing against both speech and music. A caption that appears on a beat but arrives before the spoken word feels artificial. A caption that follows the dialogue while the visual cuts rapidly can still work if the text remains anchored and easy to follow.
<a id="build-exports-around-the-destination"></a>
Build exports around the destination
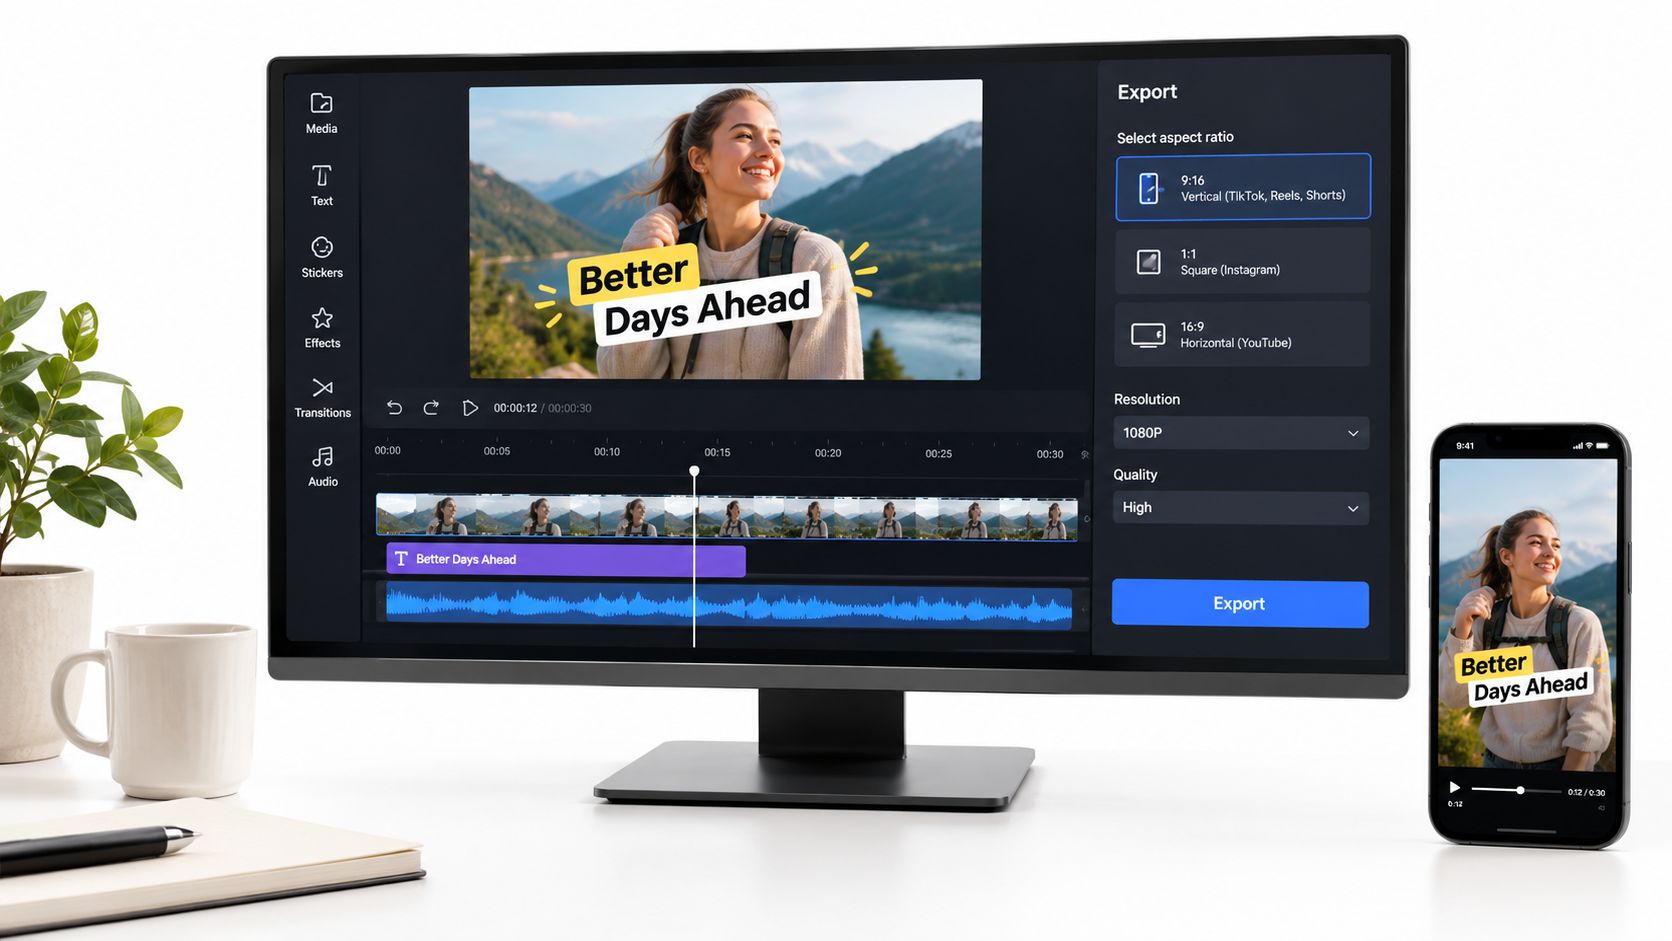
ClipNova supports automatic resizing for 9:16, 1:1, and 16:9 versions, which lets you create platform variants from one project. Generate the primary format first, then inspect every crop rather than assuming the automated resize preserved the composition. Faces, hands, product packaging, and on-screen text are the first elements to check.
Paid plans provide watermark-free 1080p and 4K exports with commercial rights, according to the publisher's product information. The correct choice depends on the source material and destination. Don't upscale a soft source just to claim a larger file. Choose the cleanest resolution the footage can support, confirm that captions stay inside safe areas, and review the first and last seconds for abrupt audio or visual endings.
If you're localizing the same clip, translate and re-voice the message only after the original timing and visual hierarchy are stable. A translated line may need different caption duration, so inspect each language version before publishing.
<a id="your-repeatable-production-checklist"></a>
Your Repeatable Production Checklist
A repeatable music-to-video workflow should reduce decisions, not remove judgment. Use the same review order every time so technical errors don't survive because you're focused on the creative idea.
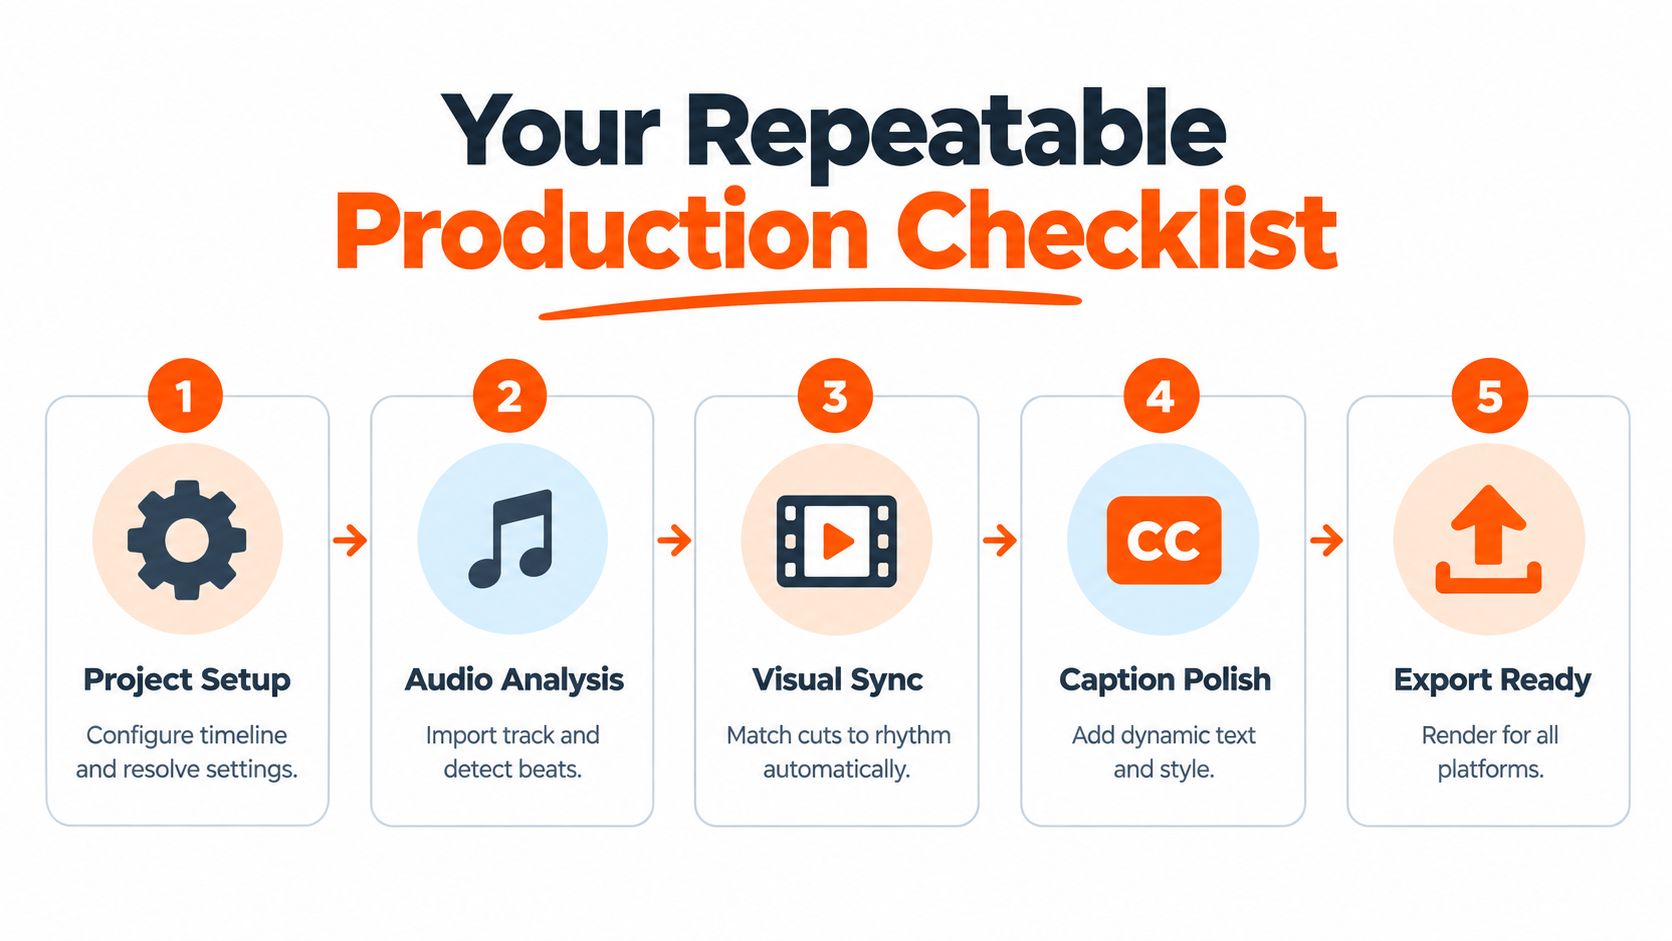
- Set the project foundation: Choose the destination aspect ratio, define the visual style, and state what the viewer must understand or do.
- Prepare the audio: Import the final track, identify the hook and energy changes, and let the system detect beat markers.
- Review visual sync: Watch the automated cut at normal speed. Keep strong alignments, then override cuts that interrupt meaning, speech, product readability, or emotional continuity.
- Polish the captions: Correct the transcript, shorten crowded lines, check contrast, and keep animated emphasis limited to meaningful words. If transcription is a recurring bottleneck, use this practical guide to 8 ways to transcribe video.
- Audit every export: Check the 9:16, 1:1, and 16:9 crops separately, confirm that the audio starts and ends cleanly, and review the finished clip for brand-safety risks.
Keep a version with automation untouched and a second version with your overrides. That comparison makes your preferences visible over time. You'll learn whether your edits usually need fewer cuts, longer reaction shots, earlier hooks, or more stable captions.
The final approval should come from the message, not the timeline. If the video is rhythmic, readable, emotionally coherent, and safe for the brand, it's ready to publish.
ClipNova combines music-to-video generation, automatic beat matching, captions, voiceovers, and multi-aspect exports in one workspace for creating publish-ready short clips. Upload your track, test a visual direction, review the automated cuts, and make the storytelling overrides that matter by visiting ClipNova.
Ready to ship your own?
Start creating viral videos with AI in under twenty minutes, no credit card required.