
300 MB is what a five-minute 1080p export weighs at YouTube's recommended 8 Mbps, before you add a single second of audio, and that one figure reframes the whole job. A file isn't heavy because it's 1080p. It's heavy because the encoder was allowed to spend 8 megabits on every second, including the seconds where nothing on screen moves. The arithmetic behind xconvert's summary of YouTube's recommended encoding settings is short: bitrate times duration, plus audio and container overhead. That means you can predict the size of an export before you render it.
When a creator sets out to make a video smaller file size, the reflex is to drop resolution to 720p and accept the softness. That's the most visible lever and rarely the best one. Duration, frame rate, codec and bitrate do more work, in roughly that order of cheapness. What you can spend depends on what's in the frame: a talking character, a smoke-filled transition, or a caption card along the bottom edge.
Table of Contents
- Target Bitrates and File Sizes for Five-Minute Videos
- How to Export a Smaller Video Step by Step
- Choosing a Codec Without Losing Playback Support
- Settings by Content Type for Motion, Faces and Captions
- Test the Smaller File and Lock Your Export
<a id="target-bitrates-and-file-sizes-for-five-minute-videos"></a>
Target Bitrates and File Sizes for Five-Minute Videos
File size is roughly bitrate multiplied by duration, plus audio and container overhead. Five minutes is 300 seconds, so 8 Mbps works out to 2,400 megabits, which is about 300 MB. The table converts the same math across the profiles that matter for a five-minute upload.
| Export profile | Bitrate | Video size, 5 minutes | Use when |
|---|---|---|---|
| 1080p, 24 to 30 fps | 8 Mbps | about 300 MB | Standard narration, story and talking-character uploads |
| 1080p, 48 to 60 fps | 12 Mbps | about 450 MB | Fast camera movement or high-frame-rate footage |
| 1080p, 24 to 30 fps, reduced | 4 Mbps | about 150 MB | Low-motion narration, only if the viewer test holds |
| 720p, 24 to 30 fps | 5 Mbps | about 190 MB | Smallest acceptable file for mobile-first viewing |
| 720p, 48 to 60 fps | 7.5 Mbps | about 280 MB | Fast 720p footage that needs smooth motion |
Video data only for a five-minute file. Add about 5 MB for 128 kbps stereo audio and a little container overhead.
The default row is 1080p at 24 to 30 fps, which is where narration, story videos and talking characters belong. The reduced row at 4 Mbps halves the video data to about 150 MB, and the cost shows up first in fast movement, detailed backgrounds, smoke, water and animated textures. Those turn blocky or banded long before a static face does.
Pick the row before you open the export dialog. Choosing a target after you've set every other field is how a five-minute file lands at 620 MB.
Audio isn't the lever people hope for. 128 kbps stereo across five minutes adds about 5 MB, so switching to 96 kbps mono saves a couple of megabytes, not a hundred. Spend your decisions on the video stream.
Launch clips are a common edge case: ShipTeaser's launch video specs are worth reading before you commit, because the destination platform's accepted resolutions usually narrow the choice to two rows instead of five. Static sources sit at the other end. If your video began as a deck, turning slides into video is where the frame rate question comes up first, since most of those frames barely change.
<a id="how-to-export-a-smaller-video-step-by-step"></a>
How to Export a Smaller Video Step by Step
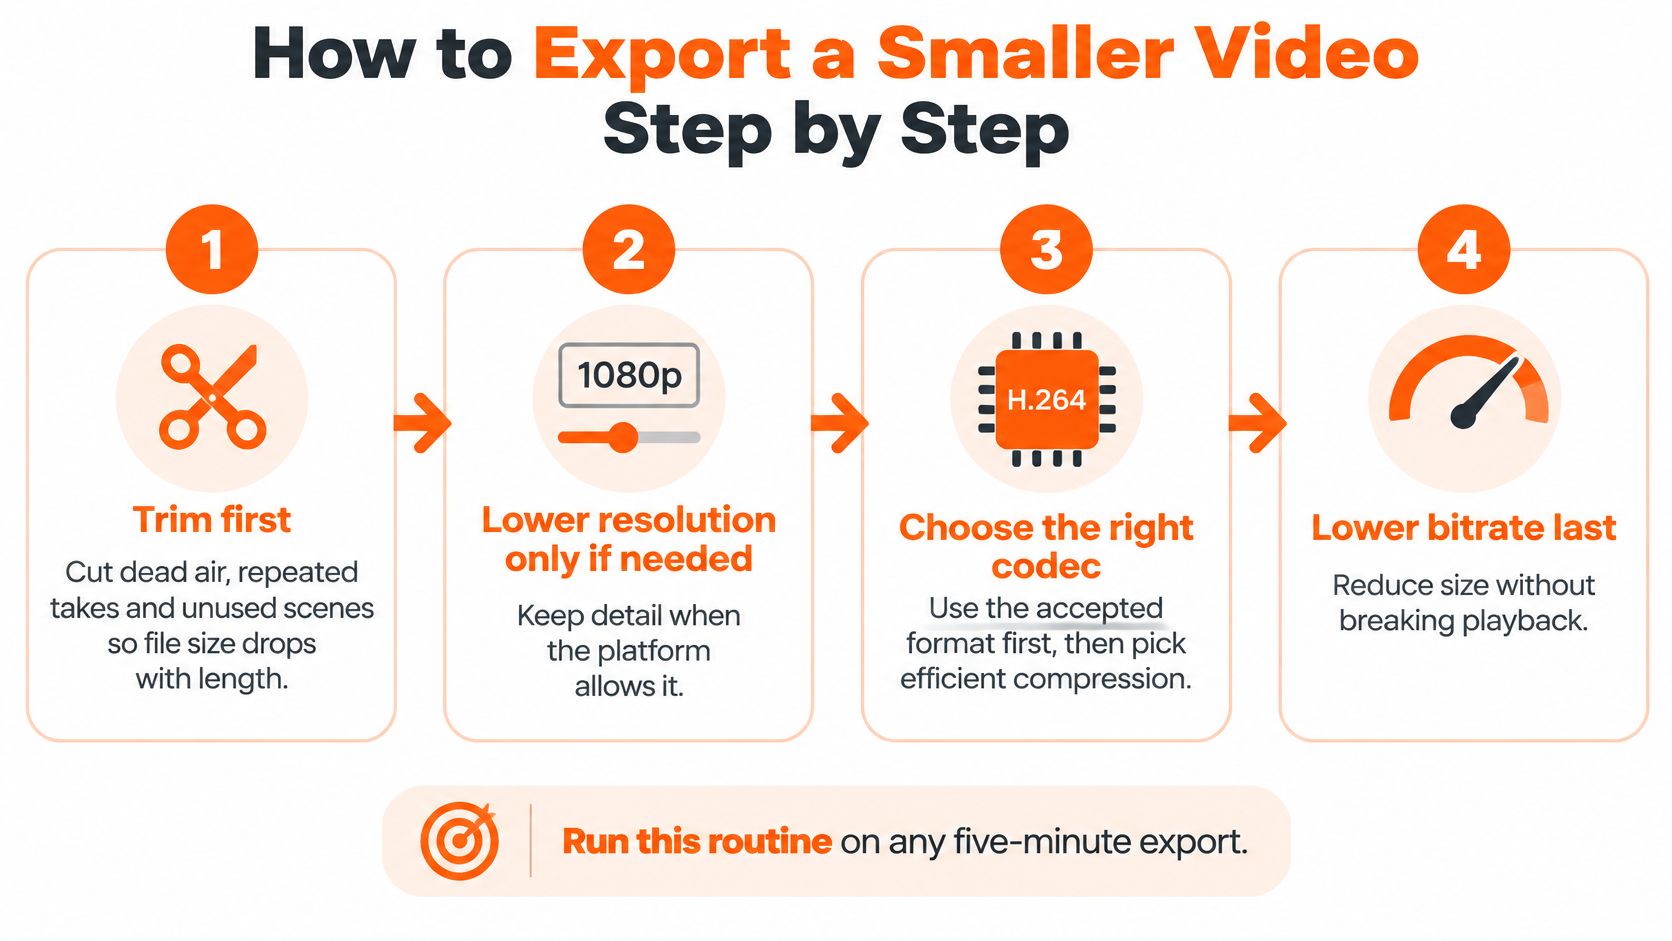
Run these eight steps in order on any five-minute export. Every step before bitrate is free or nearly free, and bitrate is the one that shows damage on screen.
-
Trim before you encode. File size scales with length, so a cut is a proportional cut: ten percent off the runtime is ten percent off the file at identical quality. The usual slip is exporting the timeline as it stands, with two seconds of black at the head and a repeated take at 3:40.
-
Set resolution to the platform ceiling, not the capture size. If the video will be watched on a phone, 1080p is the ceiling that matters, and exporting above it spends bytes nobody sees. The slip is leaving the export at whatever the timeline was set to three projects ago.
-
Choose H.264 unless the platform says otherwise. It decodes on cameras, editors, browsers and phones without a compatibility conversation. The slip is reaching for a newer codec that a slice of your audience can't play.
-
Set the frame rate to 30 for narration and talking characters. Sixty frames a second gives the encoder twice as many frames to describe, and most of them are near-identical. The slip is leaving 60 fps on talking-head footage where only a mouth moves.
-
Choose variable bitrate with the target from the table and a peak about 1.5 times that target. Variable bitrate spends on the hard scenes and saves on the static ones. The slip is setting a constant bitrate that wastes data on a still frame and starves a transition.
-
Encode audio as AAC at 128 kbps stereo, or 96 kbps mono for voice-only. You won't win much size here, but you avoid overpaying for sound nobody can hear the difference in.
-
Compare the finished file with the table. A 1080p, 24 to 30 fps export that lands far above target usually means the file ran longer than five minutes or the peak setting was too generous.
-
Play it on a phone before uploading. Captions at full screen on a 6-inch display are the honest test. The slip is approving the file on a laptop, where small text at 100 percent zoom looks perfectly sharp.
The same logic applies outside story video. A property tour has to open fast on a phone held in a car park, and how video helps homes sell faster treats that load time as part of the pitch rather than an afterthought.
<a id="choosing-a-codec-without-losing-playback-support"></a>
Choosing a Codec Without Losing Playback Support
Codec choice decides whether the smaller file still opens where your audience watches it. Check the platform's accepted-format list first, then choose the most efficient codec every target device can decode.
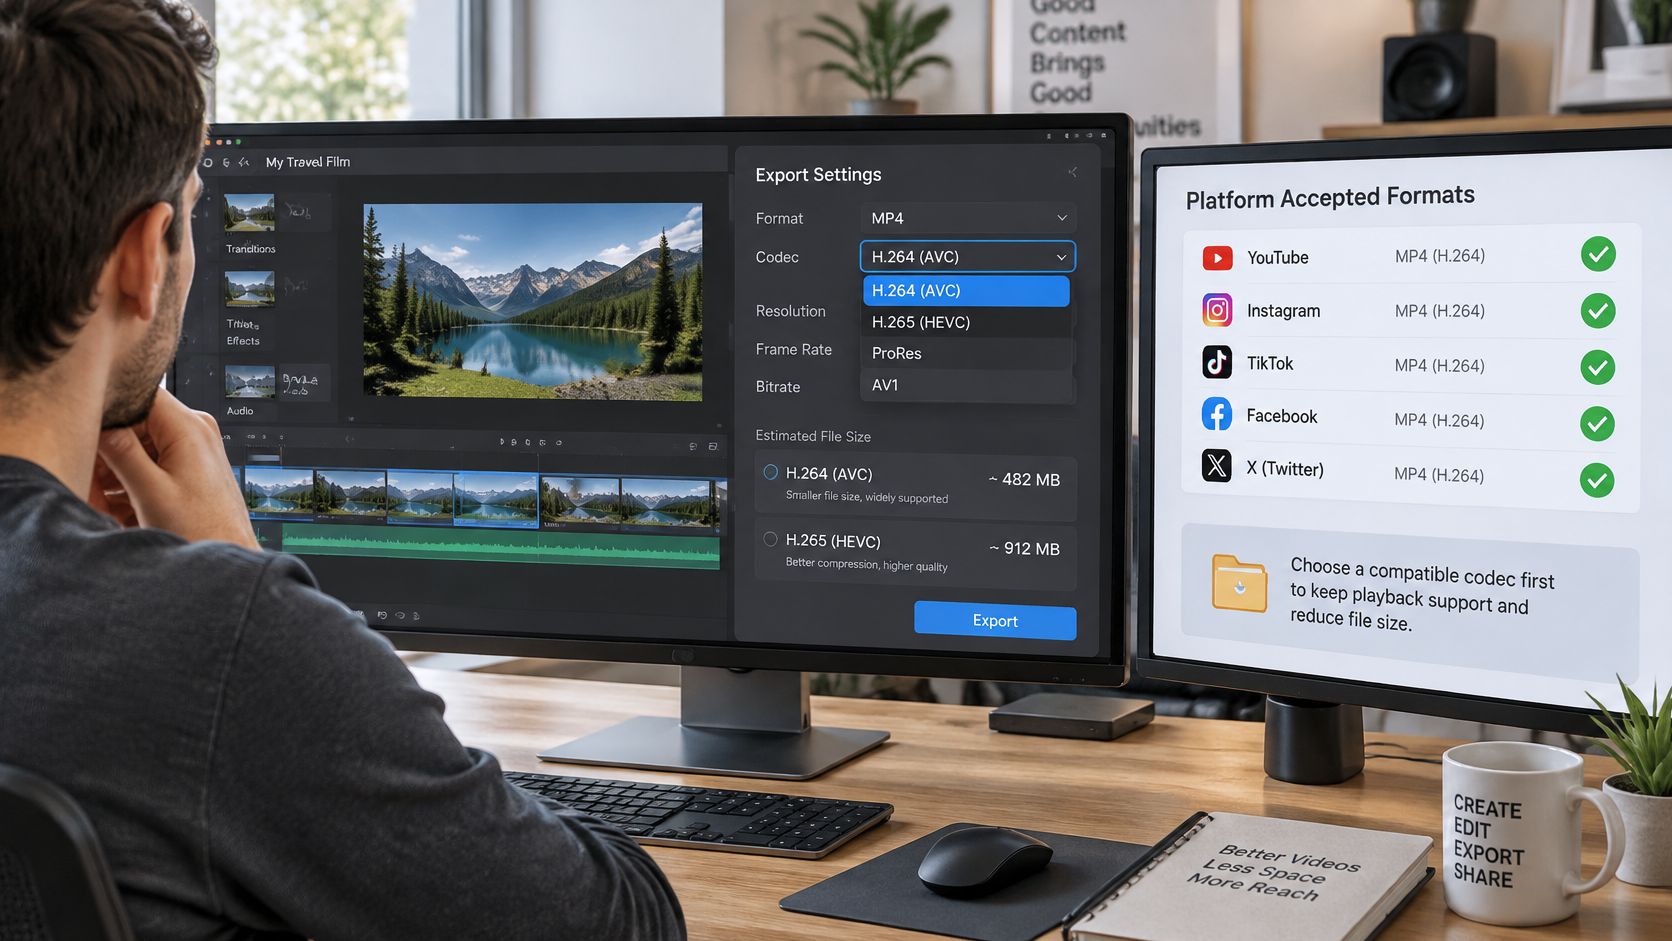
A codec is the method that compresses frames, and it can move file size as much as bitrate does. Motion changes the payoff: static scenes compress easily, while fast cuts and detailed movement give the encoder more differences to describe.
| Codec | Typical file size vs H.264 | Playback risk | Use when |
|---|---|---|---|
| H.264 (MPEG-4 Part 10 AVC) | Baseline | Very low, phones and browsers decode it natively | Default for anything you upload |
| H.265 (HEVC) | Usually smaller at similar visual quality | Moderate, support depends on the device and browser | You control the playback device, or you're archiving |
| AV1 | Often the smallest of the three | High, newest hardware only and slowest to encode | Your tool exports it and the destination accepts it |
H.264 has been the compatibility default for two decades because it was designed for exactly this problem. The ITU-T H.264 specification describes it as a higher-compression design for broadcasting, digital storage, internet streaming and wireless communication. That broad remit covers the same places a creator's upload has to survive today.
If you prefer to see the choice inside an export panel, this walkthrough applies the same order of operations.
<iframe width="100%" style="aspect-ratio: 16 / 9;" src="https://www.youtube.com/embed/Vu8ddzJfQb8" frameborder="0" allow="autoplay; encrypted-media" allowfullscreen></iframe>Name the container as well as the codec. MP4 is the usual wrapper for an H.264 upload, but a platform can support the MP4 container and still reject an H.265 stream inside it.
H.265 and AV1 are worth the extra encode time when playback is controlled or the destination accepts them. For mixed audiences, I'd keep H.264 in an MP4 wrapper. Test the codec at the final resolution before shrinking the frame, because an efficient 1080p encode can produce a smaller file than an older codec at 720p without giving up detail you cannot recover.
<a id="settings-by-content-type-for-motion-faces-and-captions"></a>
Settings by Content Type for Motion, Faces and Captions
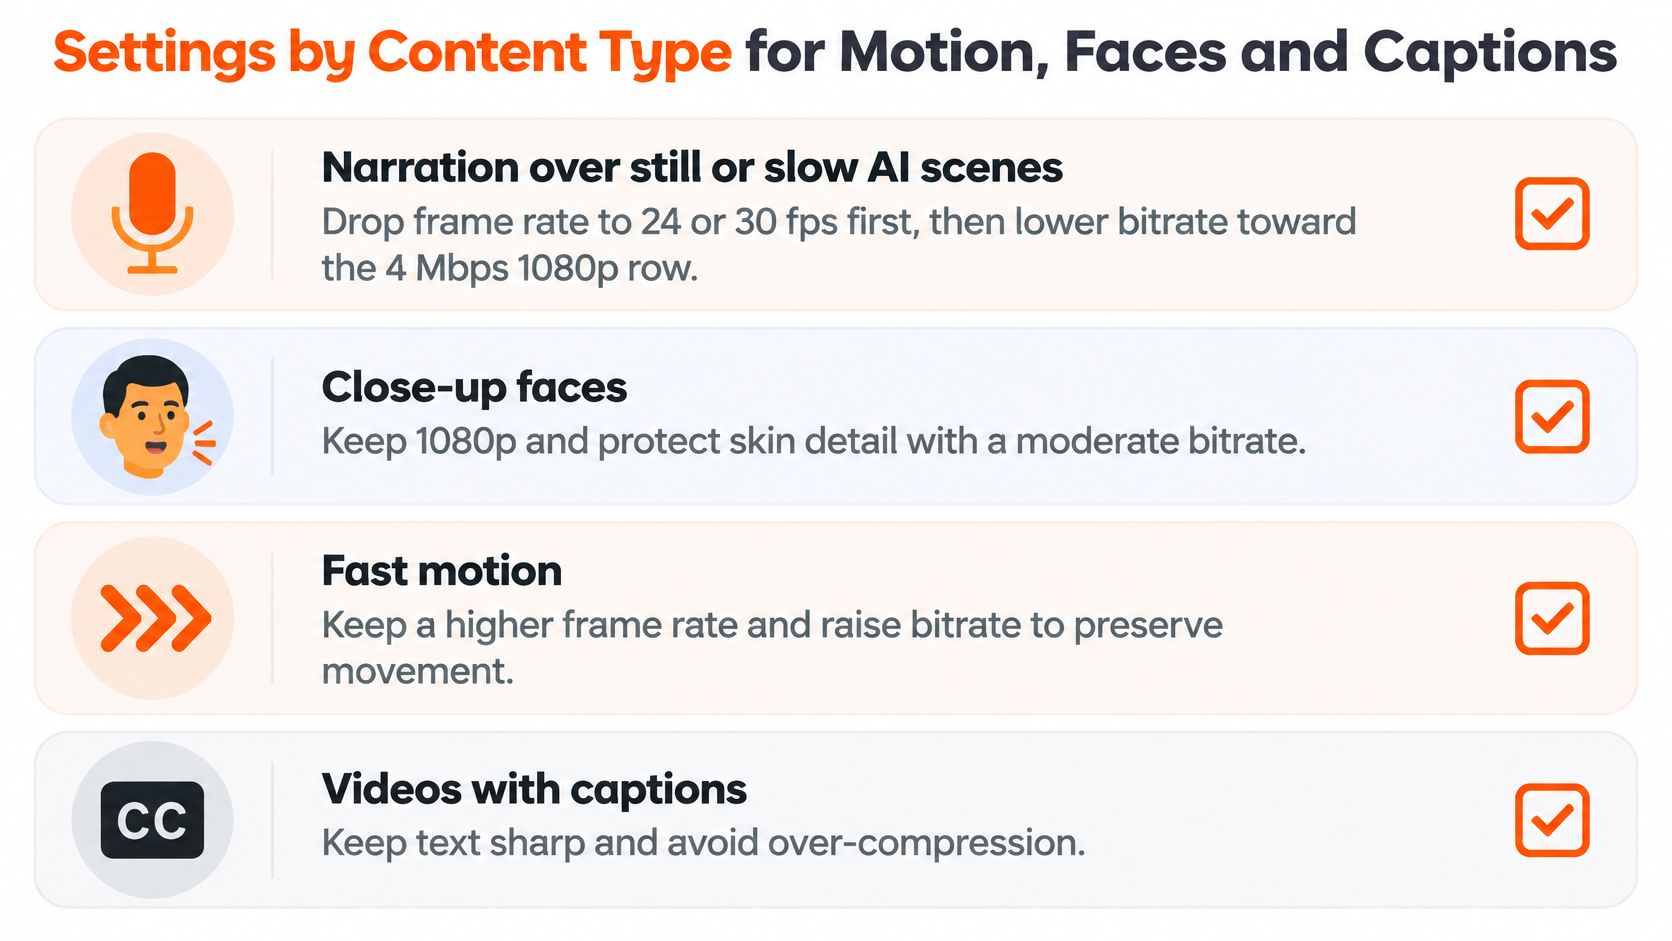
A dialogue scene, a horror chase and a caption-heavy explainer don't compress the same way. The published reference settings pair 8 Mbps with 1080p at 24 to 30 fps and 12 Mbps with 48 to 60 fps, as listed in YouTube's recommended upload encoding settings. The gap in most advice is that nobody applies those numbers by content type.
Frame rate is a budget decision, not a quality dial. At a fixed bitrate, doubling the frame count halves the bits each frame receives, and the shortage shows up as blocky edges and smeared motion. Sixty frames of a starved scene looks worse than thirty frames of the same scene with twice the data per frame.
| Content type | Frame rate | Bitrate | Watch for |
|---|---|---|---|
| Narration over still or slow AI scenes | 24 to 30 fps | 8 Mbps, drop to 4 Mbps only if the viewer test passes | Blocky faces at low bitrate |
| Fast action or horror transitions | 30 fps, or 48 to 60 fps only if the source is high frame rate | At least 8 Mbps | Banding in dark gradients |
| Caption-heavy documentary or fact video | Source frame rate | At least 8 Mbps | Soft or blurred text edges |
| Talking characters with lip sync | 24 to 30 fps | 8 Mbps | Blocky mouths and eyes |
The "Watch for" column is the key deliverable here. Each row names the artifact your viewer test needs to catch before the file goes out, so a passed test means the specific failure mode for that content type stayed invisible, not just that the file got smaller.
Narration over still or slow scenes. Drop the frame rate to 24 or 30 first, then walk the bitrate down toward the 4 Mbps row only after the test in the next section passes. The warning sign is a face that goes blocky at the jawline while the background still looks clean.
Fast action or horror transitions. Stay at 8 Mbps and don't go under it, because motion is where a fixed budget runs out. Dark gradients and fog are the first things to band, and horror footage is mostly dark gradients.
Caption-heavy documentary and fact videos. Keep the bitrate up and keep the source frame rate, since text edges are the detail an encoder discards earliest. If your captions are burned in, adding subtitles to a video is worth doing before the export rather than as a separate render afterward.
Talking characters with lip sync. Protect the mouth and the eyes. Mouth movement and eye detail are what a viewer reads for dialogue, so a uniform compression pass that saves bits on a flat background can still wreck the one region the scene depends on. If your episode is cut to music, treat every cut as motion and give it the same bitrate headroom as a chase scene. Pacing itself gets decided long before the export panel, and you can browse posts on AI music videos for that side of the work.
One hard limit applies to all four: a file that's already been compressed can't regain detail. Reduce from the master, never from a previous export.
<a id="test-the-smaller-file-and-lock-your-export"></a>
Test the Smaller File and Lock Your Export
The smallest file in your export folder is not automatically the upload. Compression advice measures success in megabytes; a viewer measures it in whether the character's mouth matches the words. In one user study, content-aware encoding produced outputs that were 1.9 times more likely to be preferred at the same bitrate, as reported in the study on perceptually optimized video compression. Uniform compression spends bits on empty sky and starves the caption at the bottom of the frame.
<a id="run-two-exports-not-one"></a>
Run two exports, not one
Export the row you picked, then one step below it. From each file, cut four 10-second clips: a scene transition, a face close-up, a frame with captions, and the darkest scene in the video. Watch them on a phone first, then on a laptop, at full screen and at arm's length. Check the file properties afterward to confirm the bitrate and size landed where you aimed, because an exporter ignores a target when the peak setting is loose.
The four clips aren't arbitrary. Faces and mouths are where low-bitrate blocking shows first, so check them more closely than scenery, and on talking-character footage pause on the mouth and the eyes during the close-up. A test that only samples a bright mid-shot will pass a file your audience notices.
The rule I'd keep: if you can't see the difference on a phone at full screen, the smaller file wins. If you can, you've found your floor.
<a id="three-fixes-symptom-first"></a>
Three fixes, symptom first
-
Banding in dark scenes: raise the bitrate by about 1 Mbps before changing anything else. Dark gradients are where a fixed budget visibly runs out.
-
Soft or blurred captions: raise the bitrate or keep the source frame rate. Lowering the frame rate is survivable for text; lowering the bitrate is not.
-
Blocky mouths and eyes: keep the bitrate and lower the frame rate instead. Lip sync is read from a small region, and fewer frames give that region more data each.
<a id="the-final-check-before-you-upload"></a>
The final check before you upload
Confirm the file size is near the target for its length, play it on a phone, and look at faces and captions at full screen. Keep the untouched master so you can re-export next month when the platform changes its mind.
If the file is already as small as it can go and the channel still chokes, turning a video into a link solves the delivery problem without touching the encode.
Everything above assumes you already have a file worth compressing. ClipNova renders a finished video of up to five minutes at up to 1080p, with consistent characters across scenes, lip sync, narration in 18 languages, and script, scenes, voiceover, captions and music done in one pass, then exports MP4 in 9:16, 1:1 and 16:9. The downloaded file already sits at the 1080p ceiling, so for a 720p row, re-encode that MP4 with the steps above rather than regenerating it. ClipNova doesn't post for you, so you download the file and upload it yourself, which is also the moment to run the phone check. Visit ClipNova AI to make your first video.
Ready to ship your own?
Start creating viral videos with AI in under twenty minutes, no credit card required.