
You've recorded the walkthrough, trimmed the mistakes, and added captions. Then you watch it back and notice the problem: the cursor is already moving to the next menu while you're still explaining the last one. Someone who knows the software can follow it. Someone who needs the tutorial probably can't.
Learning how to make video tutorials means solving that mismatch. The useful question isn't whether the edit looks finished. It's whether a viewer can complete the task afterward, including when they can't hear an important sound or need more time at a difficult step.
Table of Contents
- Planning a Tutorial Around One Observable Task
- Scripting Actions Instead of Narrating Everything
- Recording and Segmenting for Learner Control
- Choosing Your Production Stack for Editing and Voiceover
- Captioning Sound and Visual Cues Beyond Speech
- Testing Whether Viewers Can Reproduce the Task
- Distributing Tutorials and Taking Your Next Step
<a id="planning-a-tutorial-around-one-observable-task"></a>
Planning a Tutorial Around One Observable Task
A tutorial called “Getting Started With Video Editing” can easily become a tour of every menu. The creator demonstrates plenty of features, but the viewer never gets a clear assignment. Before opening a recorder, replace the broad topic with an observable outcome.
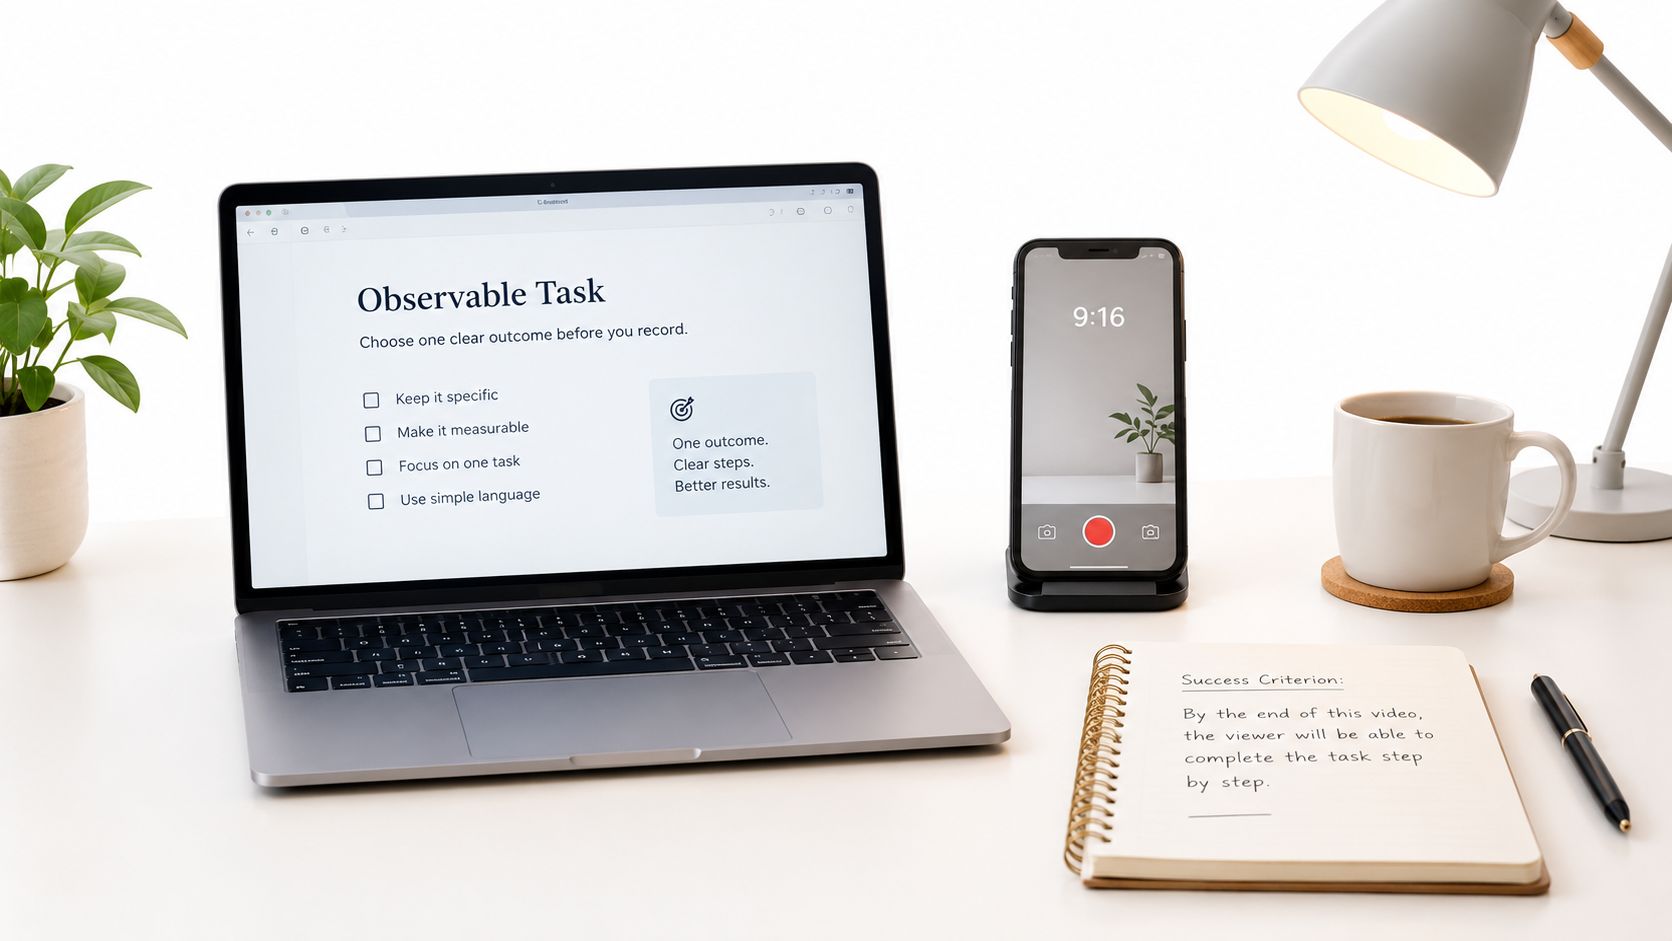
For example, teach someone to export a captioned vertical video. The success criterion should describe what they can inspect: the exported file opens, uses the intended orientation, and displays readable captions without clipping important content.
<a id="define-the-starting-point"></a>
Define the starting point
Write a sentence that connects the viewer's starting state to the finished result:
Given an edited project and its transcript, the viewer can export a captioned vertical video and check the saved file independently.
That sentence gives you a practical boundary. You're teaching export preparation and verification, not how to shoot footage, write a script, or build an entire editing project.
Make the prerequisites explicit rather than hiding them inside the demonstration:
- Required materials: Identify the project, footage, account access, or equipment the viewer needs before beginning.
- Required knowledge: List terms they must understand to follow the instructions. Explain unfamiliar terms only when the task requires them.
- Excluded topics: Move optional effects, advanced settings, and alternative workflows into separate lessons.
Don't confuse a prerequisite with something you happen to find interesting. If viewers can complete the target task without learning the history of a file format, leave that explanation out.
<a id="plan-the-final-challenge-before-recording"></a>
Plan the final challenge before recording
Ask the viewer to repeat the workflow with a different project or make a slightly different output. Keep the underlying skill the same while changing enough detail that they can't succeed by copying cursor movements.
Write the challenge now, alongside the success criterion. Doing so exposes missing instructions before you spend time recording: if your challenge requires checking the saved file, your demonstration must show what to check.
Your recording plan is ready when you have a learning goal, a bounded scope, and an independent test. Equipment decisions come afterward. A sharper camera won't fix an assignment that nobody can describe.
<a id="scripting-actions-instead-of-narrating-everything"></a>
Scripting Actions Instead of Narrating Everything
“We're going to adjust the settings here so everything looks right” sounds conversational, but it doesn't tell a beginner what to do. Replace it with an executable instruction: “Open the aspect-ratio menu, choose the vertical format, and check that the subject remains inside the preview.”
The revised line names a control, an action, and a visible result. It also tells you what footage to capture. If the menu isn't visible when you name it, the script and recording don't match.
<a id="write-for-the-moment-of-action"></a>
Write for the moment of action
Use a working script that separates narration from screen direction. Don't write a polished monologue and hope you can find suitable visuals later.
| Script element | Example |
|---|---|
| Starting state | The edited project is open, with the preview visible. |
| Spoken action | Open the caption settings and select the caption track. |
| Screen direction | Show the track selection without moving to another panel. |
| Verification | Confirm that the preview displays the edited caption. |
| Recovery instruction | If nothing appears, check that the track is enabled. |
A useful instruction explains what changes, not merely what your hand does. “Click this” depends on the viewer locating your cursor. “Select the caption track” gives them a control name they can recognize again later.
Keep explanations where they affect a decision. If choosing a setting could crop the subject, explain that consequence before the viewer confirms it. Save optional background information for supporting text rather than interrupting the action.
<a id="cut-waiting-not-thinking"></a>
Cut waiting, not thinking
Read the script aloud while performing the workflow. Notice where you run out of words before the interface responds and where your hands move faster than your explanation.
- Loading screens: Remove uneventful waiting, but preserve the status change that tells viewers processing has finished.
- Cursor wandering: Re-record uncertain movement instead of narrating around it. The viewer shouldn't have to distinguish searching from demonstrating.
- Repeated openings: Cut fresh greetings between segments. Use the next action as the restart point.
- Brand animation: Keep unrelated motion out of the instructional sequence.
- Visible text: Don't read every label aloud. Name the relevant control and explain what the viewer should do with it.
These choices align with instructional-video guidance on actionable narration, relevant cues, and removing dead time.
Editing rule: Remove time in which nothing useful happens. Keep time in which the viewer needs to inspect, decide, or act.
A script can be concise without being rushed. Leave space after an instruction when the viewer needs to recognize its result. Cutting that space may make the delivery feel energetic while making the task harder to follow.
<a id="recording-and-segmenting-for-learner-control"></a>
Recording and Segmenting for Learner Control
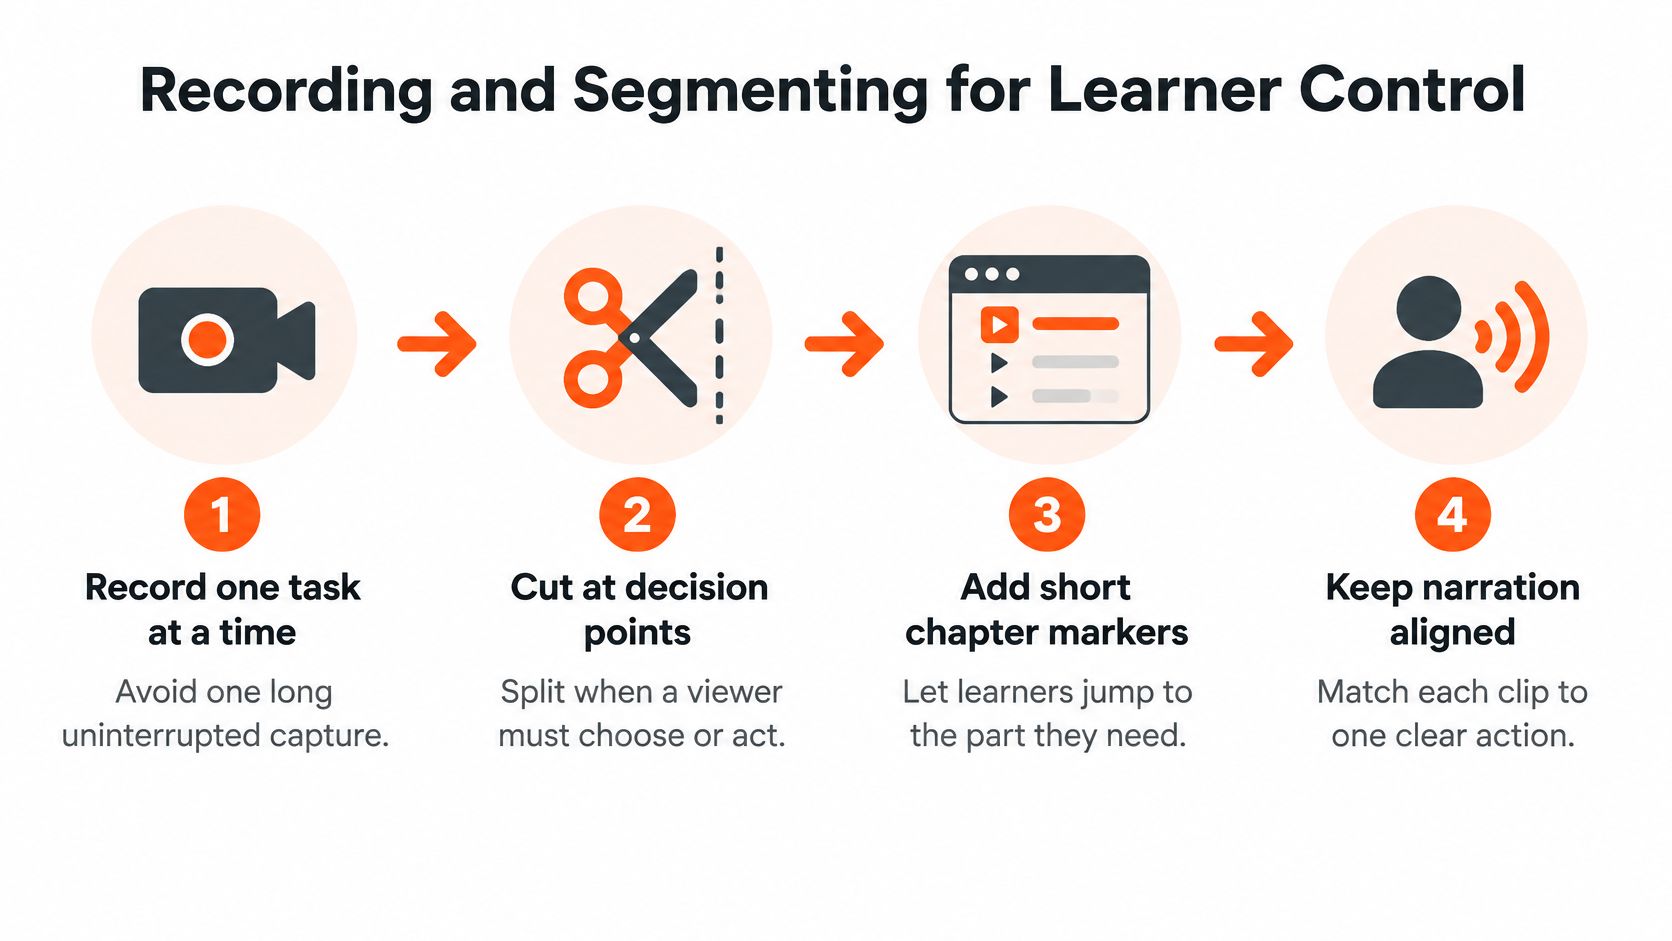
Record a screen demonstration as a set of instructional units, not as a performance you must finish without stopping. For a captioned-video workflow, preparing the layout, checking captions, and exporting the file are distinct operations. Capture them separately so you can revise a difficult operation without rebuilding the entire lesson.
The production sequence below keeps those boundaries visible.
<a id="apply-segmenting-signaling-and-weeding"></a>
Apply segmenting, signaling, and weeding
The segmenting-signaling-weeding method, or SSW, combines manageable instructional units, attention cues, and removal of irrelevant material. In a controlled undergraduate study of SSW-designed educational video, learners outperformed a control group on knowledge-transfer and structural-knowledge tests and reported lower perceived learning difficulty.
Use this production sequence:
- Define the objective: Keep the observable task from your planning document visible while recording.
- Outline necessities: Arrange only the prerequisite concepts and required actions in their working order.
- Segment the demonstration: End a clip at a meaningful decision or completed operation. Give viewers a clear place to pause or return.
- Signal relevant detail: Add a highlight, arrow, label, or brief summary where viewers need help locating something.
- Weed the draft: Remove decorative footage, redundant explanations, and examples that don't support the task.
For the export demonstration, show the relevant settings panel rather than the entire desktop. Highlight the selected control when it's discussed, then remove the highlight once it has served its purpose.
<a id="preserve-context-while-directing-attention"></a>
Preserve context while directing attention
Zooming can make a small control readable, but an extreme crop can hide where that control lives. Establish the panel's location before moving closer, and return to the wider view when the viewer needs to move elsewhere.
Insert a concise chapter card before each meaningful segment. Name the operation, such as “Check caption placement,” rather than using a vague label such as “Next step.” Keep captions synchronized with the instruction, especially across edits.
Audit all the SSW principles, not just segment length. A brief clip can still contain an unexplained jump, competing visual cues, and irrelevant animation. Conversely, a slower segment may be appropriate when the viewer must inspect a result before continuing.
<a id="choosing-your-production-stack-for-editing-and-voiceover"></a>
Choosing Your Production Stack for Editing and Voiceover
Choose tools by testing a representative lesson, including its awkward parts. A clean opening tells you little about whether a workflow can handle a changed interface label, a corrected narration line, or a caption that needs different timing.
A manual setup gives you direct control over captured evidence. An integrated studio can handle more of the assembly from a script or topic. The trade-off is control over individual assets versus coordination across the production process.
| Production decision | Separate-tool workflow | Integrated-studio workflow |
|---|---|---|
| Capture | Record the actual screen or physical demonstration. | Build scenes from instructions, with suitable visual assets. |
| Narration | Record and edit a microphone track separately. | Generate voiceover from the approved script. |
| Assembly | Arrange footage, audio, annotations, and captions in an editor. | Work with those elements inside a shared production workspace. |
| Revisions | Replace affected assets and check synchronization. | Revise the relevant scene, then review connected elements. |
| Delivery | Prepare and inspect each output. | Use format options, then inspect each exported version. |
<a id="match-automation-to-the-lesson"></a>
Match automation to the lesson
For an exact software procedure, the interface itself is instructional evidence. Generated footage or decorative B-roll shouldn't stand in for the control the viewer needs to identify. For an explanation of a concept, an illustration or narrated diagram may be more appropriate than a screen recording.
The integrated studio linked in the publishing recommendation can generate scripts, voiceover, visuals, captions, and export formats from prompts or topics. Its voiceover and localization options support multilingual production, while automatic subtitles and caption styling offer an initial production pass. Treat those outputs as drafts that require instructional review, not proof that the lesson is correct.
Use the guide to AI voiceover tools to evaluate narration choices against your script. Listen for control names, unfamiliar terminology, emphasis, and pauses at decision points. A pleasant voice still needs to say the right thing at the right moment.
<a id="test-revision-effort-before-committing"></a>
Test revision effort before committing
A solo creator should rehearse the complete path from script to corrected export. A team should also check how reviewers identify changes and how the editor distinguishes an approved script from an earlier version.
- Change a sentence: Check whether the revised voiceover still fits the scene.
- Replace a visual: Confirm that annotations and captions remain correctly placed.
- Review another language: Have a fluent reviewer check technical wording and its match to on-screen labels.
- Inspect the output: Test the saved file, not just the editing preview.
The useful stack is the one you can correct reliably. Don't choose it solely because its first draft arrives quickly.
<a id="captioning-sound-and-visual-cues-beyond-speech"></a>
Captioning Sound and Visual Cues Beyond Speech
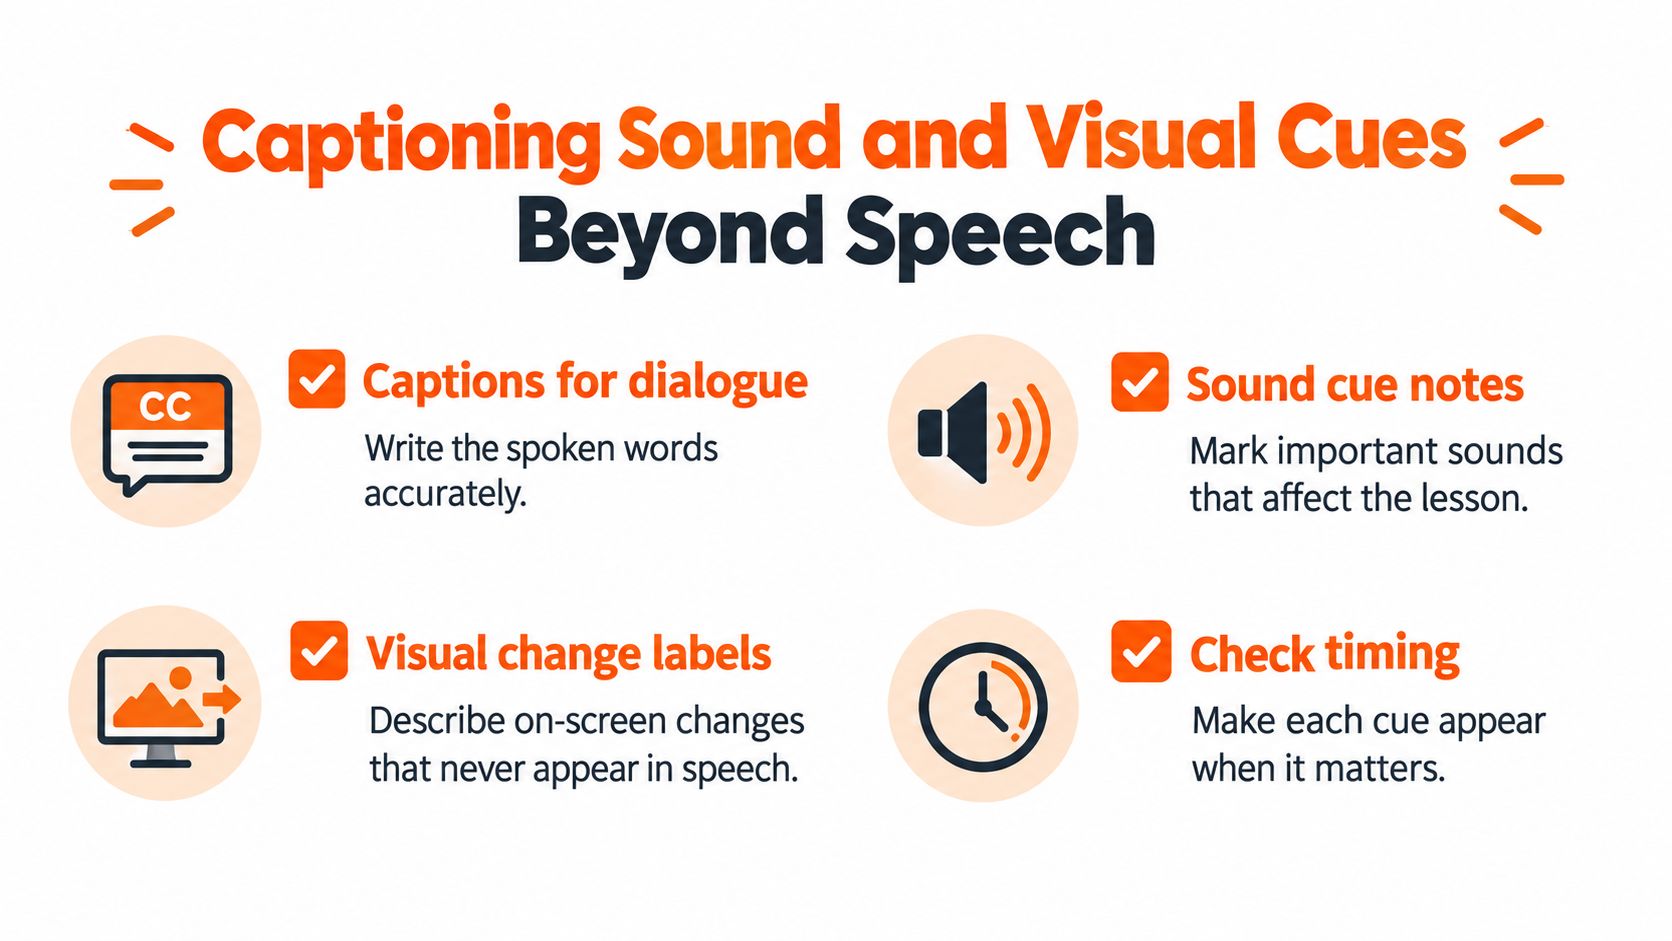
Accurate dialogue captions aren't a complete accessibility check. A tutorial may tell viewers to wait for a beep, listen for a click, or continue when an indicator changes. If those signals never appear in the spoken explanation, speech transcription alone won't communicate them.
Consider a hypothetical repair demonstration in which a latch clicks into place. A caption reading “[click]” identifies a sound, but “Latch clicks into the locked position” communicates why it matters. Describe only the consequence you can verify from the demonstration.
<a id="identify-cues-that-carry-instructions"></a>
Identify cues that carry instructions
Review the lesson for information outside the speaker's voice. Prioritize a sound when missing it would prevent the viewer from understanding the current state, recognizing a warning, or knowing when to act.
- Interface sounds: Describe an alert if it communicates success, failure, or a required response.
- Equipment cues: Explain an alarm or completion tone when the next action depends on it.
- Off-screen actions: Identify a relevant action that the camera doesn't show.
- Visual status changes: Name the changed state instead of relying on color alone.
- Background audio: Avoid filling the screen with descriptions of incidental sounds that don't affect the lesson.
Distinguish sound descriptions from spoken captions through consistent formatting. Place each cue at the event, not at the nearest convenient sentence break. If an essential sound also has a visible status message, show that message clearly.
<a id="review-accessibility-as-a-workflow"></a>
Review accessibility as a workflow
Use the subtitle-production guide for the dialogue layer, then complete a separate instructional review.
Check typography and contrast against the footage where captions appear. A readable style on a blank preview can become difficult to read over a busy interface, and large captions can cover the very control you're teaching.
Review the transcript for missing references: “wait until you hear it” and “select the green option” need more precise explanations. Show keyboard-relevant actions when the workflow includes them, and describe essential visual changes in narration or accompanying text.
Don't label a tutorial accessible because the subtitle button works. Check whether its essential instructions remain available through alternative cues.
Invite disabled viewers to test the draft when possible. Ask which instruction was unavailable or ambiguous, rather than whether they generally liked the video.
<a id="testing-whether-viewers-can-reproduce-the-task"></a>
Testing Whether Viewers Can Reproduce the Task
A completed playback tells you that the player reached the end. It doesn't establish that the viewer can perform the procedure. Use task completion as the primary test, then use viewing behavior to investigate where the explanation may need work.
Give a learner the starting materials and the challenge you planned earlier. Ask them to attempt it without replaying the demonstration during the initial test. Explain that you're testing the instruction, not grading their ability.
<a id="record-actions-rather-than-impressions"></a>
Record actions rather than impressions
Observe without stepping in at the first hesitation. Note where the learner looks, what they select, and whether they recognize an incorrect result.
| Observation | What to record | Revision to consider |
|---|---|---|
| Wrong control selected | The control chosen and its visible similarity to the intended one | Clearer labeling or a contextual view |
| Correct action, wrong result | The setting or state that differed | A missing prerequisite or verification step |
| Repeated hesitation | The decision the learner couldn't resolve | An explanation of the choice |
| Successful result with assistance | The prompt you had to provide | An instruction missing from the draft |
| Independent completion | Result accuracy and time to completion | Whether the existing explanation is sufficient |
Timing is useful, but speed alone isn't success. A viewer who finishes quickly with an unusable output hasn't met the criterion. Separate accuracy, independence, errors, and elapsed time in your notes.
<a id="use-analytics-to-locate-questions"></a>
Use analytics to locate questions
Check segment-level retention, completion, rewinds, and exits where those metrics are available. A rewind near a settings panel is a reason to investigate, not proof of confusion. The viewer might be struggling, checking a detail, or returning later to use the lesson as a reference.
Compare variants that change a specific instructional choice. Hold the task and starting materials consistent while changing pacing, scene density, narration, or caption timing. Otherwise, you won't know which change affected the result.
Add a practice pause when learners can imitate an operation but can't choose it independently. Add a checkpoint when an early mistake causes later steps to fail. If experienced viewers find prerequisite explanations unnecessary, consider a separate pacing version rather than accelerating every instruction for everyone.
Keep the version that supports the intended performance, even if another version feels more dynamic. Treat watch time and visual polish as supporting observations, not substitutes for a correct, independently completed task.
<a id="distributing-tutorials-and-taking-your-next-step"></a>
Distributing Tutorials and Taking Your Next Step
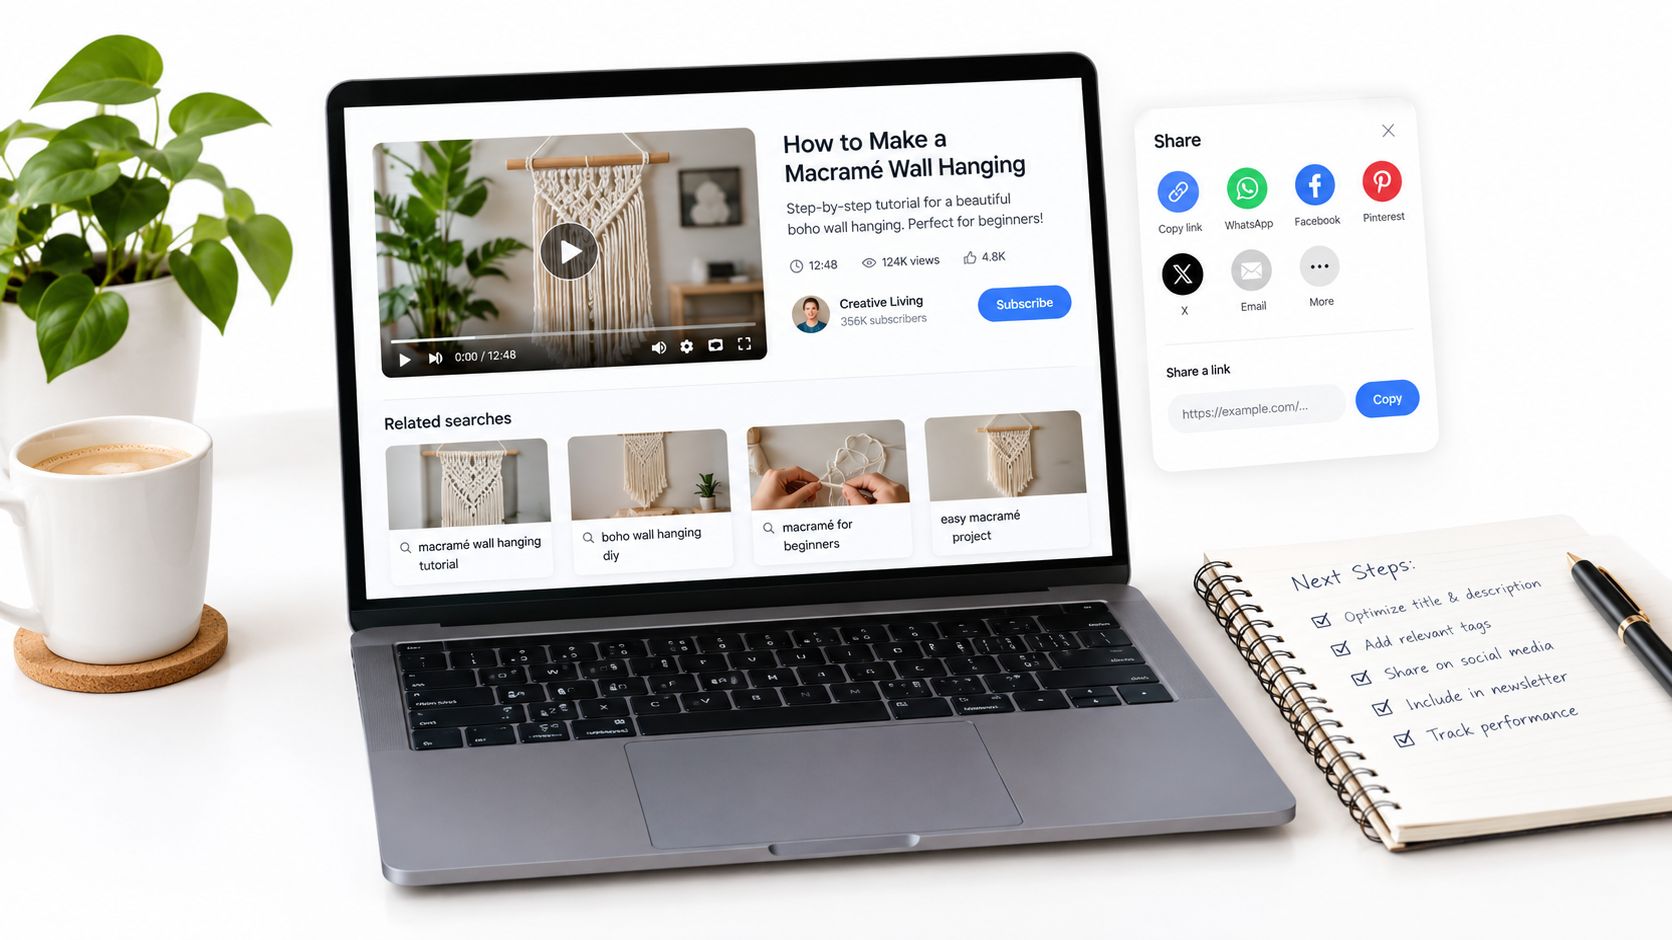
Publish the tutorial where the learner encounters the problem, with a title that names the result. “Export a Captioned Vertical Video” gives the viewer a clearer expectation than “My Complete Editing Workflow.” Include the relevant tool or context when it helps distinguish the procedure.
Make the description equally concrete. State the starting materials, intended result, and any prerequisite access. Don't promise a complete beginner's course when the video assumes an edited project already exists.
<a id="package-the-lesson-for-use"></a>
Package the lesson for use
Keep chapter labels consistent with the operations inside the video. Where the publishing platform supports navigation, match chapter entries to the segment starts so someone returning for a specific action can locate it.
- Publish reviewed captions: Include the matching caption file where supported, and confirm that the published player displays it correctly.
- Provide the practice materials: Make the starting project, checklist, or written challenge available alongside the lesson when appropriate.
- Name the relevant context: Identify the interface or equipment shown so viewers can recognize a mismatch.
- Check the published page: Test playback, navigation, captions, and supporting materials after upload.
An embedded lesson also needs context. Use the guide to video for blogs when pairing a tutorial with written instructions. Put prerequisites and the expected result near the video rather than making readers search through unrelated copy.
<a id="reuse-the-lesson-without-hiding-the-task"></a>
Reuse the lesson without hiding the task
Prepare alternate formats from the same approved lesson, but inspect each composition. A vertical crop may remove a sidebar that the viewer needs; a square version may place captions over the demonstration. Reframe the relevant operation instead of shrinking a complete desktop until its labels become unreadable.
Keep the instructional sequence intact when creating excerpts. A promotional clip can introduce the outcome, but don't present a disconnected middle step as a complete tutorial. Direct viewers to the full procedure and its practice challenge.
Your next production session doesn't need to begin with a channel redesign. Choose a task you already know well, write its success criterion, and record the difficult operation first. Test that rough segment with a learner before investing in the opening, transitions, or decorative assets.
ClipNova offers script generation, voiceover, visuals, captions, and export formats in an integrated studio. Visit it to build a segmented draft around your chosen task, then review the sound cues and ask a learner to reproduce the result before publishing.
Ready to ship your own?
Start creating viral videos with AI in under twenty minutes, no credit card required.