
You've exported a music visualizer that looks alive while you're making it. The bars jump, particles burst, and the colors pulse. Then the first chorus arrives, and the video has nowhere left to go. That's usually not a software problem. It's what happens when every sound gets the same visual reaction.
A watchable visualizer has to follow the song's shape, not just its volume. Map a few sound signals to motion, give each section a different level of intensity, then choose a workflow that fits whether you're making a graphic loop or a story with recurring characters. The final pass matters too: a design that feels balanced in one frame can lose its focal point when a platform crops it.
Table of Contents
- Why a Music Visualizer Goes Flat Fast
- Map Sound to Motion Before You Animate
- Build an Audio Pipeline That Stays in Time
- Shape Visual Intensity Across the Song
- Choose a Tool for Loops or Full Stories
- Export Versions That Survive Each Platform
- Publish a Visualizer You Can Stand Behind
<a id="why-a-music-visualizer-goes-flat-fast"></a>
Why a Music Visualizer Goes Flat Fast
A creator watches the finished loop on a laptop. The opening feels energetic: the bars leap, particles scatter, and the background flashes with every heavy hit. By the first chorus, the same effects are still firing at full strength. The picture is busy, but it no longer feels like it's going anywhere.
The design choice that caused the problem was simple: every beat got the biggest reaction. Most tutorials concentrate on uploading audio, selecting a style, adding artwork, syncing effects, and exporting. They may caution against excessive motion or strobing, but that doesn't answer the harder question: how do you keep a whole song interesting without wearing out the viewer?
A long YouTube upload makes that problem easy to spot. If the visualizer never changes its intensity, viewers have no visual contrast between a quiet intro and a chorus. A restrained beginning can give a later transition weight. A quieter bridge can make space for lyrics, a character, or a moment of stillness.
<a id="give-the-song-somewhere-to-go"></a>
Give the song somewhere to go
Think of the visualizer as a sequence, not a single loop stretched across the timeline. A low-energy intro might use slow movement and a few shapes. The verse can introduce a little more motion. Save the strongest visual shift for a chorus, drop, or outro, where it feels earned rather than automatic.
That approach helps lyric videos, horror tracks, faith stories, and any channel where a visual world needs to last longer than a short clip. A viewer should have something to follow during a wordless passage, but that doesn't mean every frame needs to compete for attention.
Practical rule: If every section looks like the chorus, the chorus won't feel bigger.
The useful path is to decide what sound controls what visual, build a stable audio pipeline, and then shape intensity around the song. From there, you can choose between a reactive graphic loop and a finished story workflow, then make platform versions that survive different crops.
<a id="map-sound-to-motion-before-you-animate"></a>
Map Sound to Motion Before You Animate
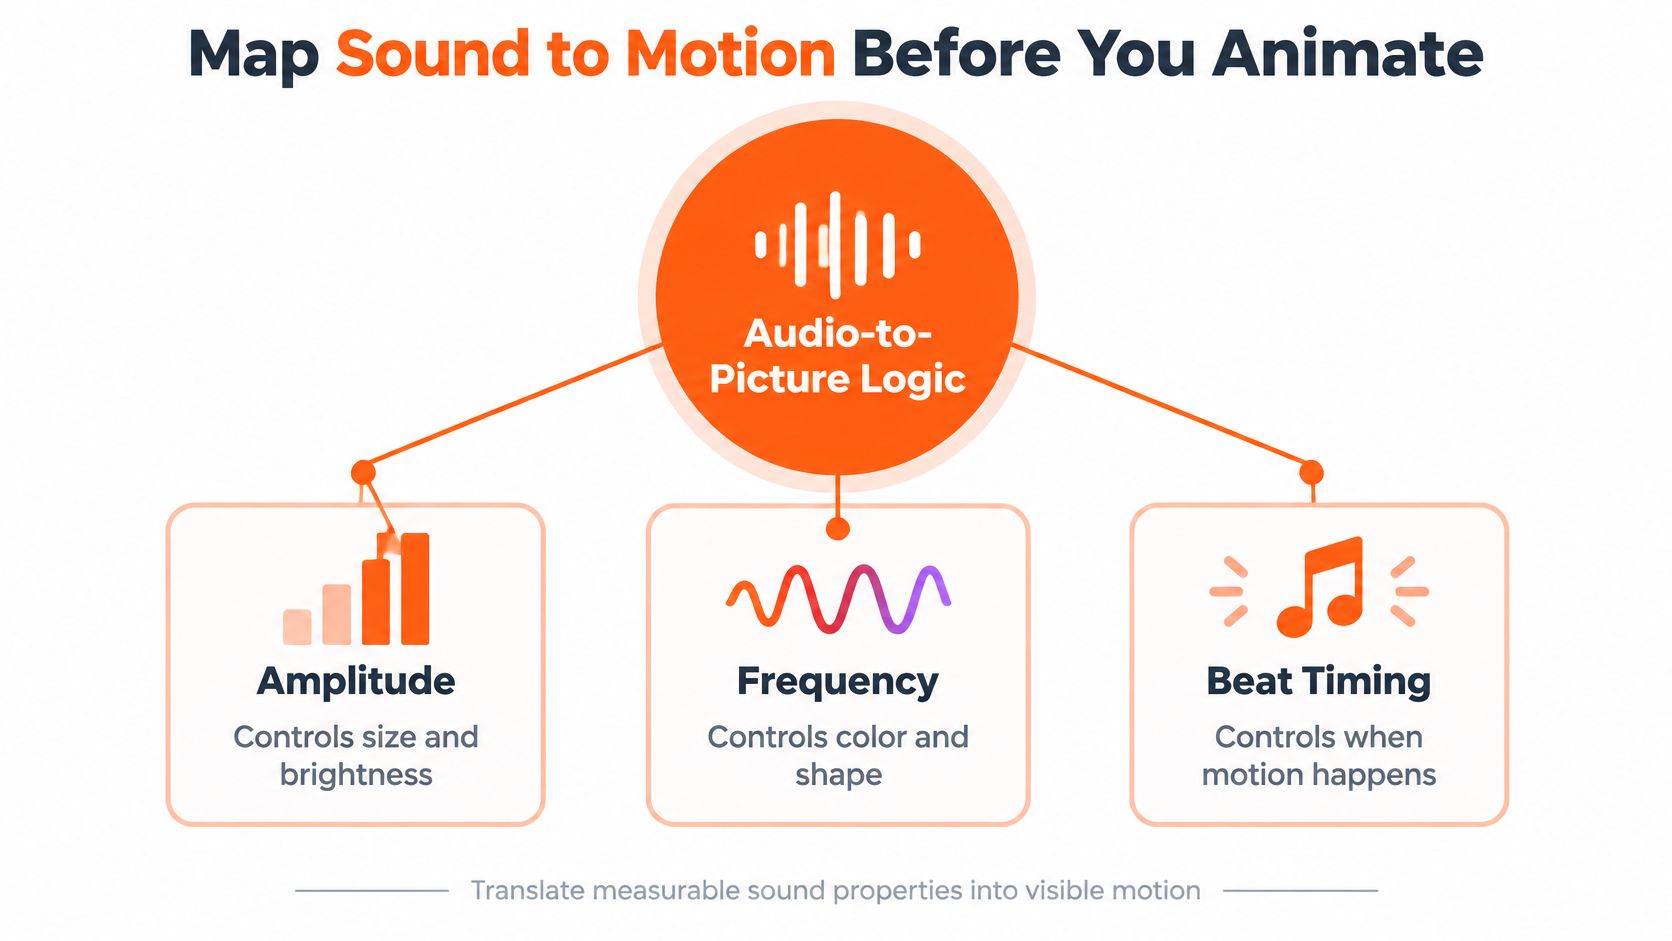
A kick drum can act like a heartbeat or like a camera flash. The difference is decided before the first keyframe: each sound property gets one visual job, and the rest of the frame stays calm enough for the viewer to follow.
The idea is older than digital video. The history of music visualization includes Louis Bertrand Castel's 1720s ocular harpsichord proposal, Alexander Wallace Rimington's 1893 color organ, and Ben Laposky's early-1950s Oscillons made with cathode-ray oscilloscopes and long exposures. Those systems tied performance to light and form, the same basic contract a browser visualizer makes now.
<a id="separate-level-pitch-and-timing"></a>
Separate level, pitch, and timing
A waveform shows amplitude over time. Use it when the image should breathe with loudness; choose spectral reads when the image needs pitch. A spectrogram, built with the Short-Time Fourier Transform, shows which bands are active in each window, so a bass swell and a hi-hat spray can pull different levers.
Give the song a narrow cast. Let low frequencies move large masses: scale, bloom, camera push. Let mids carry geometry or a recurring character. Reserve highs for grain, sparkle, edge light. Stereo can place X and Y coordinates for Lissajous motion, while level sets intensity.
Window size sets the tradeoff. Shorter windows catch hits closer to the beat but smear pitch; longer windows name frequencies more cleanly while the picture lags behind transients. Pick timing for a punchy drop, detail for a slow harmonic drift.
<a id="write-the-map-as-scenes-with-limits"></a>
Write the map as scenes with limits
Make a small note with three decisions: what controls size, what controls shape or color, and what triggers a distinct event. Keep the list short. If bass controls scale, let it own scale; if every hit also fires flash, shake, hue jump and particles, the chorus has nowhere left to go.
Recurring scenes carry the restraint. A verse might reuse a slow orbit and dim palette. A chorus can open the crop-safe center, widen the motion, or brighten one chosen layer. A bridge can strip back to lyric space. For motion that must continue between hits, study how a video editor for time-lapse lets tiny changes add up, then apply that patience to visual drift instead of forcing a strobe on each transient.
Later tools from Atari Video Music to Cthugha and Winamp made the same idea common in software: a few inputs, assigned clearly, repeat until they feel like a world. If the visual world is still open, ideas for making a music video can help decide props, color script, and recurring motif. The page should read like a shot list for ears: input, response, limit.
<a id="build-an-audio-pipeline-that-stays-in-time"></a>
Build an Audio Pipeline That Stays in Time
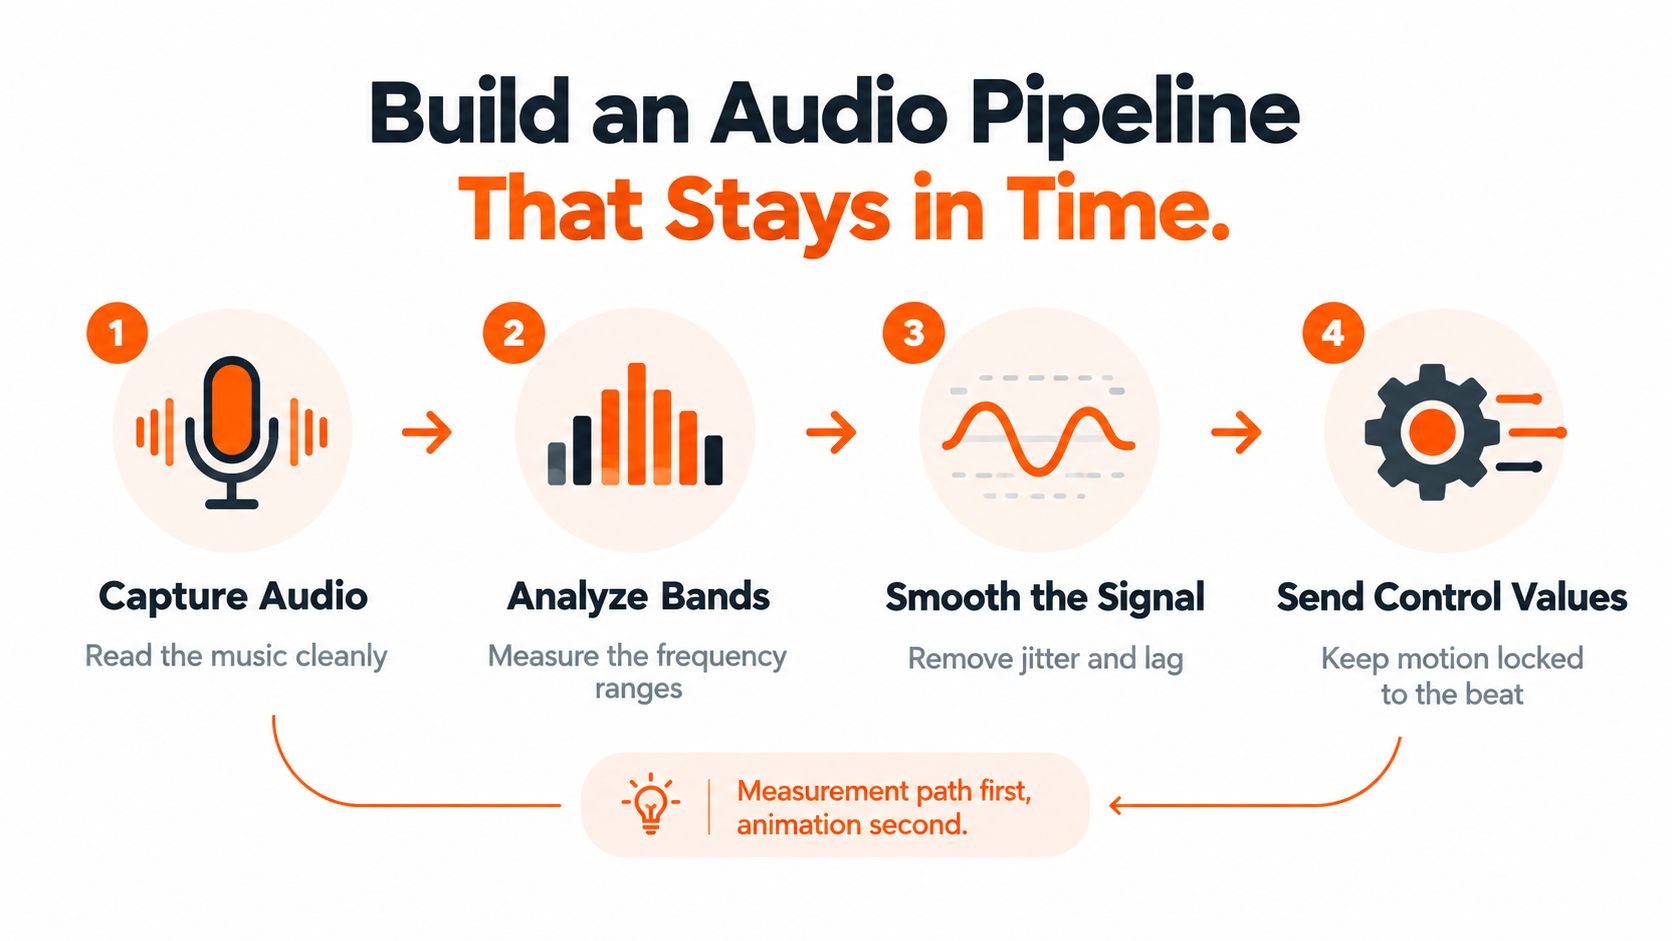
A kick drum lands, and the circle on screen pulses a fraction of a beat late. That gap almost always lives in the pipeline, not the drawing code. Feed raw waveform samples straight into your animation and you'll struggle to tell whether a flicker comes from noisy analysis or from the visual design itself. Build a measurement path first, then convert its output into control values.
In a browser project, route the track through a Web Audio API AnalyserNode. Start with fftSize at 1024 or 2048, then read frequency-domain data on each render frame using getByteFrequencyData() or getFloatFrequencyData(). Save time-domain reads for drawing an actual waveform trace (MDN's Web Audio API visualization guide covers both paths in detail).
<a id="turn-frequency-bins-into-useful-controls"></a>
Turn frequency bins into useful controls
Group the frequency bins into low, mid, and high bands rather than animating every bin on its own. Normalize each band against a rolling noise floor so a quiet master and a loud master produce comparable motion. Then smooth attack and release separately: a fast attack lets a kick register sharply, while a slower release keeps the visual steady as the sound decays.
smoothingTimeConstant is a setting to test, not a dial to crank by default. More smoothing reduces jitter but dulls drums and adds lag. Listen and watch with the actual genre you're designing for. An ambient track and a sharp, percussion-heavy track rarely want the same response.
<a id="separate-beat-events-from-continuous-motion"></a>
Separate beat events from continuous motion
A bass threshold by itself makes an unreliable beat detector. Compare current low-band energy against a rolling baseline, fire an event only when energy climbs above that baseline, and add hysteresis so a sustaining kick doesn't retrigger. For a prototype, a refractory gap around 300 ms is a workable starting example; production timing has to respect tempo and how each track is mastered.
Use discrete beat events for flashes, camera punches, or particle bursts. Use smoothed band energy for continuous scaling and color drift. This split is what gives a song-shaped visualizer its restraint: the occasional event lands hard because the continuous layer stays calm between hits. If you're preparing audio for a release or premiere, analyzing tempo for SoundCloud premiere submissions offers useful context for thinking about tempo alongside the visual response.
Render with requestAnimationFrame, reuse typed arrays, and avoid allocating new objects every frame. Canvas 2D handles modest particle counts; WebGL earns its complexity once you stack many particles, blur, or full-screen effects. Treat 60 frames per second as a target to verify on the actual playback device, and measure both frame time and audio-to-visual latency. A visualizer that drifts out of time reads as broken no matter how good it looks, while one that stays locked makes even quiet sections feel deliberate.
<a id="shape-visual-intensity-across-the-song"></a>
Shape Visual Intensity Across the Song
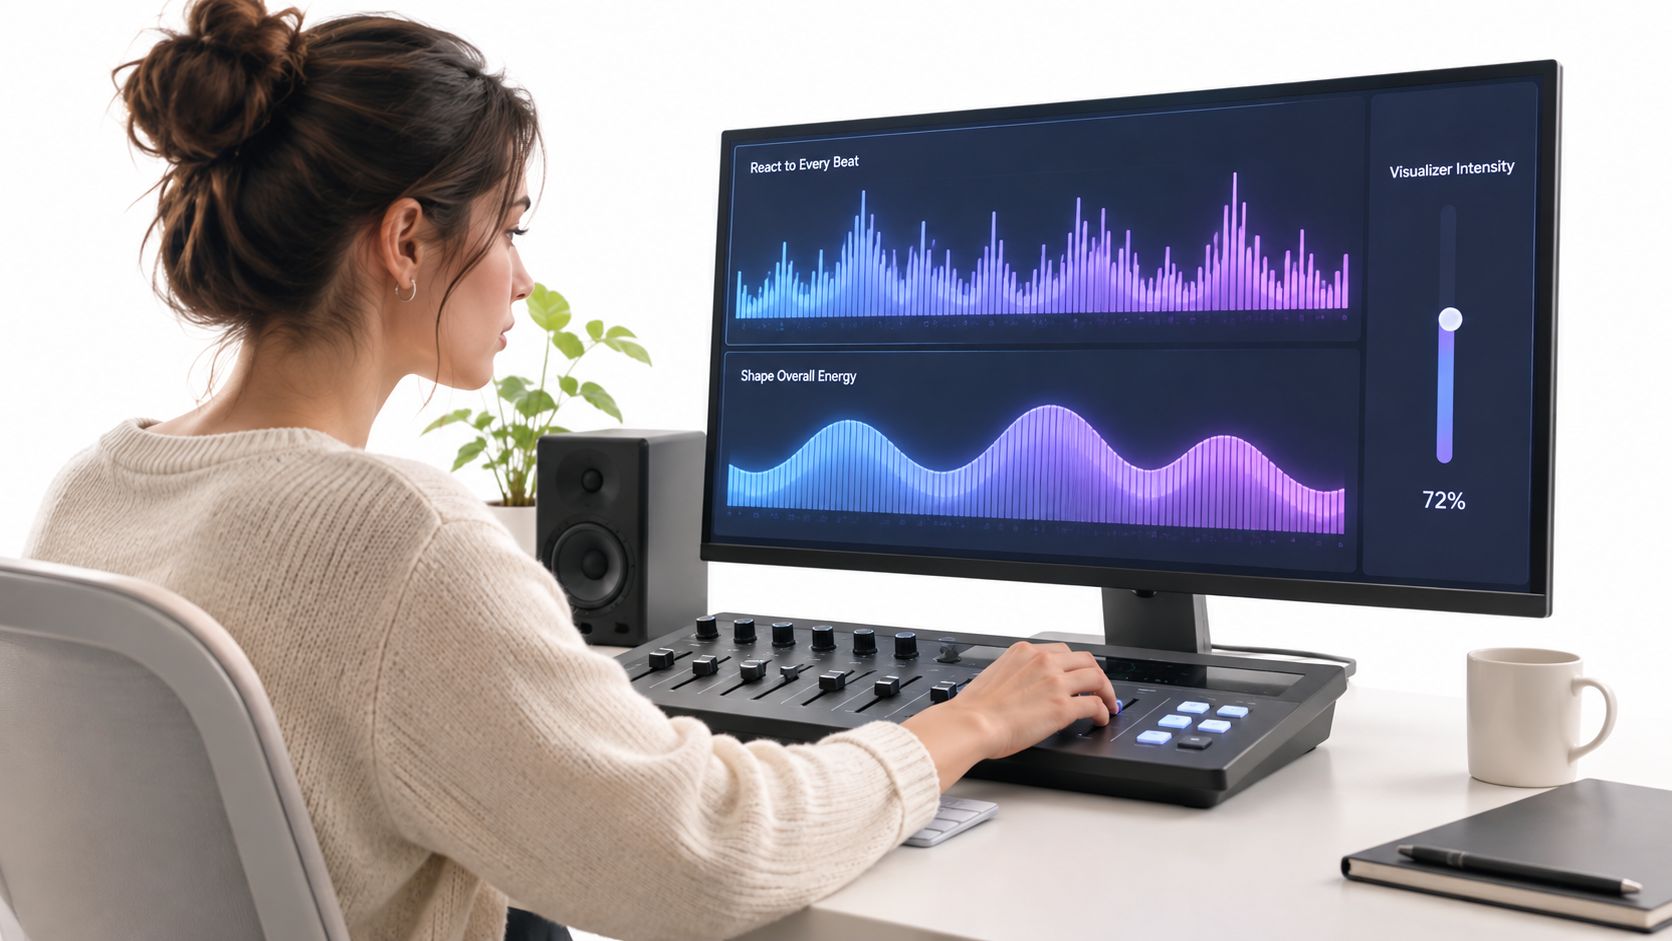
A viewer can feel quickly whether a visualizer was designed for the song or merely reacts to it. A display that pulses hard on every beat can seem impressive at first and tiring over a full track. Slower camera drift, small pulses, and deliberate changes often look more finished because they give the viewer contrast.
A useful mental model is a dimmer board rather than a strobe light. Each section of the song gets its own level. A quiet intro doesn't need to compete with the first chorus. Give it enough movement to hold the frame while leaving space for a title, lyric, or character. Let a verse breathe with moderate geometric motion, then bring in denser visuals or a stronger color shift for the chorus or drop. The outro should feel like a conclusion, easing intensity rather than looping the same peak energy.
<a id="give-each-section-a-different-visual-job"></a>
Give each section a different visual job
| Song section | A useful visual treatment |
|---|---|
| Intro or bridge | Lower contrast, slower movement, fewer particles |
| Verse | Mid-level motion that leaves room for words and subjects |
| Chorus or drop | A clear increase in density, scale, or color |
| Outro | A deliberate transition or easing of intensity |
Treat this table as a starting map. A horror track might build tension through a slow change in shape rather than a bright flash. A faith story may need the character and captions to stay prominent even when the music swells. If you want recurring scenes rather than one uniform effect, study how narrative edits pace their shots, and these music video ideas for structuring a track into scenes can give you a scene-by-scene reference to plan against.
For a rendered video, analyze the full mastered track before you render. Store timestamps for beats, downbeats, sections, and silence, then drive scene changes from those markers so the export stays repeatable. Check event times against the waveform, and test music with different tempos, loudness levels, genres, and prominent vocals. As noted earlier, FFT data measures frequency energy; it doesn't identify musical beats by itself.
That distinction prevents a common mistake: treating loud bass as rhythm. A sustained low note can be loud without marking a new beat. Once you have reliable event markers, use them to time caption emphasis, logo reveals, or recurring character motion while keeping brightness and movement restrained. Keep the elements viewers must read inside safe crops, since each platform trims the frame differently. If you're looking for music to build around, exclusive content from independent artists can help you explore tracks with a distinct mood.
<a id="choose-a-tool-for-loops-or-full-stories"></a>
Choose a Tool for Loops or Full Stories
The right workflow depends on what you want the viewer to watch. A graphic experiment calls for direct control over audio analysis and animation. A narrative video has different demands: scenes must make sense in sequence, captions need room, and recurring characters should keep their identity.
| Workflow | What you get | Honest limit | Use it when |
|---|---|---|---|
| Code or browser pipeline | Control over FFT size, band mapping, and smoothing | You still handle layout, captions, and export | You're making a custom reactive loop |
| Clip generators such as Runway, Kling, Veo, and Hailuo | Individual generated shots | You have to assemble shots into a timed story | You need standalone visual moments |
| Template editors such as InVideo and Pictory | A longer edit assembled from stock footage | Stock footage may not give you original recurring characters | The template and library fit the track |
| Faceless shorts tools such as Revid, StoryShort, and Zebracat | Short-form video production | Their focus is short videos, not full-length story sequences | You're posting a short clip |
| Presenter tools such as HeyGen and Synthesia | Presenter-led videos | A presenter is different from a narrative cast | The track supports a host or explainer |
Independent clips can drift when a story asks the same character to appear repeatedly. One research pipeline reported a character-consistency score of 7.99, which fell to 0.55 when visual anchoring was removed. Its workflow used a script, consistent character images as anchors, and the previous scene's final frame to condition the next (research on visual anchoring and character consistency). A separate review notes that advanced systems have commonly produced clips around five to sixteen seconds and struggled to preserve character appearance and scene layout beyond those lengths (review of long-form AI video consistency).
<a id="match-the-workflow-to-the-viewers-expectation"></a>
Match the workflow to the viewer's expectation
For a custom graphic loop, a browser pipeline is a practical choice because you can tune the analysis directly. But it leaves you responsible for building and exporting the composition. If the track needs to carry a story, the scene workflow matters as much as the audio response.
ClipNova makes finished long AI videos with consistent characters. One pass can produce script, scenes, voiceover, captions, and background music for videos up to five minutes and 1080p; narration is available in 18 languages, with 9:16, 16:9, or 1:1 framing. Saved characters keep the same face and outfit across scenes, Series can carry a cast of up to eight with story memory, characters can talk with lip sync, and Studio lets you regenerate an individual scene. Plans start at $19 per month and include commercial rights. For a more detailed look at workflow choices, see this guide to an application for making video with music.
Choose the code loop when the visualizer itself is the whole idea. Choose a scene-based workflow when a lyric, horror, faith, or story video needs the same cast to remain recognizable across the track.
<a id="export-versions-that-survive-each-platform"></a>
Export Versions That Survive Each Platform
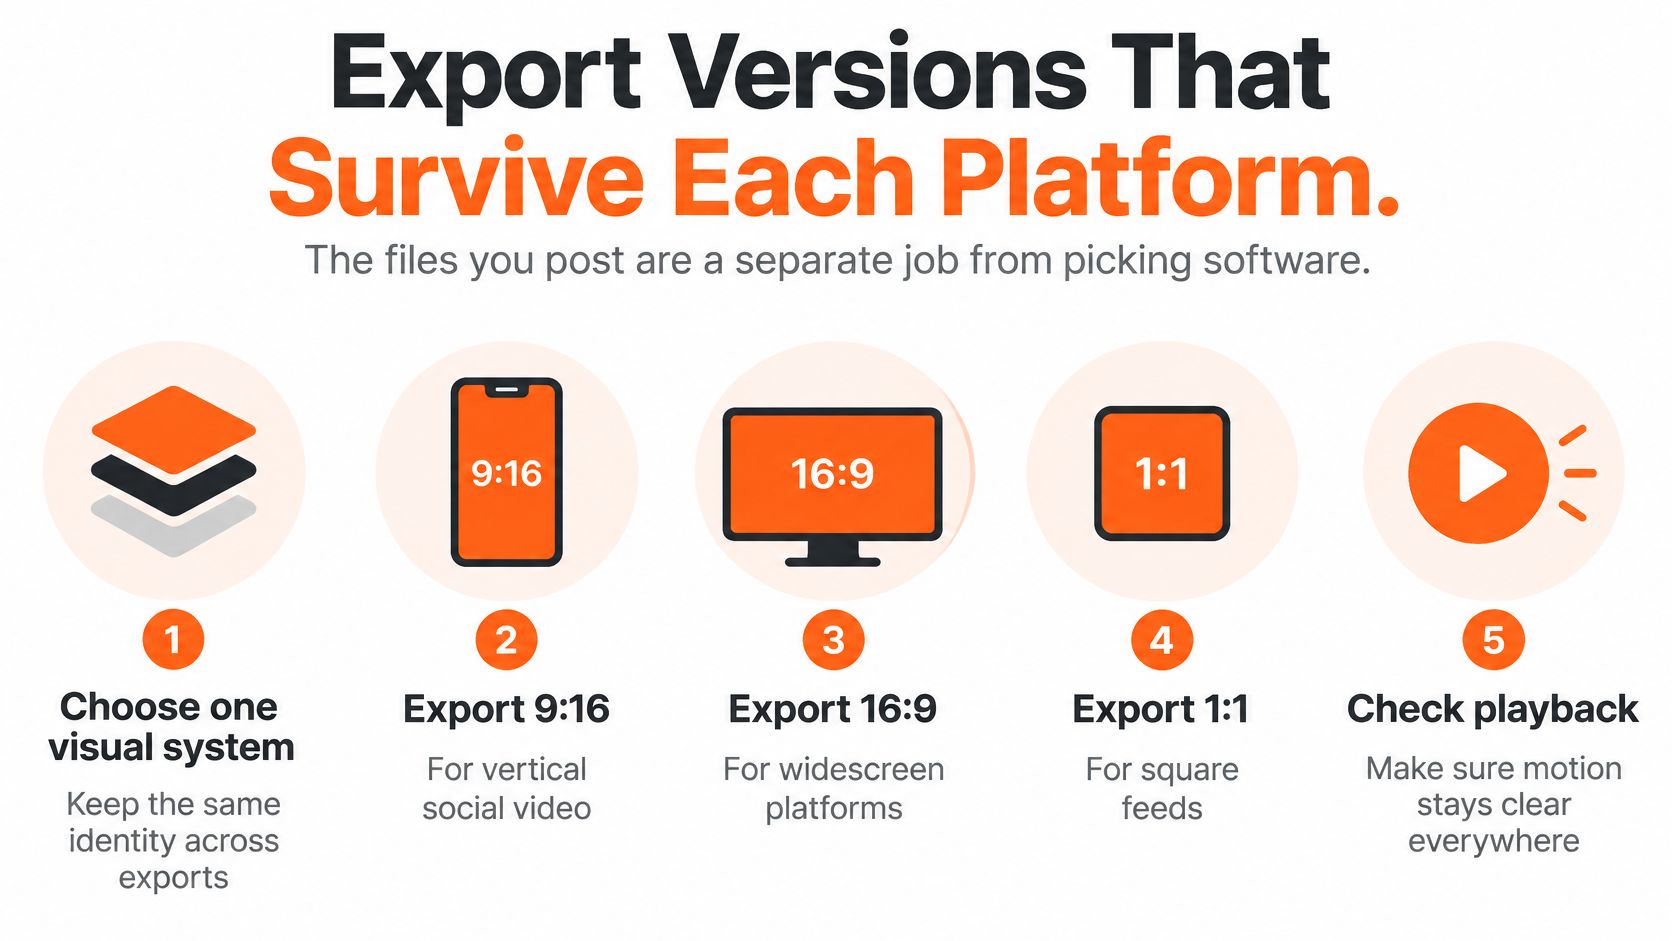
Picking a tool doesn't finish the job. You still need files that work when a video is cropped, captioned, looped, or viewed without relying on rapid color changes. Design one visual system that holds together across formats, but create a layout for each format instead of assuming a wide image can be cropped into shape.
<a id="set-up-each-frame-for-the-platform"></a>
Set up each frame for the platform
Keep titles, faces, and other focal subjects near the safe center, away from areas that may be cut off. Build separate 16:9, 9:16, and 1:1 layouts so the subject and text have space in horizontal, vertical, and square versions. For a looping social video, check that the opening and closing frames connect cleanly. A guide to vertical video dimensions by platform can help you check framing requirements before export.
YouTube classifies square or vertical uploads of up to three minutes as Shorts when uploaded after October 15, 2024. A five-minute story exceeds that duration limit and needs to be published as a standard video rather than a single Short. Square and vertical meet the aspect-ratio conditions YouTube names for Shorts; 16:9 remains useful for conventional widescreen video (YouTube's Shorts classification rules).
<a id="check-the-audio-motion-and-disclosure"></a>
Check the audio, motion, and disclosure
Generate the visualizer from the final mastered track, not an earlier mix. Check for leading silence and trailing reverb before rendering so that the first visual event doesn't feel late and the ending doesn't cut off awkwardly.
Keep flashes limited, use high-contrast text, and leave captions on screen long enough to read. Also make sure the video works for someone who can't rely on rapid color or motion changes. Captions and a calmer visual path make the content easier to follow without asking the visualizer to do all the communication.
If a generated scene realistically depicts a real person or event in a way that could change what viewers believe happened, YouTube requires an AI disclosure during upload and adds a label for viewers. Clearly unrealistic animation doesn't require that disclosure, and using AI to help write a script alone doesn't trigger it (YouTube's altered or synthetic content disclosure guidance). ClipNova offers three aspect ratios and captions as part of its finished-video workflow, which can support this multi-version pass.
<a id="publish-a-visualizer-you-can-stand-behind"></a>
Publish a Visualizer You Can Stand Behind
Before you post, play the mastered track once with the picture and once while watching only the beat and section markers. The first pass tells you whether the video holds attention. The second makes it easier to catch an event that lands late or a kick that triggers the same effect twice.
Check that the chorus carries the clearest visual change, while quiet sections remain readable. Confirm that captions and focal subjects stay inside the crop in your 16:9, 9:16, and 1:1 versions. If a piece runs five minutes, schedule it as a standard YouTube video rather than a single Short. If a realistic scene could mislead viewers about what happened, complete the platform's upload disclosure.
When a character's face or outfit drifts, fix that scene from its saved reference instead of rebuilding the whole song. For a graphic experiment, lock your band map and test an FFT size of 1024 or 2048. For a lyric, horror, faith, story, or series video that needs the same cast throughout the track, use a finished scene workflow with the script, scenes, voice, captions, and music together.
Your final choice should follow the job: a custom loop when motion is the message, or a sequence when the story needs room to unfold.
ClipNova makes finished long AI videos with recurring characters, with script, scenes, voiceover, captions, and background music in one pass. For a music-led story that needs a consistent visual world, visit ClipNova AI and make your first video at https://app.clipnova.io.
Ready to ship your own?
Start creating viral videos with AI in under twenty minutes, no credit card required.