
You've opened a screen recorder, cleared your desktop and clicked through the product. Now you've got a long recording, no obvious opening and a cursor that spends too much time searching for buttons. Turning that into something a buyer understands is the core production job.
Learning how to make a product demo video starts before recording. Choose the result the viewer needs to see, build a short story around it, then use screen capture or generated scenes according to what counts as proof.
Table of Contents
- Phases of a Product Demo Video and Their Time Cost
- How to Plan the Demo Around One Viewer Outcome
- How to Script a Demo as a Short Story
- Screen Recording, Templates or AI Scenes Compared
- Shots, Angles and Captions for Clear Demos
- Cut, Export, Test and Publish the First Demo
<a id="phases-of-a-product-demo-video-and-their-time-cost"></a>
Phases of a Product Demo Video and Their Time Cost
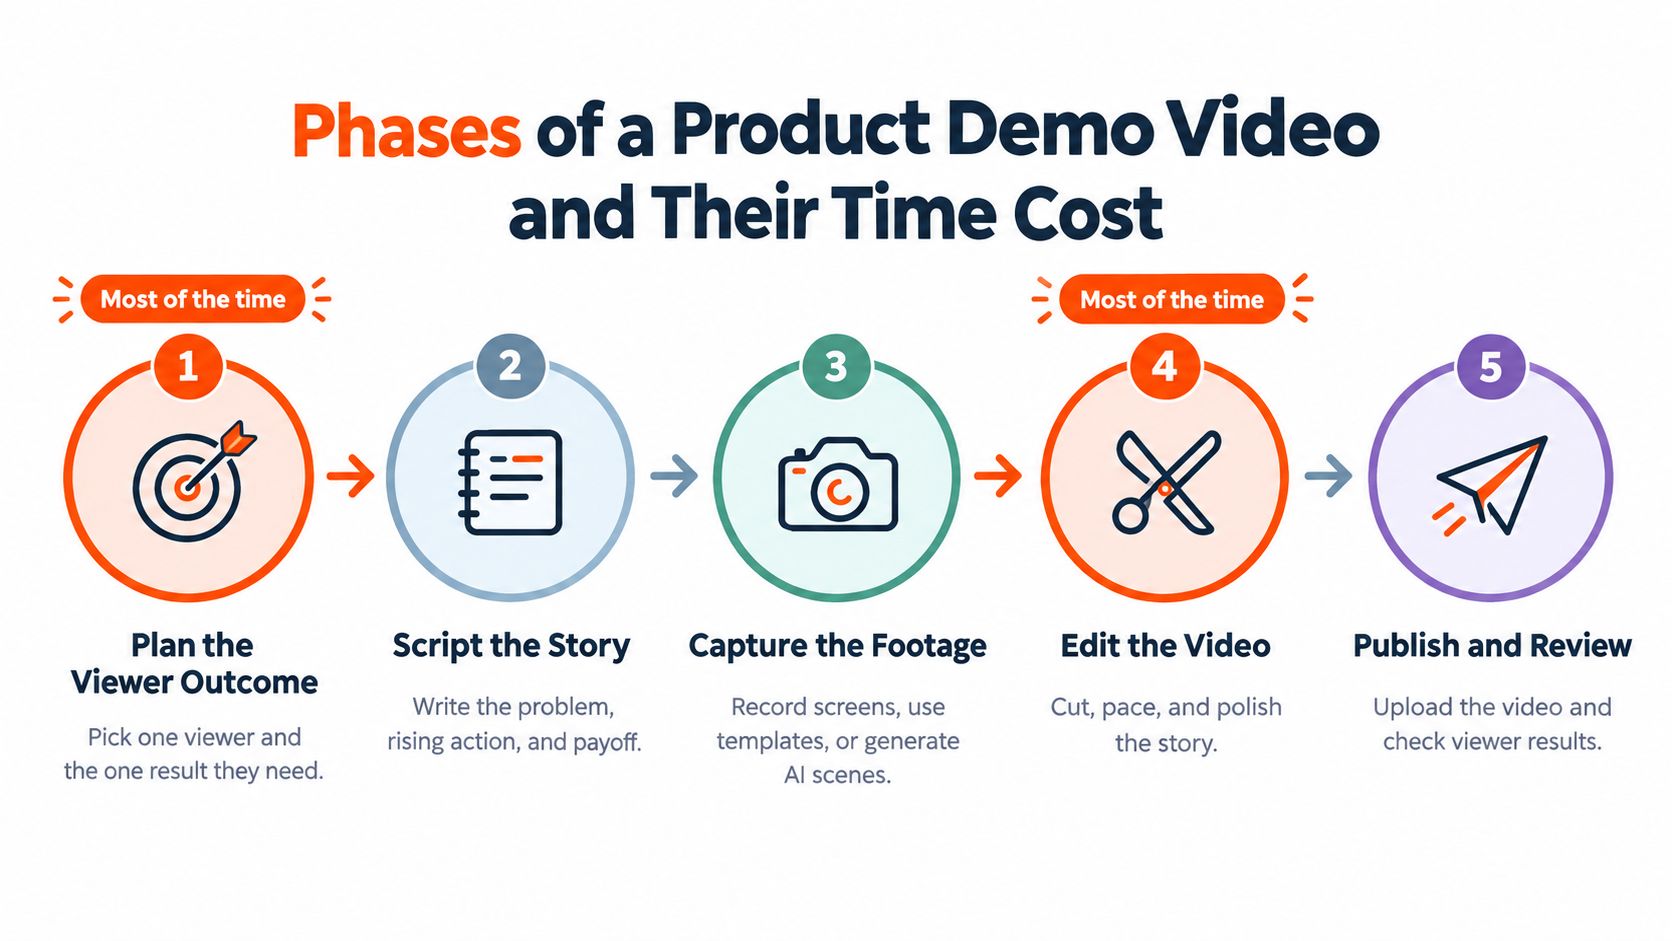
A product demo comes together in five phases: planning the viewer outcome, writing a timed script, capturing screens or generating scenes, editing the audio and visuals, then exporting and testing. Planning and editing usually deserve the most attention, even when capture looks like the main event.
Production phases, typical time and common slip
These are working estimates for a solo creator making a 60 to 90 second demo, not measured benchmarks. They assume a working product, available assets and no lengthy approval cycle.
| Phase | What You Produce | Typical Time | Common Slip |
|---|---|---|---|
| Planning | One-page brief with viewer, problem, outcome and actions | 1 to 2 hours | Starting with features instead of the outcome |
| Scripting | Timed scene list with voiceover lines | 1 to 2 hours | Narration that describes what the screen already shows |
| Capture or generation | Screen recordings or AI-generated scenes | 1 to 3 hours for screen capture, less for straightforward AI scenes | Recording the full interface when one panel would do |
| Editing and captions | Voiceover, captions, highlights and music mixed | 1 to 3 hours | Music louder than the narration |
| Export and testing | Final file in each aspect ratio, checked on a phone | 30 to 60 minutes | Desktop UI unreadable in a vertical crop |
Generation can shorten capture, but repeated scene corrections can erase that saving. Editing also takes longer when the script leaves the editor to discover the story.
The production sequence keeps those decisions separate.
In Wyzowl's 2025 research, based on 205 marketing professionals and online consumers surveyed in late 2024, 98% of consumers had watched an explainer video to learn about a product or service. The job is therefore comprehension: reduce uncertainty by showing the product in use, not by reading its feature list.
Production priority: Find the phase where your last demo lost the most time, and start the fix there.
<a id="how-to-plan-the-demo-around-one-viewer-outcome"></a>
How to Plan the Demo Around One Viewer Outcome
Planning decides what you need to show and what you can leave out. An explainer describes what a product does; a demo shows how it works in a realistic sequence.
In Dash's 2025 compilation citing Wyzowl, 48% of video marketers said they create product demos, while 87% of people reported buying a product after watching one. That makes a demonstration worth planning carefully, but it doesn't mean a purchase follows automatically.
Leave room to make the important decisions before opening an editor.
<a id="write-the-brief-before-the-script"></a>
Write the brief before the script
- Name a specific viewer. For example, choose a solo creator who wants to publish a three-minute story without assembling every shot manually. “Content creators” is too broad to guide your shot choices.
- Write the problem in their language. In this scenario, editing every episode consumes the time they need for writing. Keep that frustration separate from your product's proposed solution.
- Define a visible, measurable outcome. A hypothetical target could be a finished 60-second story with captions, produced in one session. Show the actual result; don't imply a production-time saving you haven't measured.
- Keep only the actions that produce it. For a ClipNova demo, follow an idea through saved-character selection, scene generation, a single-scene correction in Studio and publishing. Menus that don't affect that result stay out.
- Match the format to the decision. As a working plan, use a 45 to 60 second awareness cut for discovery and a longer workflow demonstration for someone comparing tools. The latter earns its extra runtime by answering practical objections.
<a id="decide-what-success-means"></a>
Decide what success means
For a sales-led demo, define the next buyer action before writing the CTA. PreSales Unleashed GmbH's guide to use demo KPIs to advance deals is a useful resource for connecting demonstration goals to deal progression rather than treating views as the outcome.
Avoid company history at the opening, every-menu walkthroughs and features presented in product-navigation order. Buyers need a path through their problem, not a map of your sidebar.
Copyable brief: Viewer | Problem | Outcome | Actions | Format | Runtime | Call to action
<a id="how-to-script-a-demo-as-a-short-story"></a>
How to Script a Demo as a Short Story
Say you're demonstrating a tool for making a weekly kids series. The viewer's concern isn't whether it can generate a bear. It's whether the bear will still look like the same character next week.
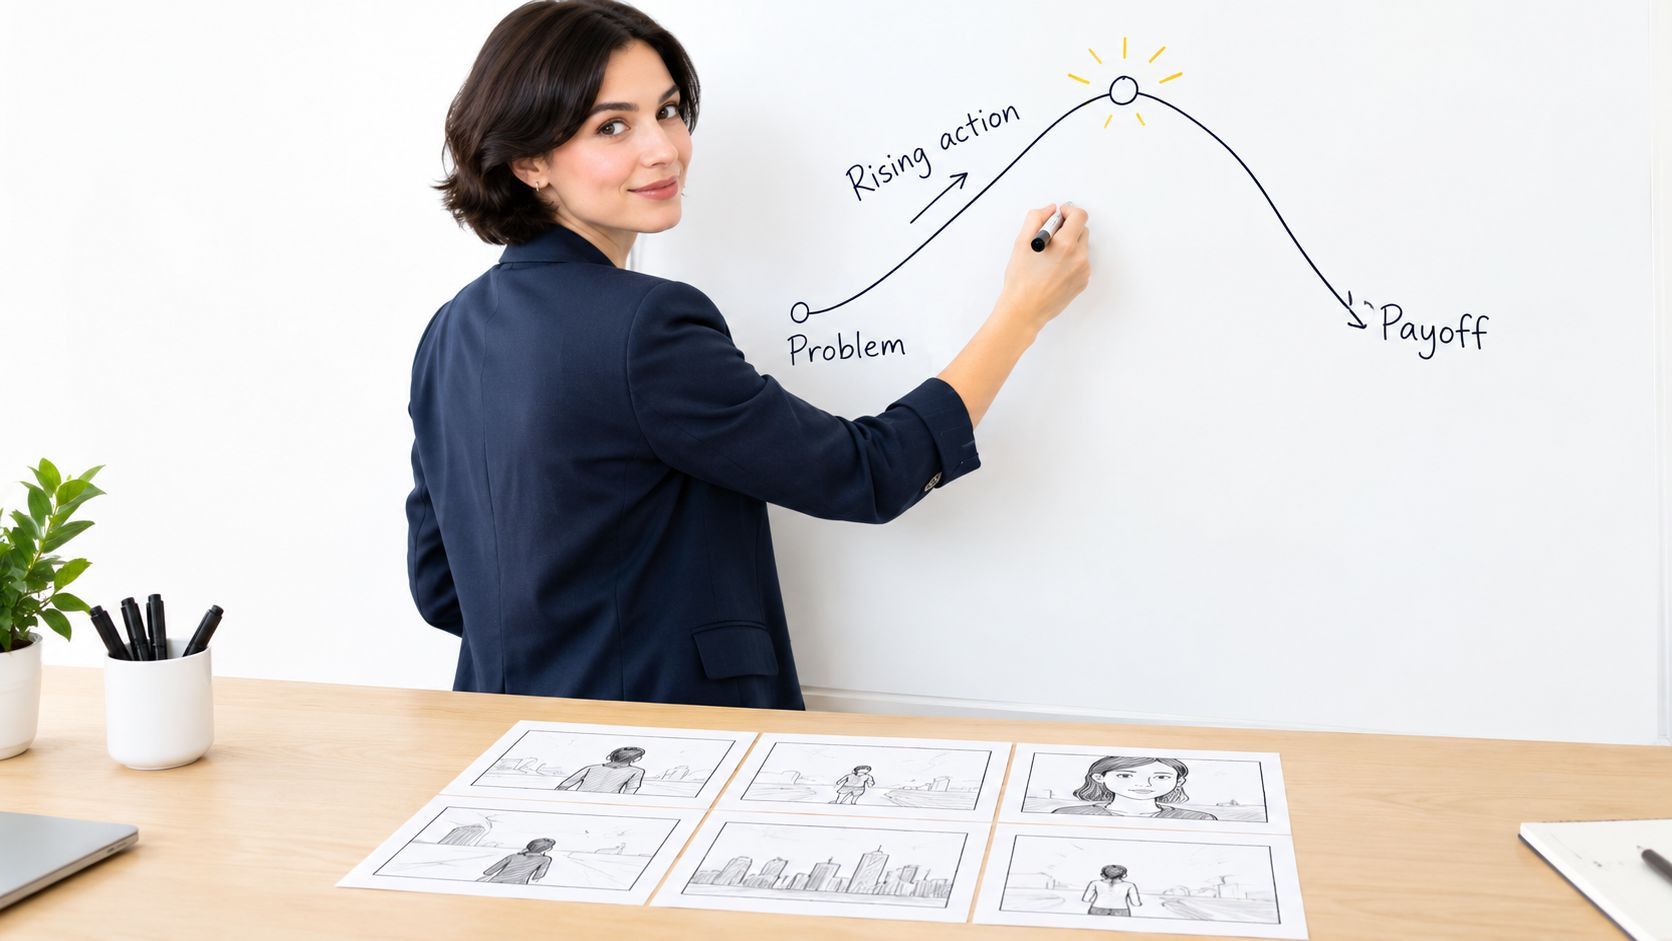
Sketch that question and its answer before writing polished narration.
Wistia reported that overall video engagement declined 7% in 2024, compared with a 10% decline for videos in the three-to-five-minute range. Those figures don't prescribe your runtime, but they reinforce the need to give viewers a reason to keep watching.
<a id="build-the-example-around-six-beats"></a>
Build the example around six beats
For a hypothetical 90-second demo, use this sequence:
- Problem. In the first five seconds, a parent asks for the same bear in every episode. Establish the continuity problem instead of announcing an AI feature.
- Starting point. Show the saved character and its locked appearance in a quick setup shot.
- Rising action. Choose the character, write the episode and generate. Each action should visibly move toward a publishable story.
- Realistic limitation. Let a scene need correction. Show the actual repair rather than pretending the first output never needs review.
- Payoff. Show the complete finished example, then a comparison of three episode results with the same bear. Don't conceal continuity behind rapid cuts.
- Next step. Ask the viewer to make their own recurring-character episode.
A product demo's tension can be modest: will the output preserve the character, handle the input or survive a correction? Resolving that question gives the sequence direction.
This embedded video is available to review alongside your storyboard.
<iframe width="100%" style="aspect-ratio: 16 / 9;" src="https://www.youtube.com/embed/Edj_zj4U_9s" frameborder="0" allow="autoplay; encrypted-media" allowfullscreen></iframe><a id="lock-the-timing-before-capture"></a>
Lock the timing before capture
For this worked example, budgeting narration at about 150 words per minute gives a 90-second script roughly 225 words. Treat that as a drafting allowance, not a quota: silent proof, readable results and pauses need space too.
Give every scene a timestamp, a narration line and a visual purpose. Read the script aloud while advancing through the storyboard; if the visual needs longer, shorten the sentence rather than speeding up the voice.
When choosing narration, compare pronunciation and delivery with the AI voiceover tools guide. Scene-level editing then lets you replace a confusing beat without rebuilding the whole narrative.
<a id="screen-recording-templates-or-ai-scenes-compared"></a>
Screen Recording, Templates or AI Scenes Compared
If viewers must see your real interface, record it. If they must follow a story with recurring characters, generate scenes. If they need a presenter explaining features, consider an avatar, and combine methods when the proof requires both.
Production methods for a product demo video
| Method | Best For | Main Limit | Setup Needed |
|---|---|---|---|
| Screen recording with voiceover | Real software workflows and interface detail | Shows only what the build currently does | Recording software, microphone, clean test account |
| Template editors (InVideo, Pictory) | Quick explainers built from stock clips | Stock footage rarely matches your product | Template choice and stock library |
| Clip generators (Runway, Kling, Veo, Hailuo) | Single striking shots for a sequence | You assemble the story, voice and captions yourself | One prompt per shot and an editor |
| Avatar tools (HeyGen, Synthesia) | A presenter explaining features to camera | The presenter does not show the workflow happening | Avatar choice and a finished script |
| ClipNova | Story-led demos with recurring characters and UGC-style scenes | Your real interface is not recorded, and each scene still needs your review | Script or idea, saved characters, format and length |
<a id="choose-proof-over-production-style"></a>
Choose proof over production style
A polished fictional dashboard can't prove that your software exports a report. Record the actual workflow, with a clean test account and deliberate cursor movement. For a physical product, use genuine footage when fit, texture or operation matters.
Generated scenes are useful for a customer scenario, an opening problem or the story output itself. Template footage can establish context quickly, but a generic warehouse doesn't demonstrate your inventory software.
These production choices require different preparation.
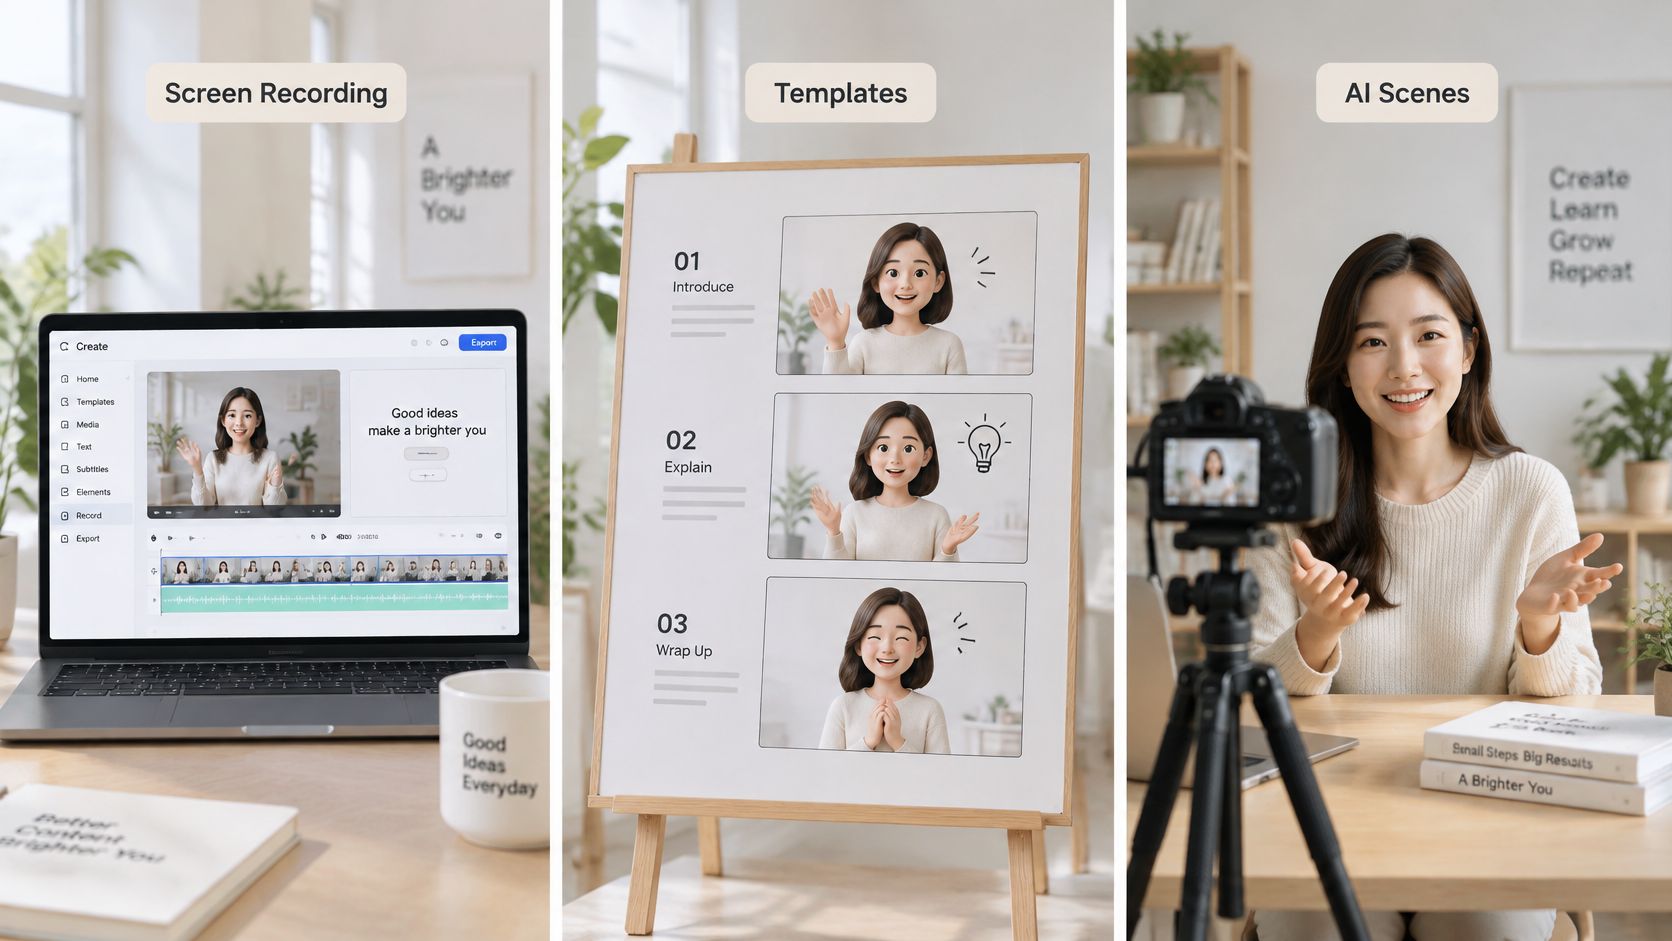
For a broader shortlist, PostSyncer's comparison of AI video generators for marketers can help you separate production categories before testing tools.
<a id="where-a-finished-story-workflow-fits"></a>
Where a finished-story workflow fits
ClipNova turns an idea or script into a finished video up to 5 minutes long at up to 1080p, with script, scenes, voiceover, captions and background music created in one pass. Saved characters retain the same face and outfit across scenes; Series supports a returning cast of up to 8 characters with story memory, and talking characters support lip sync.
Narration is available in 18 languages. The short-form workflow can take an idea to a finished video in under 5 minutes, automatically producing voiceover, visuals, B-roll and captions in 1080p, with an optional user-added music track.
Unlike shorts-only tools such as Revid, StoryShort and Zebracat, ClipNova supports longer stories. It doesn't record live software, though, and you still need to review every scene and product claim.
Generated production removes filming and much of the assembly work. It doesn't decide what your viewer needs to understand.
<a id="shots-angles-and-captions-for-clear-demos"></a>
Shots, Angles and Captions for Clear Demos
Wide establishing shot. Set the situation without lingering. In a hypothetical shot plan, allow two to four seconds for the creator's cluttered editing workspace before moving to the task.
Control close-up. Frame the exact control the narrator names. Keep enough surrounding interface visible to orient the viewer.
<a id="give-each-shot-a-job"></a>
Give each shot a job
Over-the-shoulder workflow. A planned four-to-eight-second passage can establish a realistic task. For software, direct screen capture is usually clearer than filming a monitor.
Character reaction. Use it for an emotional beat, such as frustration or relief, not as a substitute for product evidence.
Result card. In the same example, reserve three to five seconds for a readable result. Adjust the hold after watching it on a phone.
Instructional-video research published in PLOS ONE supports segmenting content and using visual signals to guide attention. Apply that by assigning each shot an action or outcome, aligning highlights with narration and demonstrating claims on screen.
<a id="make-captions-and-crops-usable"></a>
Make captions and crops usable
The Federal Communications Commission's captioning guide explains that captions provide access for people who are deaf or hard of hearing. They also help viewers watching without sound: match the spoken words, synchronize them with the voiceover and keep them readable against the scene.
Review automated captions for product names, numbers and technical terms. Use the guide to adding subtitles to a video when preparing the final caption layer.
Say the export button sits in a corner that disappears in a vertical crop. Reframe around the active panel instead of shrinking the entire desktop. Before recording, mask API keys, email addresses and client names in the test environment.
- Keep the action singular. Don't ask viewers to follow unrelated changes.
- Show the result first. Then explain the mechanism where needed.
- Stagger the layers. Avoid introducing narration, captions, music and interface movement simultaneously.
<a id="cut-export-test-and-publish-the-first-demo"></a>
Cut, Export, Test and Publish the First Demo
Build a 45 to 60 second master cut for broad awareness, with the product result visible in the first 15 seconds. Prepare a 90 to 180 second evaluation cut with chapters for setup, generation, editing and export when prospects need workflow detail.
Wistia's 2025 benchmark, reported by PR Newswire, puts average engagement at 50% for videos under one minute, 46% for one to three minutes and 45% for three to five minutes, and reports that CTAs in the first quarter of videos under 60 seconds convert nearly 40% of viewers. Use those as planning context, not promised results.
Aspect ratio, runtime and CTA placement by destination
| Destination | Aspect Ratio | Runtime Target | CTA Placement |
|---|---|---|---|
| YouTube Shorts, TikTok, Instagram Reels | 9:16 | 45 to 60 seconds | After the first demonstrated result, within the first quarter |
| YouTube, product page, presentation | 16:9 | 90 to 180 seconds with chapters | After the proof, with a chapter for the result |
| Feed or campaign placement needing a balanced layout | 1:1 | 45 to 60 seconds | After the result, with a single action |
| Prospect follow-up email or sales page | 16:9 | 90 to 180 seconds | Near the end, after the evaluation chapters |
These are recommended cut targets, not platform limits. Google's YouTube Shorts advertising guidance favors vertical 9:16 assets for that placement, so compose for the destination rather than placing widescreen footage inside an otherwise empty vertical canvas.
<a id="check-the-export-and-diagnose-the-response"></a>
Check the export and diagnose the response
Export burned-in captions or a reliable subtitle track. Test vertical, horizontal and square versions separately, confirm caption sync on a phone and check that the file is exported at 1080p.
Fix delayed proof by moving the result earlier. Lower music under speech, enlarge the active interface panel and remove competing calls to action. The guide to automating video editing can help with repeatable assembly tasks, but someone still needs to approve the output.
Track opening retention, quarter-point completion, CTA click-through and qualified inquiries by viewer segment. If viewers leave during the opening, rewrite the hook; if they leave during setup, shorten it; if completion is healthy but clicks are weak, test an earlier CTA.
Consensus's buyer-behavior report analyzed more than 6 million interactions with interactive demos, tours and simulations and associated repeated engagement with buying outcomes. That isn't evidence that repeat video views cause purchases, so also check whether inquiries show understanding.
For a pre-publication usability check, Uxia's synthetic testers for product teams are another resource to consider alongside real viewer feedback.
<a id="generate-and-revise-the-story-cut"></a>
Generate and revise the story cut
ClipNova's basic workflow is find your idea, write the script and generate the video. Plans start at $19/mo with commercial rights.
Open Series or AI Video Studio, choose one of 7 templates and add your cast. Pick AI Video or Moving AI Images, the aspect ratio and an episode length from 30 seconds to 5 minutes, then choose narration or talking characters, caption style and music.
Enter the episode idea, generate and review. Redo any weak individual scene in Studio rather than discarding the entire production.
Make your first video at app.clipnova.io.
ClipNova AI makes finished story videos with consistent characters, voiceover, captions and music, so you can concentrate on the demo's problem, progression and payoff. Visit ClipNova AI to turn your script or idea into a story-led demo, adding real screen capture wherever viewers need interface proof.
Ready to ship your own?
Start creating viral videos with AI in under twenty minutes, no credit card required.