
You need ten on-brand clips in four aspect ratios by Friday. The stock library has plenty of footage, but none of it shows your product in the right context, and commissioning a conventional shoot won't fit the deadline. You open an AI video tool, type a prompt, and get a beautiful first render that falls apart when the character changes clothes, the product label warps, or the voice no longer matches the cut.
That experience explains why how to create AI video is no longer just a prompt-writing question. The work is building a repeatable system for briefs, scene generation, editing, localization, and measurement. AI can help you produce more variations, but it can't decide which message deserves the budget or whether a flawed shot is safe for your brand.
Table of Contents
- The State of AI Video and What It Means for Your Workflow
- Planning Your AI Video Brief and Writing Prompts That Convert
- Choosing the Right AI Model and Visual Style
- Generating Visuals, Voiceover, Captions, and Music
- Editing, Resizing, and Exporting Publish-Ready Clips
- Testing Variants, Localizing, and Measuring Performance
- Your First AI Video Checklist
<a id="the-state-of-ai-video-and-what-it-means-for-your-workflow"></a>
The State of AI Video and What It Means for Your Workflow
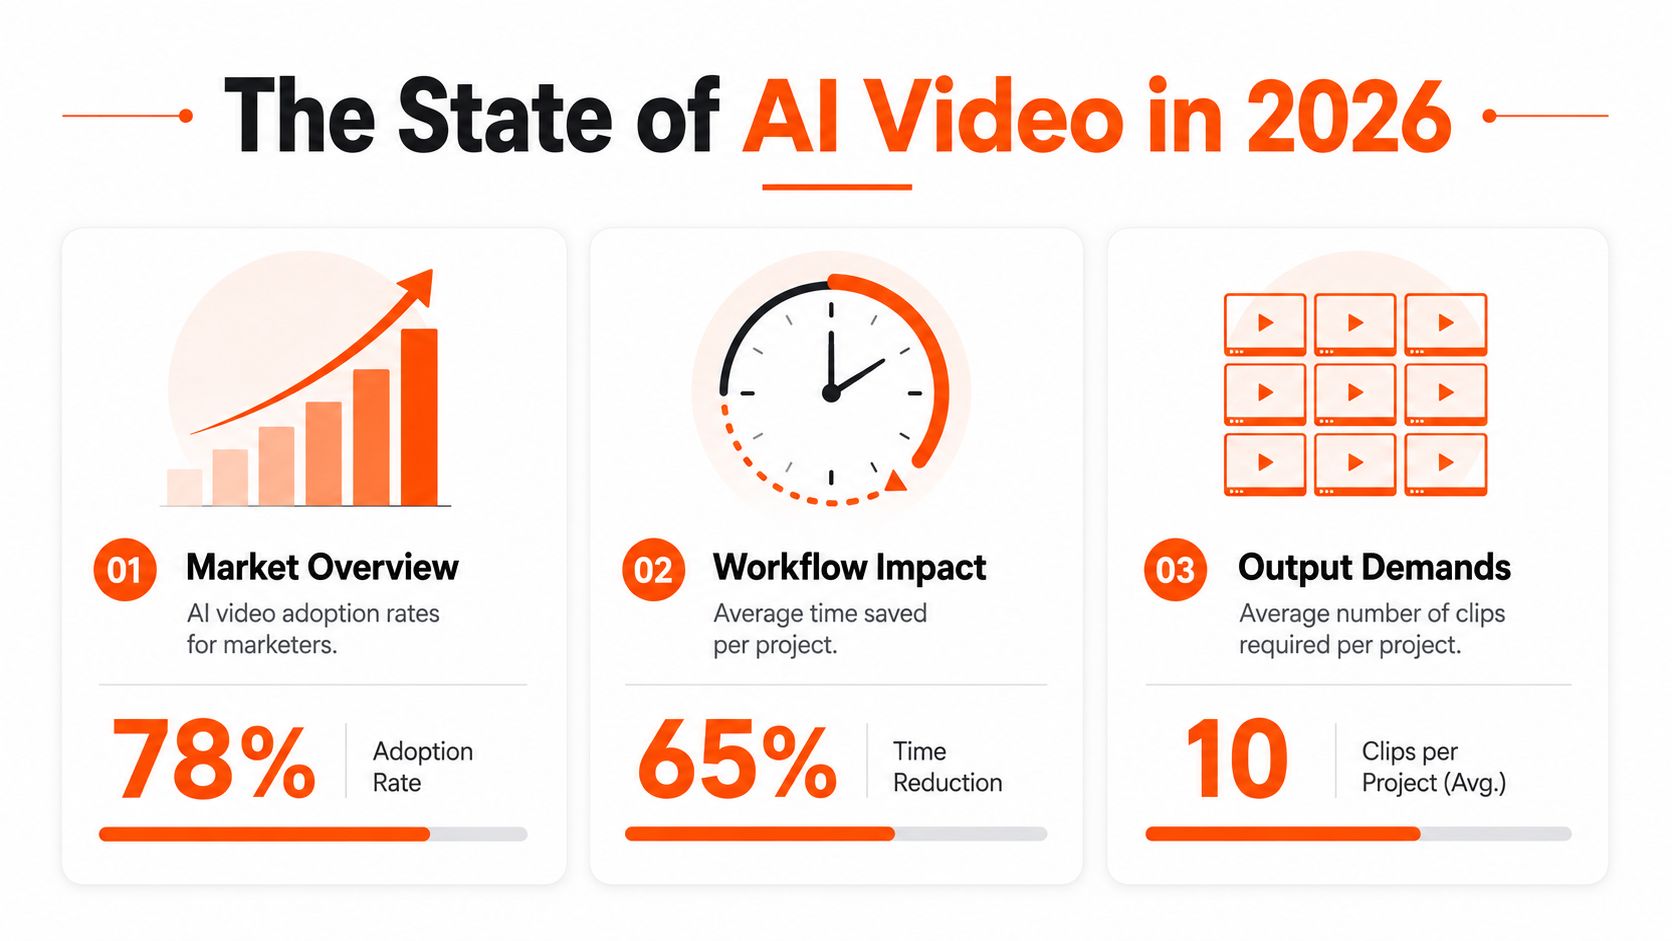
AI video has moved from an emerging niche into a substantial software category. One market estimate places the AI video generation market at approximately USD 788.5 million in 2025, with a projection of USD 3.44 billion by 2033 at a 20.3% CAGR, while broader estimates that include adjacent editing and production workflows place the platform market at roughly USD 6.2 billion in 2025. The difference comes from market definitions, but both estimates point to the same practical shift, teams are treating generation as part of production rather than as a novelty. The Grand View Research market overview also identifies Asia-Pacific as holding a 31% revenue share in 2025, reinforcing that this is a global workflow.
Generation speed has changed the operating rhythm too. Industry reporting describes typical text-to-video generation moving from 2 to 10 minutes in 2024, to about 30 seconds to 2 minutes in early 2025, and roughly 5 to 15 seconds for many operations by late 2025 (industry reporting on AI video generation). Faster renders make prompt iteration practical, but they don't remove the need for review.
<a id="match-the-capability-to-the-job"></a>
Match the capability to the job
Short cinematic clips are useful for mood, product atmosphere, and social hooks. Multi-shot generation can establish a rough narrative, but continuity still needs supervision. Talking avatars are practical for presenter-led explainers and recurring updates, while product demos work best when the product itself can be supplied as a clear reference and the critical details are edited manually.
The problems that still consume production time are character inconsistency, unstable physics, text rendering, audio sync drift, and limited control over longer sequences. Treat each generated shot as a component, not as a finished commercial.
Practical rule: Build a pipeline that includes the brief, prompt, model choice, generation, edit, resize, localization, and test. A single impressive render isn't a production system.
For marketers starting with the broader use case, this guide to make AI videos for marketing provides another practical entry point. The focus here is narrower and more operational, how to turn one approved concept into controlled variants across formats and languages.
<a id="planning-your-ai-video-brief-and-writing-prompts-that-convert"></a>
Planning Your AI Video Brief and Writing Prompts That Convert
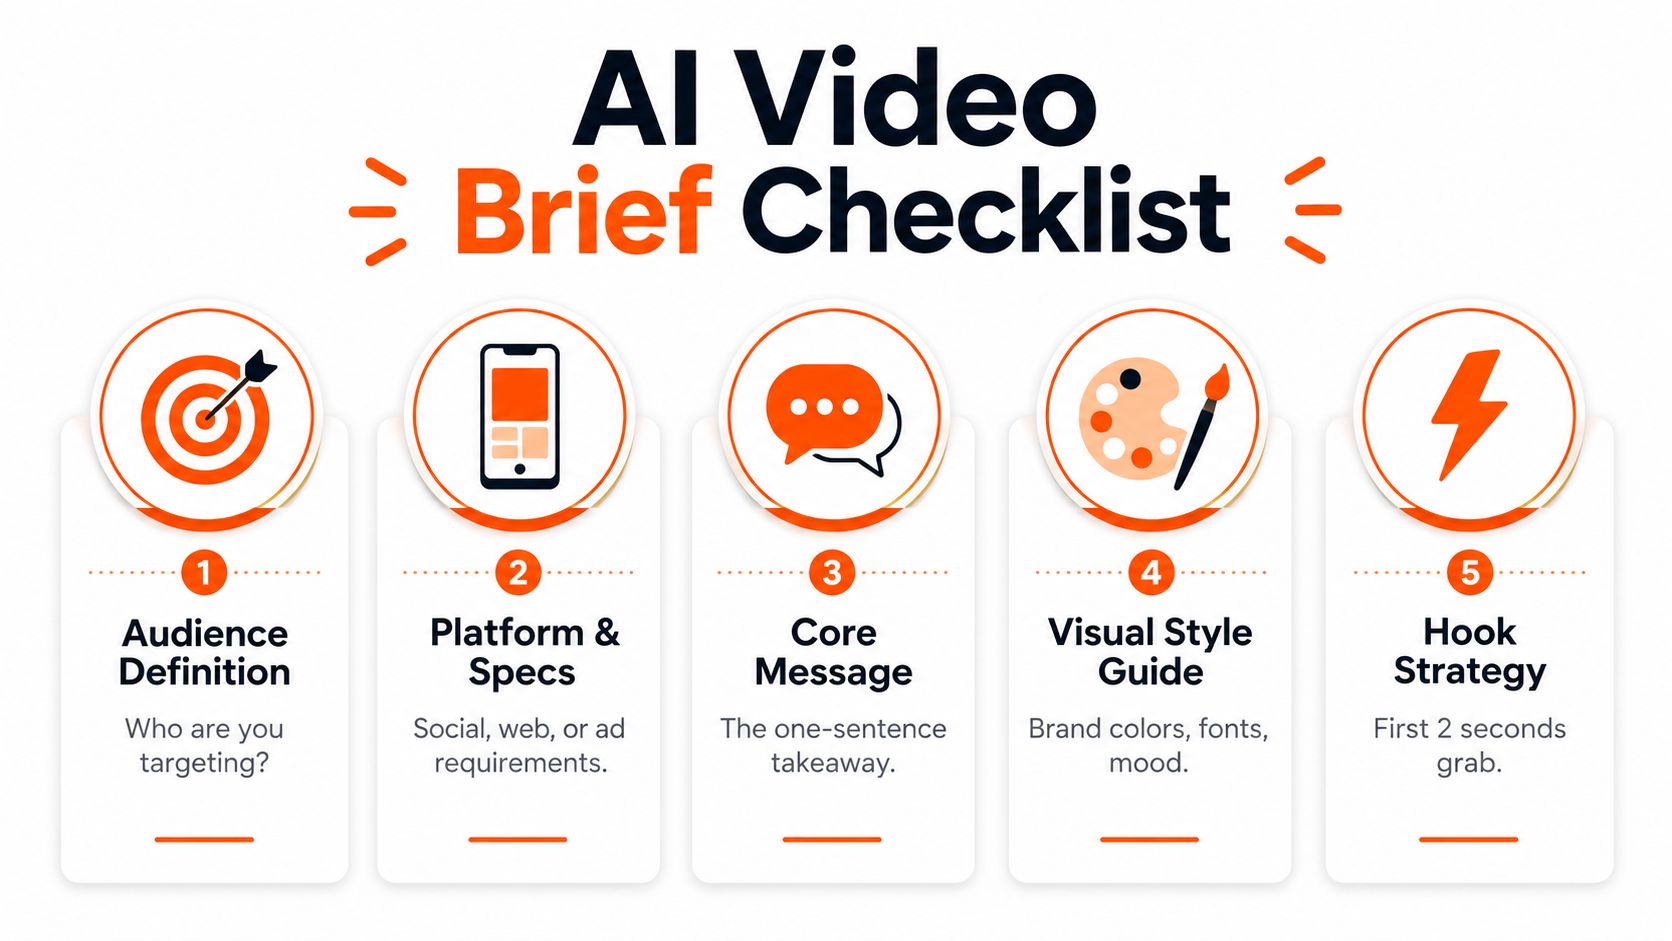
A weak brief produces attractive footage with no job to do. Before opening a generator, write a one-page brief that fixes the audience, platform, aspect ratio, duration, first hook, visual direction, and single core message. If the viewer can remember only one idea, decide what it is before the model starts improvising.
The hook deserves special treatment. For a paid social clip, the opening needs to create immediate context through a visual change, a clear statement, or a product problem. Don't ask the model to communicate five benefits in one sequence. Give it one promise, then let the edit support that promise.
<a id="use-a-prompt-with-visible-instructions"></a>
Use a prompt with visible instructions
A useful prompt describes what the viewer should see, not just the mood you want. Include these elements:
- Subject: Identify the person, product, or object precisely.
- Action: Use a visible verb, such as pours, opens, walks, turns, or compares.
- Setting: Specify the location, time of day, surfaces, and background activity.
- Camera: State the shot size, camera direction, movement, and point of focus.
- Look: Add lighting, color palette, lens character, texture, and mood.
- Restrictions: Ask for stable hands, readable composition, no extra objects, and no warped logos where relevant.
A product-demo pattern might read: “Close-up of a matte black travel bottle on a pale stone counter, a hand opens the lid and pours water, slow forward camera push, soft morning side light, clean commercial photography, muted blue and charcoal palette, stable product shape, no extra labels, no on-screen text.”
For a lifestyle scene, try: “Medium shot of a cyclist stopping beside a city park at sunrise, removes helmet and checks a compact phone, gentle handheld tracking movement, natural skin texture, warm backlight, realistic documentary style, calm and optimistic mood, consistent clothing, no distorted fingers.”
For a talking-head explainer: “Presenter seated at a simple desk, looks into camera and explains one practical benefit, locked medium framing, even key light, neutral background in brand colors, natural pauses, clear mouth movement, restrained hand gestures, no captions rendered inside the scene.”
The text-to-video prompt guide is useful when you need additional prompt structure without turning every instruction into vague visual adjectives.
<a id="run-prompt-quality-control"></a>
Run prompt quality control
Ask three questions before rendering:
- Can the main verb be seen?
- Is the environment specific enough to constrain the scene?
- Do the camera direction, subject action, and style cues agree?
Generate three variants, score each against the brief, and revise the language that helped the strongest version. Once one structure works, lock it as a campaign template instead of rewriting every prompt from scratch.
<a id="choosing-the-right-ai-model-and-visual-style"></a>
Choosing the Right AI Model and Visual Style
Model selection should follow the brief, not a leaderboard. Different systems perform differently on realism, motion, controllability, and prompt adherence. Open benchmark work illustrates that separation, with LanDiff reaching 85.43 on the VBench text-to-video benchmark and reported as outperforming several open and commercial systems in that test (the LanDiff benchmark paper). A separate Artificial Analysis ranking placed Runway Gen-4.5 at 1,247 Elo, Google Veo 3 at 1,226, Kling 2.5 at 1,225, and OpenAI Sora 2 Pro at 1,206. Those results don't identify one universal winner. They show why you should test the same prompt across model families.
| Model Family | Strengths | Weak Spots | Best For |
|---|---|---|---|
| Photoreal cinematic | Natural environments, product atmosphere, lifestyle motion | Hands, small text, continuity across shots | Product launches, social ads, branded B-roll |
| Illustrated and 2D | Consistent graphic language, controlled palettes, explainers | Realistic physics, nuanced facial motion | Education, onboarding, brand-safe concepts |
| 3D and stylized | Bold composition, unusual worlds, strong visual identity | Fine product detail, complex interactions | Attention-led ads and entertainment |
| Avatar and talking-head | Script delivery, repeatable framing, presenter formats | Lip sync, emotional range, uncanny gestures | Tutorials, announcements, sales explainers |
Photoreal models benefit from shot-specific instructions, such as “locked-off close-up” or “slow lateral dolly,” rather than a broad request for cinematic footage. Illustrated systems respond better to palette, line weight, and shape language. Avatar tools need a script written for speech, with short clauses and deliberate pauses.
Use camera type, lens length, lighting setup, color palette, and reference images as control inputs, not decoration. If style matters more than realism, a 2D or 3D workflow may give you better brand consistency than an unstable photoreal scene. A practical Thumbo AI design tool guide can help when the visual system needs to be defined before production begins.
The same principle applies to broader cinematic workflows. An AI movie maker guide is useful for understanding multi-scene construction, but a campaign asset still needs shot-level review. Choose the least expensive model that reliably reaches your quality bar. Premium access won't rescue an unclear brief, and a cheaper model may be the right choice for background variations that never carry the message.
<a id="generating-visuals-voiceover-captions-and-music"></a>
Generating Visuals, Voiceover, Captions, and Music
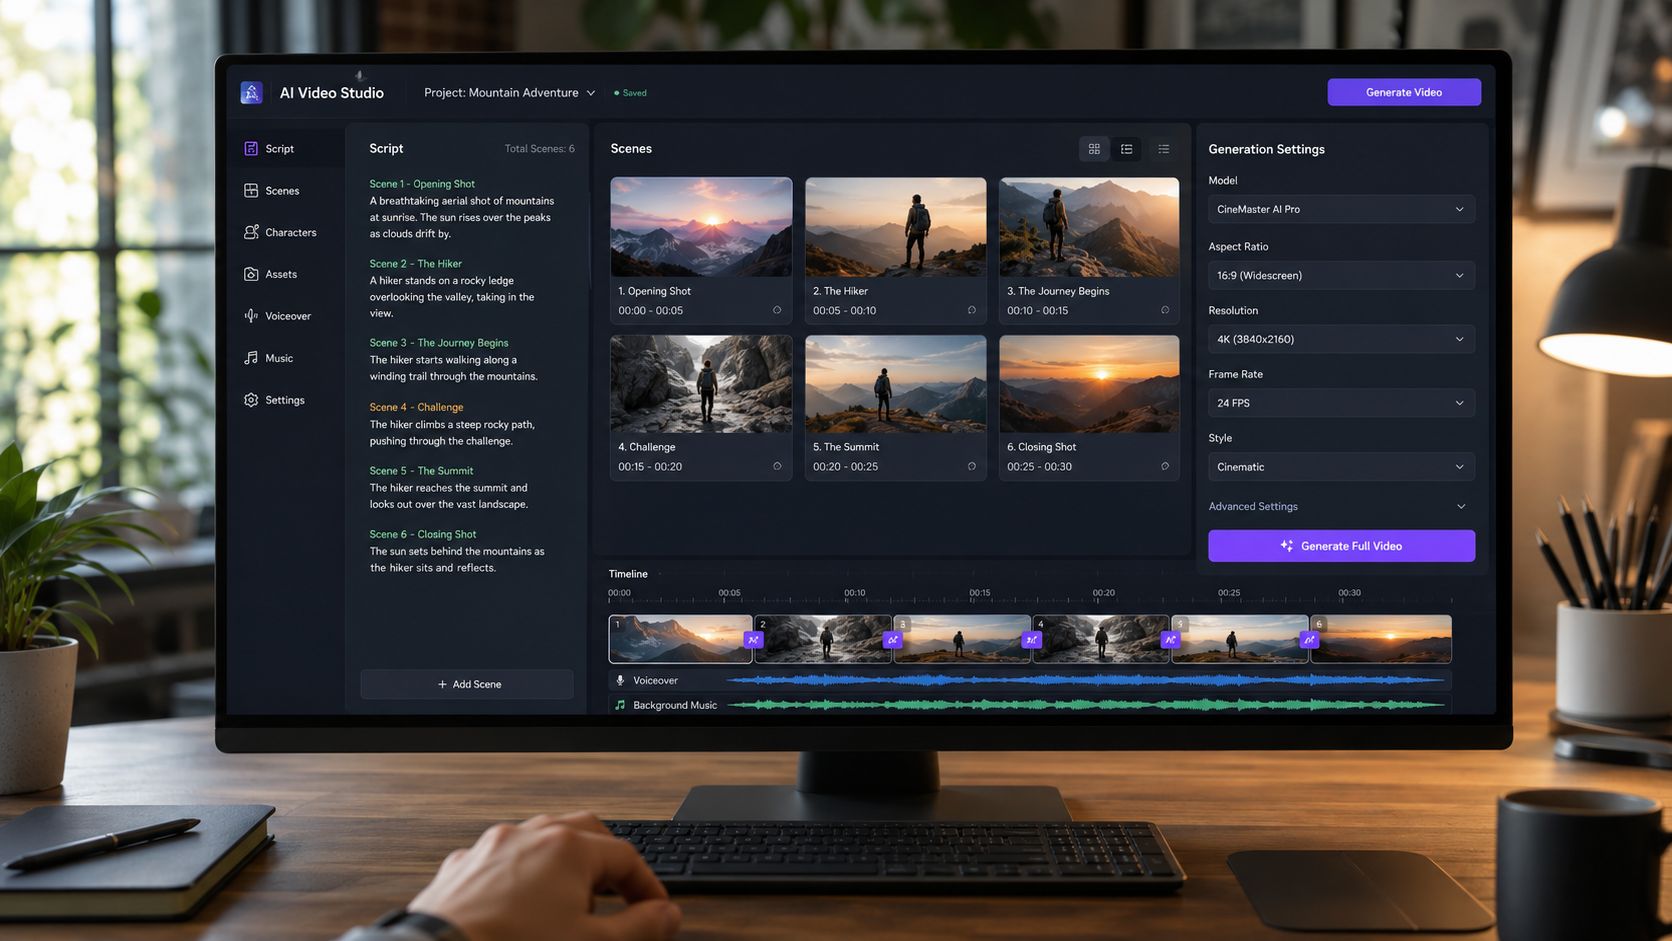
Generation works best as a staged review process inside one studio, not as six disconnected browser tabs. Start with the approved brief and divide the script into beats. Each beat should have a purpose, such as introducing the problem, showing the product, proving the benefit, or closing with the action.
Review the automatic scene breakdown before spending compute. Check whether the camera movement matches the intended action, whether the same person or product appears consistently, and whether motion is strong enough to survive a crop. Weak scene boundaries create weak edits, so fix the plan before rendering.
<a id="treat-each-layer-as-a-separate-review"></a>
Treat each layer as a separate review
Generate two or three prompt rewrites for a difficult shot. Change one meaningful variable at a time, such as camera movement, subject action, or lighting. Decorative sliders rarely solve a broken action description. The controls that matter most are the ones that affect subject identity, motion, framing, reference strength, and scene duration.
Add voiceover after the visual rhythm is usable. Select a voice profile that fits the script's authority and pace, then check whether the spoken line ends before the shot does. If the narration runs long, shorten the copy before stretching the visual with artificial pauses.
Captions come next. Automatic captions save time, but they still need a pass for product names, technical terms, punctuation, and line breaks. Don't trust text generated inside the image model for essential information. Add brand typography during editing, where you can control spelling and placement.
Music should support the voice rather than compete with it. Choose a track with a compatible energy level and lower it under dialogue through ducking or manual keyframes. For voice-specific workflows, this AI voiceover tools resource offers a useful way to compare approaches before you commit to a voice system.
A single workspace such as ClipNova can combine scripting, visuals, voiceover, captions, music, and export variants, while dedicated tools may offer deeper control over one layer. The trade-off is convenience versus specialist control. Keep the studio workflow for speed, then move only the shots that need advanced treatment into a conventional editor.
<a id="editing-resizing-and-exporting-publish-ready-clips"></a>
Editing, Resizing, and Exporting Publish-Ready Clips
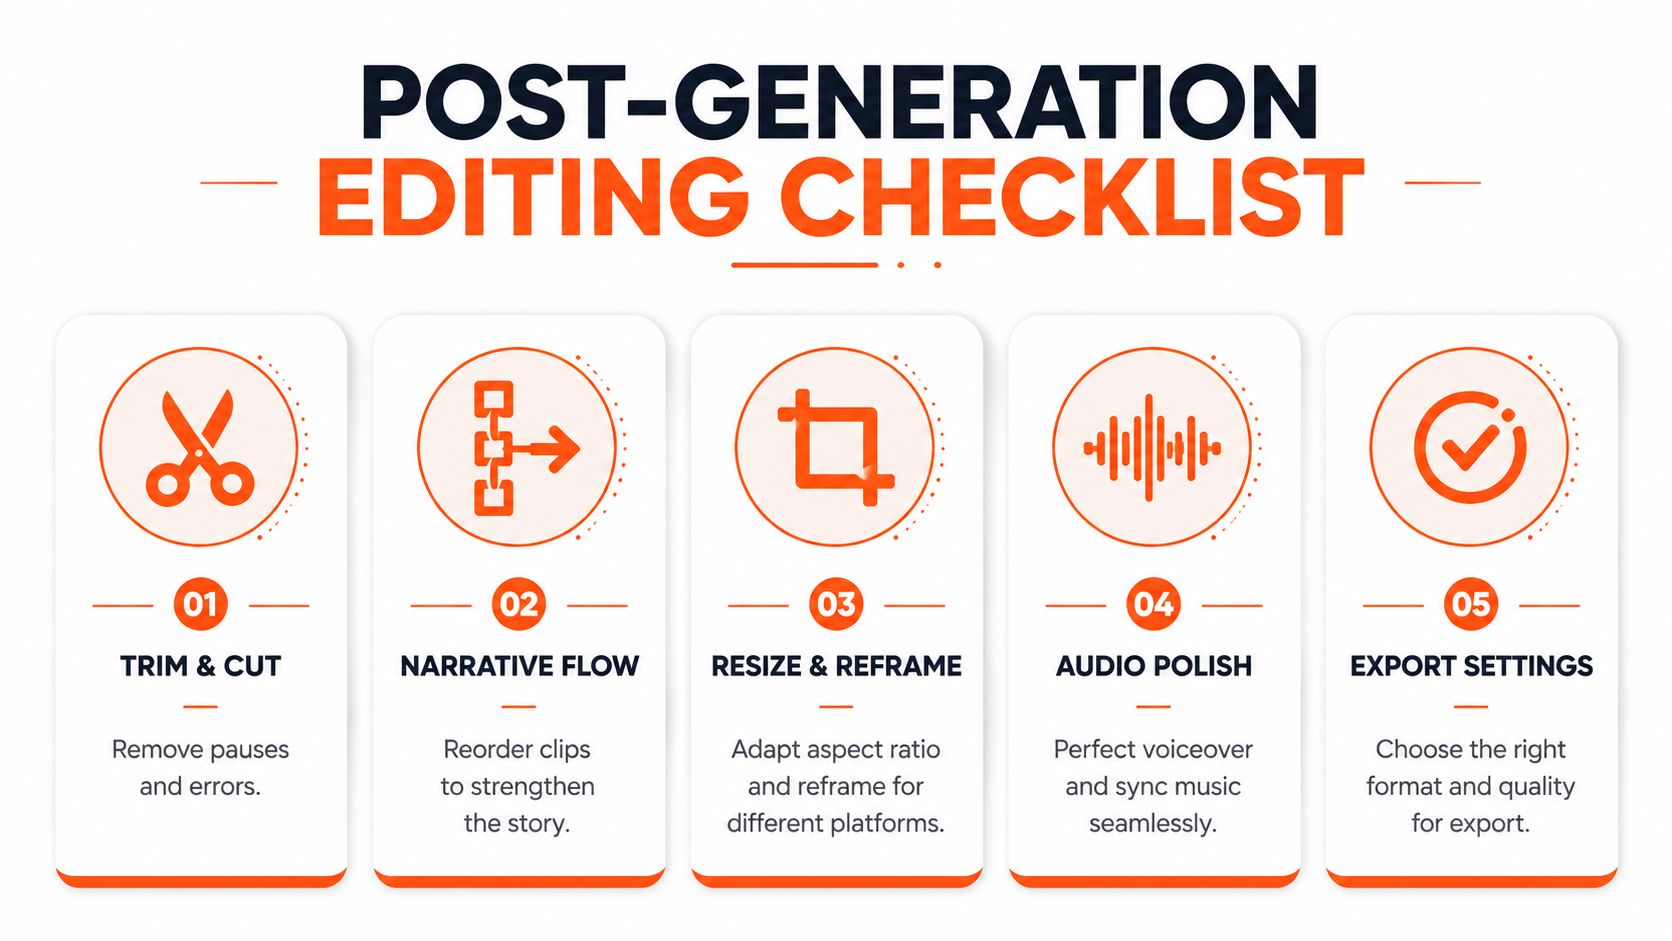
Raw generation is not a finished video. Start by trimming every pause, failed gesture, and continuity break. Cut to the natural rhythm of the narration, then reorder scenes so the strongest visual or clearest benefit arrives where attention is most vulnerable.
Keep the timeline visually coherent. Match color temperature, contrast, and grain across clips, because mismatched generations look like a collection of demos. If one shot needs extensive repair, replace it rather than building an elaborate correction around a weak source.
<a id="reframe-for-the-viewer-not-the-canvas"></a>
Reframe for the viewer, not the canvas
Create separate compositions for 9:16, 1:1, and 16:9. Auto-reframe can provide a first pass, but it often crops the face, product, or text at the wrong moment. Re-center the subject manually, adjust caption placement, and check that the visual hierarchy still works in every format.
Keep important details away from interface areas and platform overlays. Captions should remain readable against the background, and the thumbnail frame should communicate the subject without relying on motion.
<a id="complete-the-export-check"></a>
Complete the export check
Use a high-quality H.264 master for broad compatibility, then create destination-specific versions where the platform or campaign requires them. A lighter export may be appropriate for paid placements, while a higher-quality master preserves flexibility for later edits.
Before publishing, check:
- Audio: Dialogue is clear, music sits underneath it, and no shot begins with an accidental burst.
- Captions: Words match the voiceover, timing follows speech, and brand terms are spelled correctly.
- Visual continuity: Product shape, wardrobe, lighting, and screen direction don't jump between cuts.
- Thumbnail: The selected preview frame isn't blurry, closed-eyed, or visually empty.
- Call to action: The final instruction remains visible long enough to understand.
<a id="testing-variants-localizing-and-measuring-performance"></a>
Testing Variants, Localizing, and Measuring Performance
A generated video earns its place through results, not through how impressive the render looks in the editor. Define the question before launch. Hook rate tells you whether the opening earns attention, completion rate shows whether the structure holds it, click-through measures response, cost per view reflects efficiency, and attributed conversions connect the asset to business value.
Create variants that isolate one variable. Change the opening while preserving the body, or change caption treatment while preserving the voiceover. If you alter the hook, music, framing, and offer simultaneously, you won't know what caused the result.
Benchmarking can improve the review before distribution. Video-Bench focuses on human-aligned evaluation, while VBench-2.0 examines dimensions including human fidelity, controllability, creativity, physics, and commonsense (the VBench-2.0 research paper). Use those dimensions as a production scorecard. A clip can look polished and still fail because the action is physically wrong or the prompt wasn't followed.
| Metric | Human-Made Control | AI Variant A | AI Variant B | AI Variant C |
|---|---|---|---|---|
| Hook rate | Record baseline | Record result | Record result | Record result |
| Completion rate | Record baseline | Record result | Record result | Record result |
| Click-through rate | Record baseline | Record result | Record result | Record result |
| Cost per view | Record baseline | Record result | Record result | Record result |
| Attributed conversions | Record baseline | Record result | Record result | Record result |
| Production time | Log actual time | Log actual time | Log actual time | Log actual time |
| Reuse across campaigns | Record reuse | Record reuse | Record reuse | Record reuse |
Localization isn't a find-and-replace task. Replace on-screen text, regenerate voiceover for the target language, and have a reviewer assess cultural context, pronunciation, pacing, and visual suitability. Industry reporting describes brands applying AI particularly in pre-production and post-production, including scripting, captions, dubbing, and visual generation, rather than automating every stage end to end. The same reporting notes that over 60% of brands use or plan to use AI captions (industry coverage of generative AI video adoption).
Track production time, cost per finished minute, performance against the human control, and reuse rate. Retire weak variants quickly, preserve the winning template, and feed the learning into the next batch.
<a id="your-first-ai-video-checklist"></a>
Your First AI Video Checklist
Start on Monday with the brief, not the generator. Write the audience, platform, format, message, hook, and approval owner in one place. Then save a prompt template with fixed brand language and editable fields for subject, action, setting, and camera movement.
Use this sequence:
- Audit the brief: Remove competing messages and confirm the target format.
- Lock the prompt: Keep the structure stable and change only the variable you need to test.
- Choose a primary model: Select a fallback based on the specific failure mode, such as motion, realism, or presenter delivery.
- Render a small test: Generate a short proof of the hardest shot before committing meaningful credits or building the full sequence.
- Approve the visual pass: Review continuity, framing, product accuracy, and readable composition.
- Add audio layers: Generate voiceover, captions, and music from the approved cut, then correct names and pacing.
- Build compositions together: Prepare vertical and horizontal versions from the same approved concept, but re-center subjects manually.
- Name files clearly: Use tags for campaign, concept, variant, aspect ratio, and locale so nobody publishes the wrong export.
- Compare against a control: Test the first AI cut against a human-made version using the same defined success metrics.
- Keep the reusable assets: Store the winning prompt, voice profile, caption style, reference images, and edit decisions in the campaign folder.
Two traps deserve a final warning. Never ship an AI clip without captions for feeds where viewers may watch with sound off, and never skip the thumbnail-frame check because a strong video can still lose the scroll when its preview image is blurred or poorly framed.
The operational target isn't one perfect video. It's a dependable weekly cadence in which one approved concept produces three to five optimized variants, each labeled, localized, resized, reviewed, and measured. That system turns faster generation into a real production advantage.
ClipNova brings scripting, AI visuals, voiceover, captions, music, localization, and multi-aspect exports into one studio workflow for short-form production. If you want to test a repeatable variant pipeline without rebuilding every layer in separate tools, visit ClipNova and start with one brief, one model, and a controlled set of exports.
Ready to ship your own?
Start creating viral videos with AI in under twenty minutes, no credit card required.