
In 2023, 254% more businesses captioned their videos than in 2022, according to Wistia's State of Video Report. That reframes how to create a highlight video: the edit isn't finished when the cuts match the music. Viewers also need to understand the moment without sound, recognize why it matters, and see it in a frame that fits their screen.
A strong highlight is a small story, not a collection of exciting shots. Choose its length before selecting clips, clear the material before building around it, and make the action understandable before adding polish.
Table of Contents
- Choose a Runtime Before You Cut
- Clear Footage and Music Rights
- Assemble the Highlight in Six Moves
- Pace the Cuts and Fit the Music
- Make the Highlight Work on Mute
- Export the Right Frame and Publish
<a id="choose-a-runtime-before-you-cut"></a>
Choose a Runtime Before You Cut
Highlight length by destination
Treat these as starting briefs for an edit, not platform limits or promises of better performance. The social teaser is a hypothetical production target; choose a shorter or longer cut when the action requires it.
| Destination | Target length | Open with |
|---|---|---|
| Social teaser | Try a 15–30-second draft | Payoff immediately |
| Short highlight | A compact, single-beat cut | One clear story beat |
| Event recap | Enough time for context and consequence | Hook, brief context, then payoff |
| YouTube or site cut | A complete but tightly trimmed sequence | Full sequence with pauses removed |
Pick the destination before logging footage. Someone discovering a clip in a feed needs a different introduction from someone deliberately watching an event recap on your website.
For a marketing-oriented starting point, HubSpot's video-marketing survey found that 42% of surveyed marketers in 2024 considered 21–30 seconds optimal, while 32% preferred 31–60 seconds. Those are marketers' preferences, not a rule that every sports play, performance, or demonstration must fit that window.
<a id="choose-the-shortest-complete-story"></a>
Choose the shortest complete story
Write a runtime target in the sequence name or place an end marker on the timeline. You can change it, but having a boundary makes selection more deliberate. Otherwise, every attractive clip becomes another reason to extend the edit.
Use the footage to decide what earns that time:
- An isolated achievement: Keep the attempt, the decisive action, and enough aftermath to establish the result.
- A transformation: Show the starting condition and the finished result, with only the process needed to connect them.
- An event recap: Include distinct moments that explain what happened, rather than several versions of the same reaction.
- A performance excerpt: Preserve the phrase or movement that makes the moment satisfying instead of cutting at an arbitrary timestamp.
The relationship between duration and viewing deserves attention, but context matters. An educational-video review hosted by Washington and Lee University describes an analysis of 6.9 million viewing sessions across four edX MOOCs in which videos shorter than 6 minutes achieved median engagement close to 100%.
Don't turn that educational finding into an entertainment runtime formula. Use it as a reason to question unnecessary duration, not as permission to fill every available minute.
<a id="separate-stories-instead-of-squeezing-them-together"></a>
Separate stories instead of squeezing them together
Say you're editing a concert. The crowd's anticipation, the solo, and the encore might each deserve a focused highlight. Combining them can weaken all of them if the viewer can't tell which moment the video is building toward.
Editing boundary: Keep what changes the viewer's understanding or feeling. Remove what merely proves more footage exists.
Build a beginning, an escalation, and a payoff within the chosen boundary. If essential context won't fit, either narrow the story or make a longer version intentionally.
<a id="clear-footage-and-music-rights"></a>
Clear Footage and Music Rights
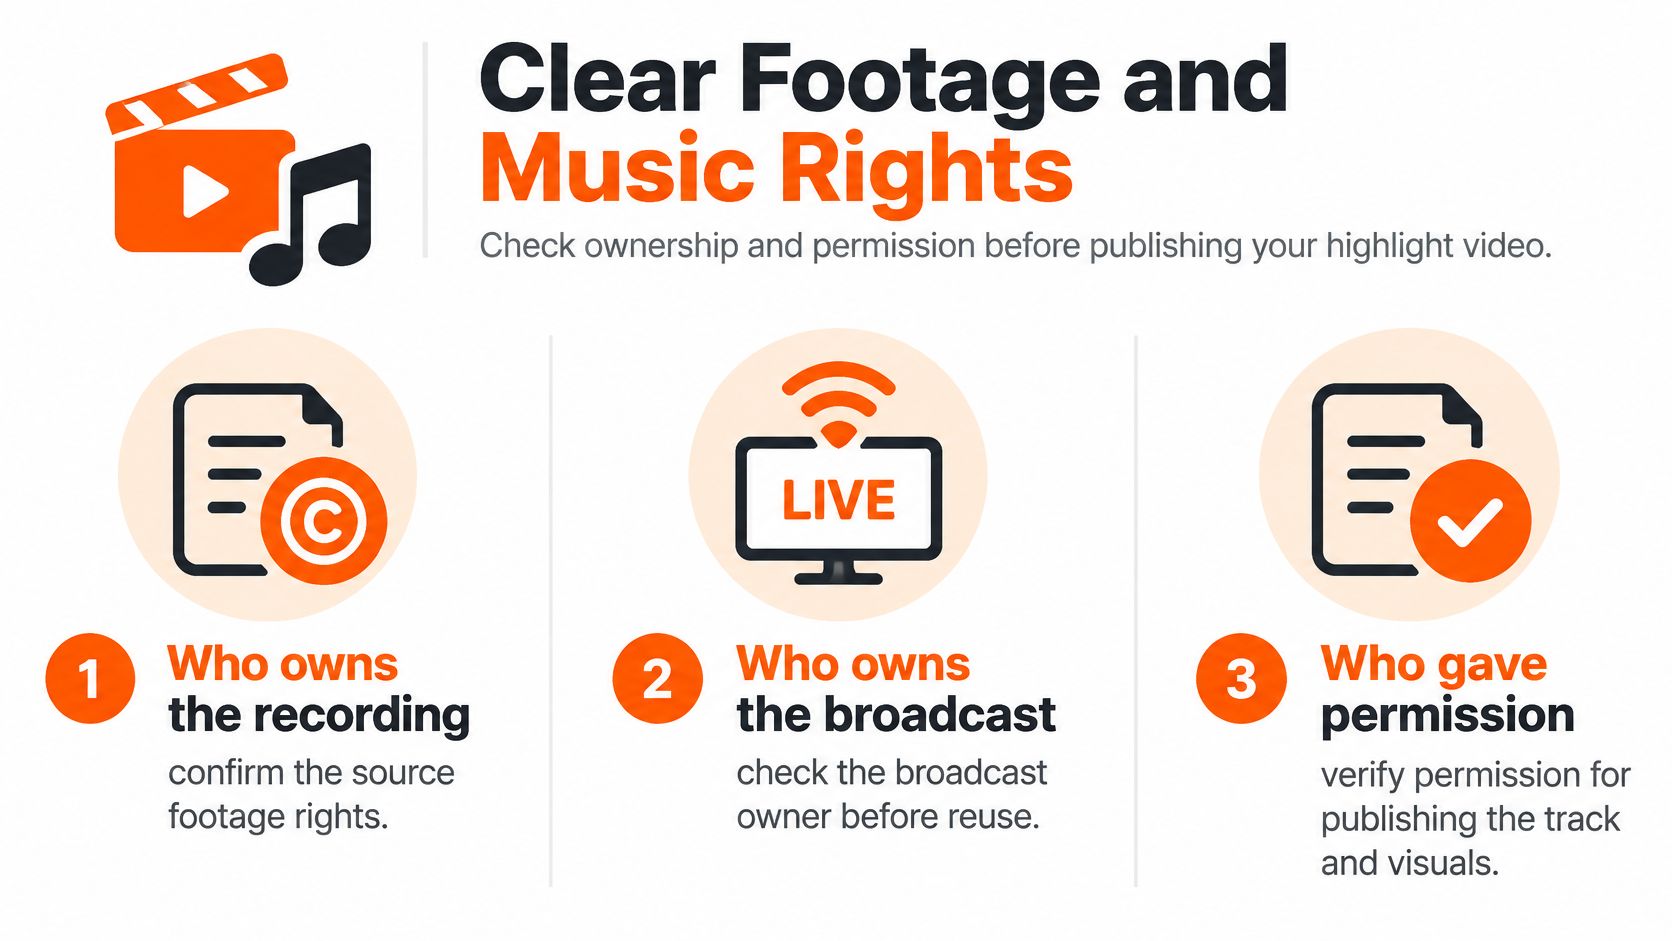
An attractive clip can become the most expensive part of an edit if you discover late that you can't publish it. Don't build your opening around broadcast footage, a fan submission, or a familiar song until you know what permission covers the intended use.
Owning a file isn't the same as owning every right within it. You may have recorded a performance yourself while someone else controls relevant performance, venue, broadcast, or music permissions.
<a id="match-permission-to-the-footage"></a>
Match permission to the footage
The NCAA footage usage and licensing document states that the NCAA retains exclusive rights to championship audio and video and prohibits online highlight distribution without written permission. Being able to download a championship clip doesn't establish permission to reuse it.
What to clear before a highlight goes live
| Footage situation | What you may not own | Permission to get |
|---|---|---|
| Your recording of a public event | Performance, venue, or league rights | Relevant releases plus confirmation of venue or league rules |
| Broadcast or championship footage | The broadcast and event rights | Written permission covering online distribution |
| User-submitted clips | Music, logos, and likeness in the clip | A documented chain of permission |
| Added music or score | The composition and the recording | A license matching the intended editorial or commercial use |
These are clearance questions, not a claim that every visible logo or person automatically requires the same release. The answer can change with the jurisdiction, the use, and the agreements already in place.
For a promotional reel, identify whose likeness appears and determine whether releases are needed. For submitted footage, ask who recorded it and whether the submitter can authorize your intended publication. Credit alone doesn't replace permission.
<a id="keep-a-clearance-record-with-the-project"></a>
Keep a clearance record with the project
Create a rights log while you review the source material. Give each candidate clip a status such as cleared, awaiting permission, or excluded, and keep uncertain clips out of publishable sequences.
Record:
- The rights holder: Name the person or organization authorizing the material.
- The permitted use: Note whether approval covers editorial publication, advertising, sponsored content, or another specific purpose.
- The distribution scope: Capture any restrictions on channels, territories, duration, or modifications.
- The evidence: Save the agreement, release, license, or approval message beside the project.
Music needs its own check, including music already audible in the recording. If you're considering generated visuals or music, the AI video copyright guidance from AIMVG is a useful companion resource for identifying questions to resolve before publication.
Don't assume that a short excerpt automatically qualifies for fair use, or that a US legal concept applies worldwide. Where ownership or an exception is uncertain, get jurisdiction-specific legal advice rather than treating an editing decision as a legal conclusion.
If a clip can't be cleared, replace it before refining transitions and captions. That keeps an unresolved rights problem from spreading into every export.
<a id="assemble-the-highlight-in-six-moves"></a>
Assemble the Highlight in Six Moves
Start with the decisive moment, even if it occurs near the end of the recording. You're looking for the event that gives the rest of the sequence a purpose.
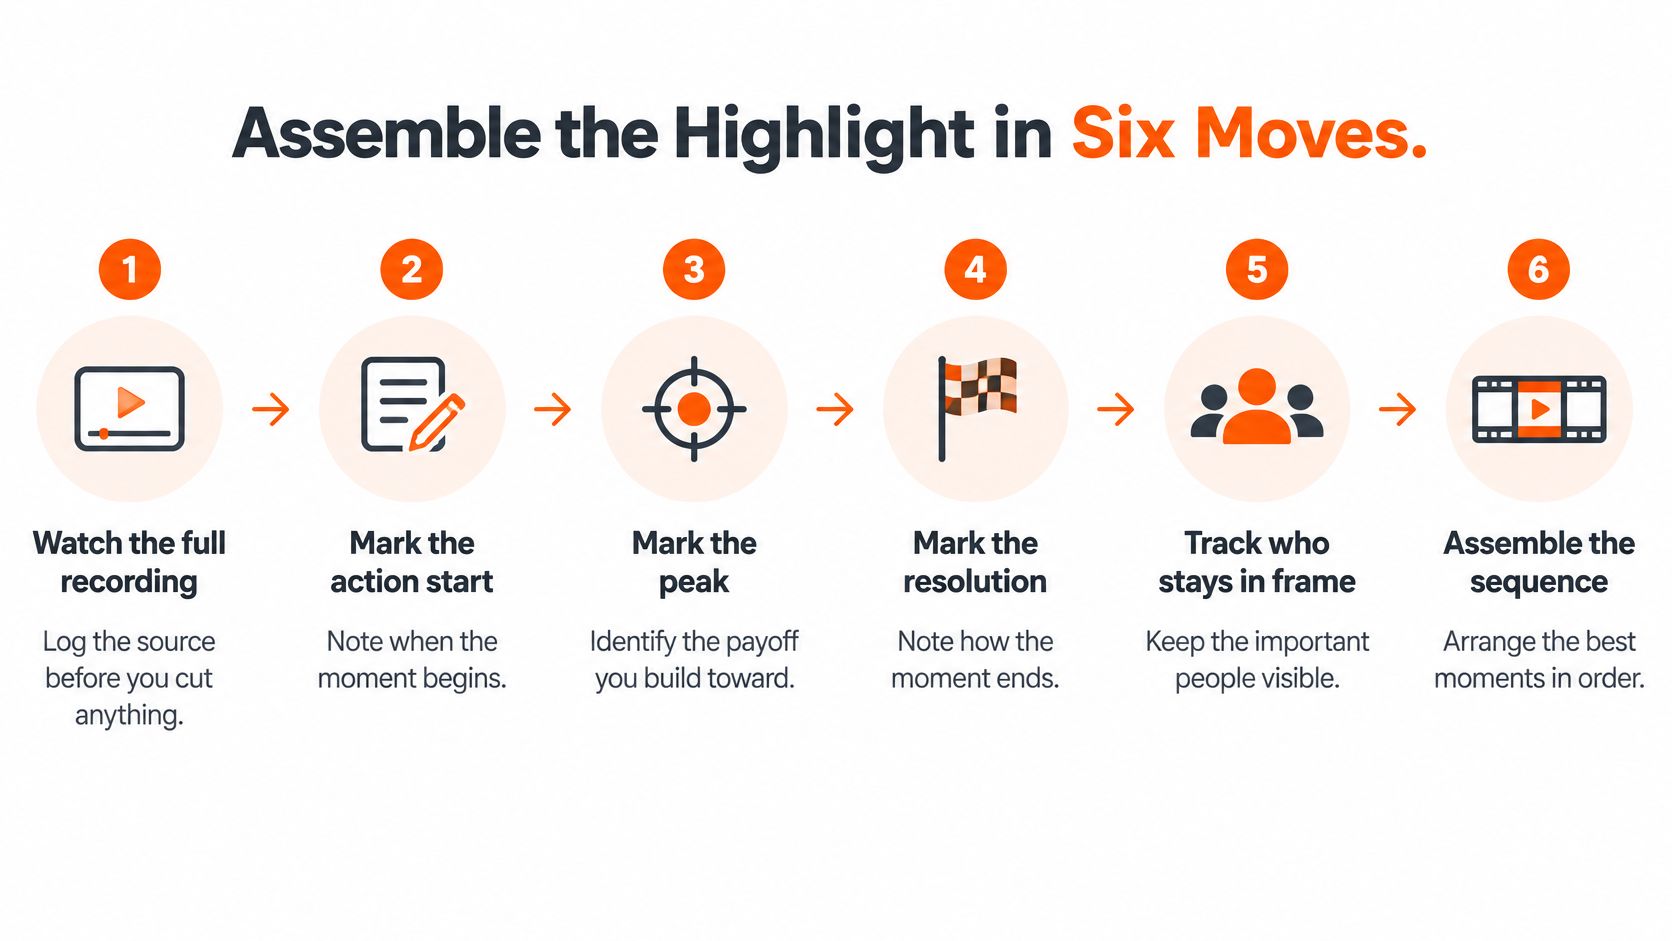
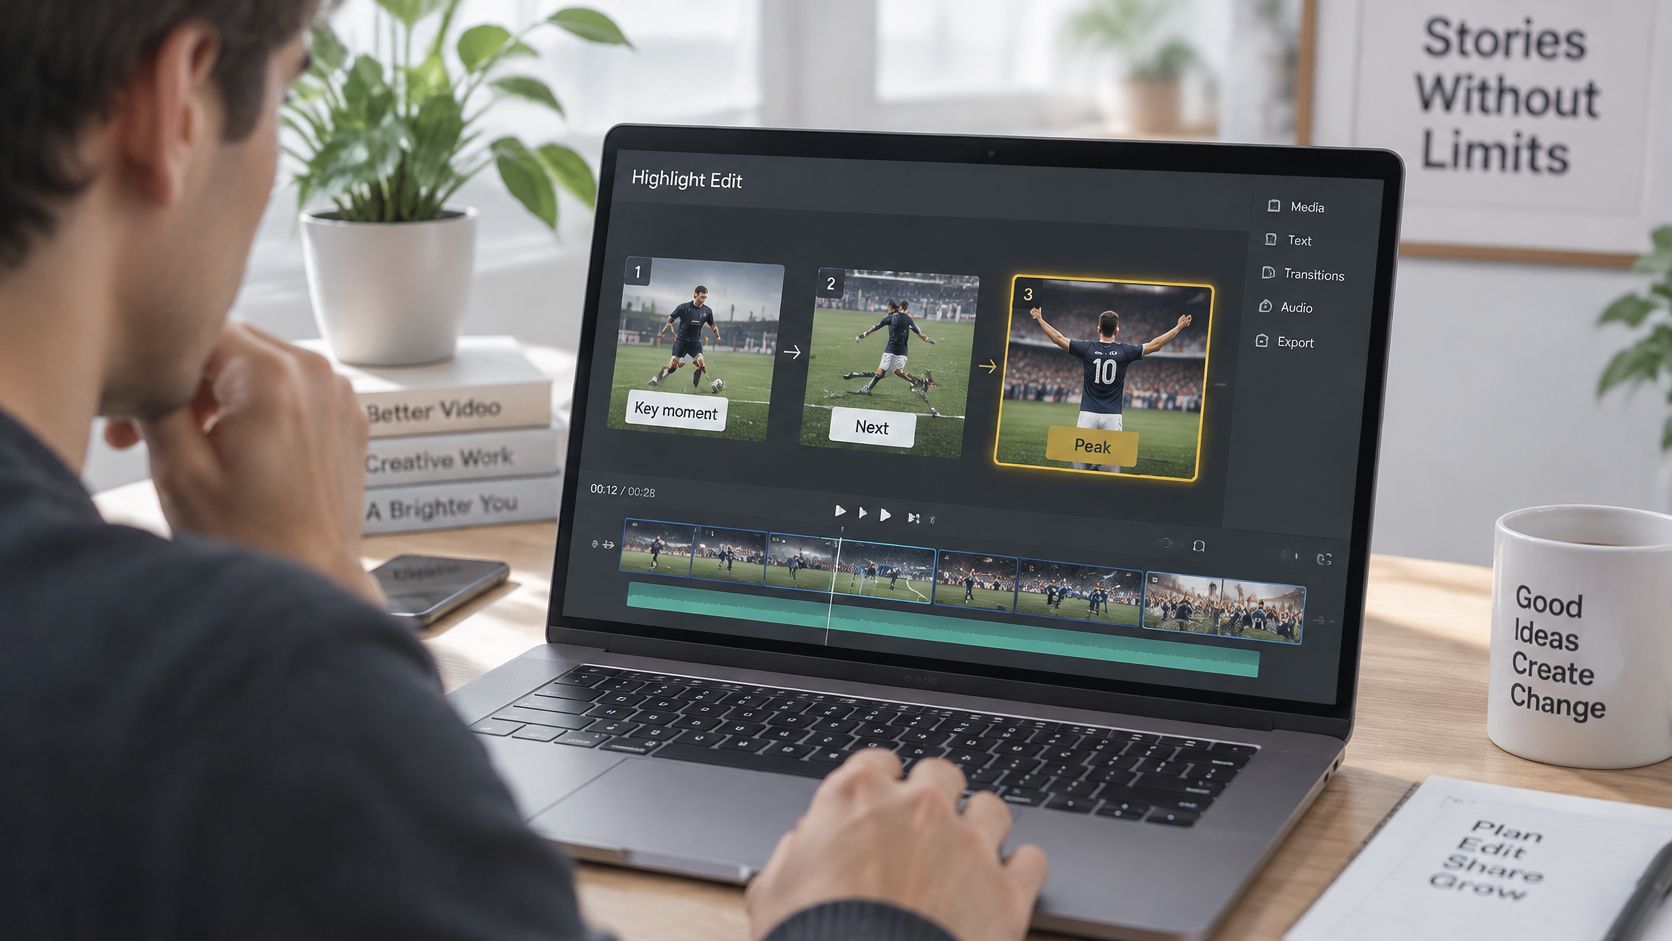
The logging diagram below separates the parts of a moment so you can identify what the audience needs to see.
<a id="build-the-sequence-around-a-result"></a>
Build the sequence around a result
-
Watch and log the complete source. Mark the action start, peak, and resolution, plus the subject you need to follow. For a goal, that might mean the pass, the shot, and the confirmation that it scored. Cutting from memory often misses the setup that makes an impressive result understandable.
-
Select clips with a clear outcome or emotional beat. A technically beautiful shot isn't automatically useful. Keep it if it establishes tension, reveals action, or shows a consequence. The usual mistake is protecting footage because it was difficult to capture.
-
Choose a payoff-first or tension-first opening. YumCut's sports-editing guidance recommends placing the strongest moment in the first 1–2 seconds. Treat that as an opening test: show an unmistakable result, or show a situation whose outcome viewers want to discover. Don't spend the opening on a logo when the action can establish the video's value.
-
Add only the context the moment needs. A score overlay, a name, or a short narration line may do the job. Say a product demonstration shows a repaired object holding weight. Establish what was broken and what the test proves, rather than explaining the entire repair process before anything happens.
-
Make the action readable. Keep the ball, performer, tool, or product visible through the decisive movement. Let an unfamiliar viewer understand the result before adding a replay. Repeating every exciting shot can make the sequence longer without making it clearer.
-
Align the meaningful elements. Put the caption, cut, and relevant sound at the moment they belong. A result label that appears before the action can spoil suspense; one that arrives late can make viewers wonder what happened. Keep each platform version as an editable sequence rather than relying on a finished master that can't be reframed cleanly.
<a id="check-continuity-before-decorating"></a>
Check continuity before decorating
Watch the rough cut without transitions. Can you follow where the subject moved, what changed, and why the ending matters? If not, a flash or animated wipe won't repair the missing information.
For stream recordings, StreamGen's guide to stream highlights provides a relevant workflow reference when the useful moment sits inside a much longer session. A reaction may need the preceding question, mistake, or challenge to make sense outside the stream.
A highlight doesn't need the whole event. It needs the parts that make the chosen moment intelligible.
Use automation for repetitive preparation, but review every selected boundary yourself. Our guide to automating video editing can help you separate repeatable tasks from decisions that still require editorial judgment.
Finish the assembly with a consequence: a celebration, a successful test, a revealing reaction, or a visible outcome. Stop when that consequence has landed, rather than adding a closing montage just because you have more footage.
<a id="pace-the-cuts-and-fit-the-music"></a>
Pace the Cuts and Fit the Music
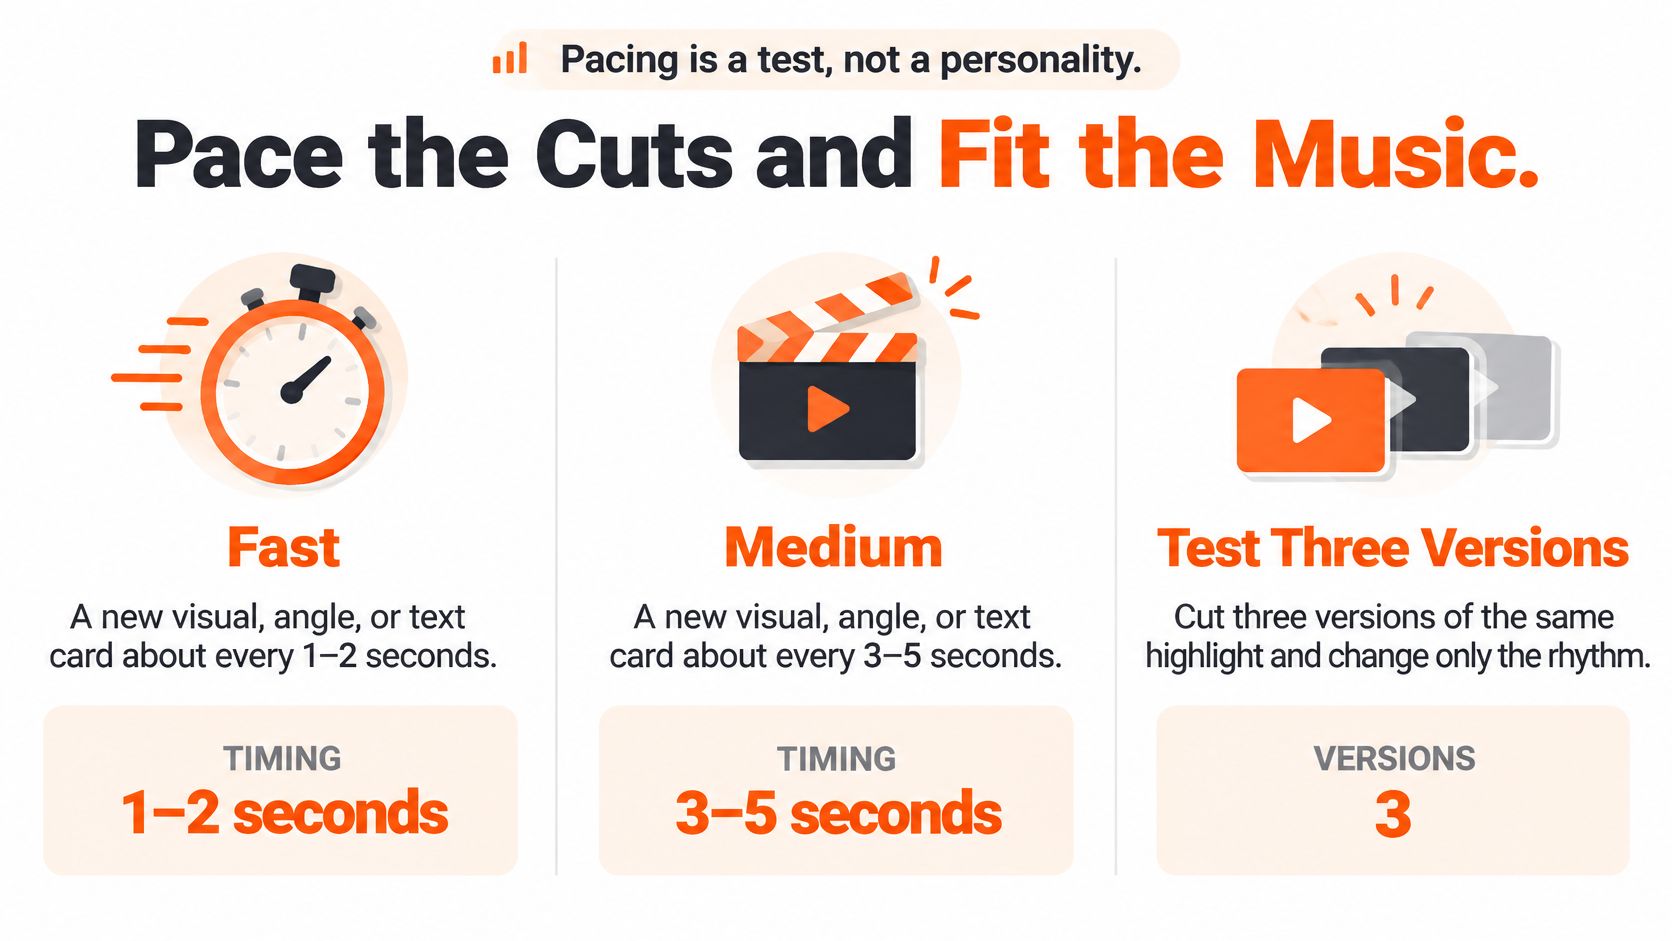
Pacing is a test, not a personality. Fast editing can create urgency, but it can also prevent viewers from understanding the action. A longer shot can preserve suspense or leave viewers waiting.
Use the same selected footage to compare rhythms. Don't replace the weaker clips in one version and then credit its performance to pacing.
<a id="compare-rhythms-under-similar-conditions"></a>
Compare rhythms under similar conditions
The Influencers Time pacing brief proposes testing fast changes approximately every 1–2 seconds, medium changes every 3–5 seconds, and slow changes of 6 seconds or longer. These are experimental settings, not mandatory cutting intervals.
Pacing versions as a controlled test
| Version | Cut interval | Use when | Primary metric |
|---|---|---|---|
| Fast | Brief changes between readable actions | Short, high-energy action | Opening view rate |
| Medium | Hold through each story beat | Story beats need context | Midpoint completion |
| Slow | Sustain the shot through the moment | Dialogue or atmosphere carries the sequence | Full completion and click-through |
Use the named metric as an emphasis, not the only measure of success. A version that attracts initial views but loses everyone before the result hasn't solved the edit.
Keep the script, source moments, music, audio level, thumbnail, audience, and distribution conditions as consistent as possible. If the experiment is about rhythm, hold the music bed steady too. Test a different soundtrack separately.
A visual change doesn't always require a new clip. A restrained score update, reaction cut, or detail crop can redirect attention without interrupting continuity. Avoid zooming precisely when viewers need to track a fast-moving subject across the frame.
<a id="let-music-support-the-original-sound"></a>
Let music support the original sound
Build the mix around the sound that explains or sells the moment emotionally. That may be the impact, a held breath, the crowd's response, or a performer's final note.
Lower the music under important dialogue and original sound. Fit cuts to musical accents where it feels natural, but don't move a decisive action into an awkward position just to hit a beat. If the soundtrack requires constant compromises, choose another track.
For text that needs to feel rhythmic without becoming unreadable, MyKaraoke Video's advice on how to edit lyric videos for social feeds offers a useful adjacent reference. Our guide to choosing an application to make a video with music also addresses the practical soundtrack workflow.
<a id="read-the-retention-curve-carefully"></a>
Read the retention curve carefully
Look for the point where viewers leave, then inspect what they encountered there. A dip after a transition may indicate confusion; a dip during setup may mean the necessary information took too long.
A spike isn't automatically praise. Viewers may replay a satisfying action, or they may rewind because they couldn't understand it. Compare the curve with the actual shot before deciding what to preserve.
Test discipline: Change the rhythm, publish under comparable conditions, and record what happened. Don't turn a result from a different audience into a promised retention lift.
Test alternate openings separately from pacing. Otherwise, you won't know whether the first image or the later cutting rhythm caused the difference.
<a id="make-the-highlight-work-on-mute"></a>
Make the Highlight Work on Mute
Treat silent playback as a design condition, not proof that every viewer watches without sound. Turn the audio off and ask whether a stranger can identify the subject, the action, and the result.
Wistia's video marketing statistics report that 90% of teams are taking steps to make videos accessible, with captions the most common starting point. Accessibility belongs in the composition, because text placement can change which crop or shot remains usable.
<a id="separate-context-labels-from-captions"></a>
Separate context labels from captions
A context label explains the moment. Audio captions represent speech and meaningful sound. They aren't interchangeable: a label such as a player's name doesn't make spoken commentary accessible.
Use a short burned-in label when viewers need immediate context, and supply accurate audio captions for the full soundtrack. If you also burn in dialogue captions, preview how the destination handles selectable captions so viewers don't see overlapping text.
Follow these practical checks:
- Transcribe accurately: Correct names, specialist terms, and automatic transcription errors before styling.
- Identify speakers: Make a change of speaker clear when the picture doesn't establish who is talking.
- Represent meaningful sound: Include a relevant non-speech cue when it changes how the viewer understands the moment.
- Keep phrases readable: Break text into natural units instead of filling the screen with a dense transcript.
- Protect the subject: Move text away from faces, hands, the ball, the scoreboard, or the product being demonstrated.
Our walkthrough on how to add subtitles to a video can help with the captioning workflow. The editorial check still matters: correctly generated words can be badly timed or poorly placed.
<a id="signal-significance-without-adding-clutter"></a>
Signal significance without adding clutter
A PLOS ONE analysis of multimedia lecture viewing found audience retention associated with shorter segments, signaling, sequence order, and caption use. That educational finding doesn't predict a highlight's performance, but it supports a useful question: have you made the important information easy to notice?
Choose the least intrusive signal that solves the problem. A brief arrow can identify a player before movement starts; a detail shot can reveal the product result; a replay can clarify a hard-to-see contact.
Don't stack every technique on the same moment. Animated captions, a zoom, a score graphic, and a reaction insert can compete with the action you're trying to explain.
Preview the video at normal phone size, not only in a large editing window. If you must pause to read the label or explain the result aloud, revise it. Preserve enough context for comprehension even when that means holding a shot longer.
<a id="export-the-right-frame-and-publish"></a>
Export the Right Frame and Publish
Choose the frame for the posting place, then recompose the sequence inside it. Resizing the canvas isn't enough if the viewer can no longer see the action.
Export frame by posting place
| Posting place | Aspect ratio | Keep in frame |
|---|---|---|
| TikTok, Reels, Shorts | Vertical | Face, ball, or product above captions and buttons |
| Feed square | Square | Subject centered with type inside the square |
| YouTube or website | Widescreen | Wide action and scoreboard without a vertical crop |
Use the destination's current upload specifications when setting the exact canvas and export settings. The important editorial decision is what survives the crop, not whether every version looks identical.
<a id="reframe-movement-not-just-the-opening-image"></a>
Reframe movement, not just the opening image
Scrub through the entire sequence after changing the canvas. A player who begins in the center may move toward the edge; a product reveal may need space that the opening close-up didn't.
Use position keyframes when a steady crop can't follow the subject. Avoid frantic tracking that makes the background slide around unnecessarily. Sometimes a wider shot, a different angle, or a separate detail insert will communicate the action better.
Keep essential text within the usable picture area and preview it with the destination interface in mind. Buttons, descriptions, and caption displays can occupy space that looked empty in the editor.
For a generated recap or supporting explainer, our workflow is to find your idea, write the script, and generate the video. We build the storyboard with an early hook, developing tension, a twist, and an ending or cliffhanger, timing scenes to the requested length. If a scene or line needs changing, you can open the video in Studio and fix that part without rebuilding the whole piece.
<a id="inspect-the-exported-file"></a>
Inspect the exported file
Watch the actual render rather than assuming the timeline preview represents it perfectly. Check the start, the ending, text placement, sound, and any section with a complicated transition or crop.
- Picture: Confirm that the decisive action remains visible and that no accidental black frames or frozen shots appear.
- Audio: Listen on a phone speaker and headphones for buried dialogue, abrupt fades, distortion, or music that masks the result.
- Captions: Confirm timing, spelling, speaker identification, and that the matching caption file belongs to this version.
- Publishing details: Use an accurate title and description, and attach captions where the platform supports them.
- Final approval: Confirm that the published version uses only material cleared for that placement.
Give files descriptive names that distinguish the destination, opening, and revision. That prevents a rejected draft or the wrong caption file from becoming the published version.
After posting, save the final file and note which variant you uploaded. Review viewing behavior against a specific question, such as whether the opening was understandable or the replay helped, rather than changing everything at once.
Your next action is simple: export the vertical cut, run the phone check with sound off and on, and upload it with the matching caption file attached.
ClipNova creates videos from prompts, scripts, or images with voiceover, visuals, captions, and music, which can help you build a supporting recap or explainer around a clear story. Visit ClipNova to turn your idea into a draft, then refine the timing, captions, and individual scenes before publishing.
Ready to ship your own?
Start creating viral videos with AI in under twenty minutes, no credit card required.