
Create or upload your Reel in Instagram, tap Next twice, open More options, turn on closed captions, then publish. Before sharing, check the generated words against the audio rather than assuming Instagram has transcribed everything correctly.
You've finished the edit, the music fits, and the cover looks good. Then you play the video with your phone muted and realize the offer, explanation, or punchline disappears without the voiceover. Learning how to add captions to Reels solves that problem, but turning captions on is only the start. The words also need to be accurate, readable, and checked in every language you publish.
Table of Contents
- How to Turn On Captions for a Reel in the Instagram App
- Proofread Auto-Generated Captions Before You Publish
- Style Captions So They Stay Readable on Vertical Video
- When Instagram Closed Captions Are Not Available
- Multilingual Reels Need a Translation Check
- Diagnose Missing or Wrong Captions and Confirm Before Sharing
<a id="how-to-turn-on-captions-for-a-reel-in-the-instagram-app"></a>
How to Turn On Captions for a Reel in the Instagram App
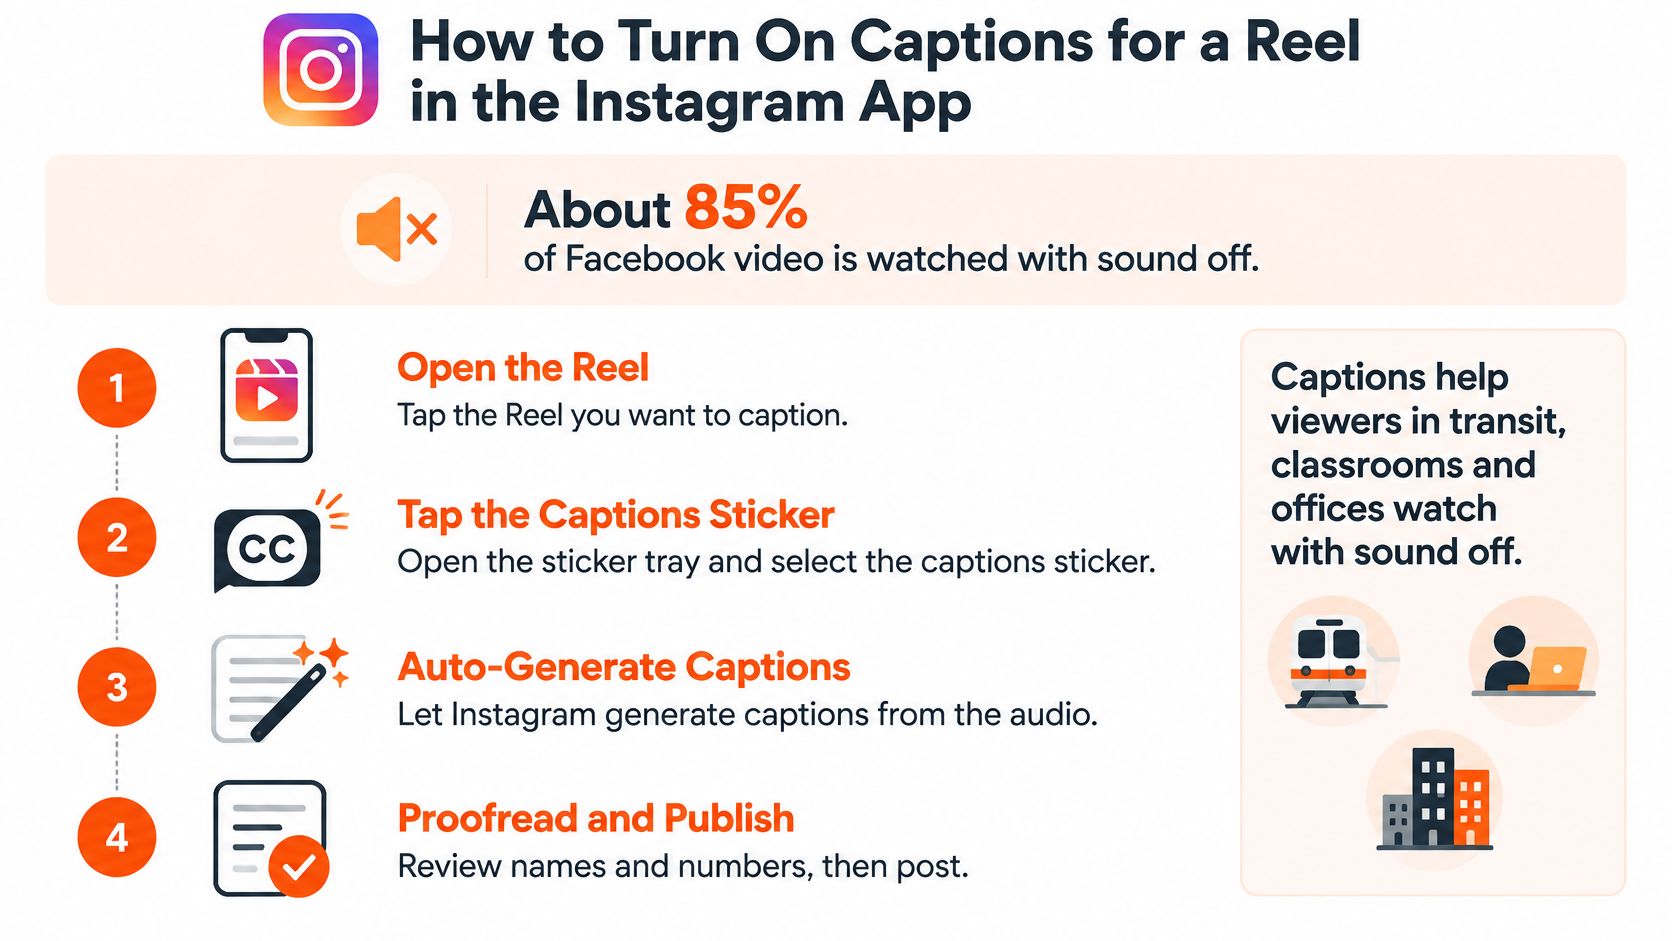
Make captions a default for viewers watching on public transportation, in classrooms, or at work without sound. A review of caption research published by ACM reports that approximately 85% of Facebook videos were viewed without sound and that viewers were 80% more likely to watch an entire video when captions were present, findings about other video viewing rather than a promised Reels performance lift.
<a id="enable-captions-from-the-sharing-screen"></a>
Enable captions from the sharing screen
The Instagram Help Center's Reel caption instructions give the mobile-app path: create or upload a Reel, tap Next twice, open More options, and enable closed captions, with optional caption translation before publishing.
-
Create a new Reel or upload your finished video. Use the Instagram mobile app so you can access the Reel's publishing settings. Captions attach to the video's spoken audio, so upload the version with the final narration.
-
Tap Next, then Next again. This takes you through editing to the sharing screen. Don't stop at the screen where you trim clips or add creative elements.
-
Open More options. Look for the caption controls in the publishing settings rather than the text field used to describe your post.
-
Turn on closed captions. Instagram generates text using speech recognition. Keep the voice clear and the music underneath it, because competing audio makes transcription harder to verify.
-
Optionally enable caption translation. Use this when you want translated subtitles where the feature is available. Enabling translation doesn't replace checking whether the translated wording preserves your meaning.
-
Publish the Reel. Confirm that the caption setting is enabled before sharing, then inspect the published result rather than relying entirely on the editing preview.
The visual below also illustrates a sticker-based caption workflow. The Captions sticker and the closed-caption toggle are different routes, so use the numbered instructions above when you want the native closed-caption setting.
<a id="keep-the-post-caption-separate"></a>
Keep the post caption separate
The post caption is the description you type during sharing. It can contain context, an offer, or a call to action, but it doesn't create synchronized words over the video.
Instagram's automatic captions come from what the speaker says, not from your written script. If you changed a sentence while recording, the audio is what needs checking.
For a Reel that's already live, open it and choose Options → Edit → More options to change its caption settings. Changing those settings isn't the same as editing individual transcription errors.
Publishing check: Listen once while reading the captions, then mute the phone and play the Reel again. Confirm that the message still makes sense without sound.
If an important word is wrong and the available caption controls don't let you fix it, prepare corrected captions in an editor before uploading a replacement. Don't leave a misleading price or product name just because the automatic track is convenient.
<a id="proofread-auto-generated-captions-before-you-publish"></a>
Proofread Auto-Generated Captions Before You Publish
Errors in prices, offers, and product names matter more than cosmetic punctuation. A missing qualifier can change what you're promising, while a misspelled brand name can make the product difficult to recognize.
Review with the phone close enough to inspect individual words, not just the overall edit.
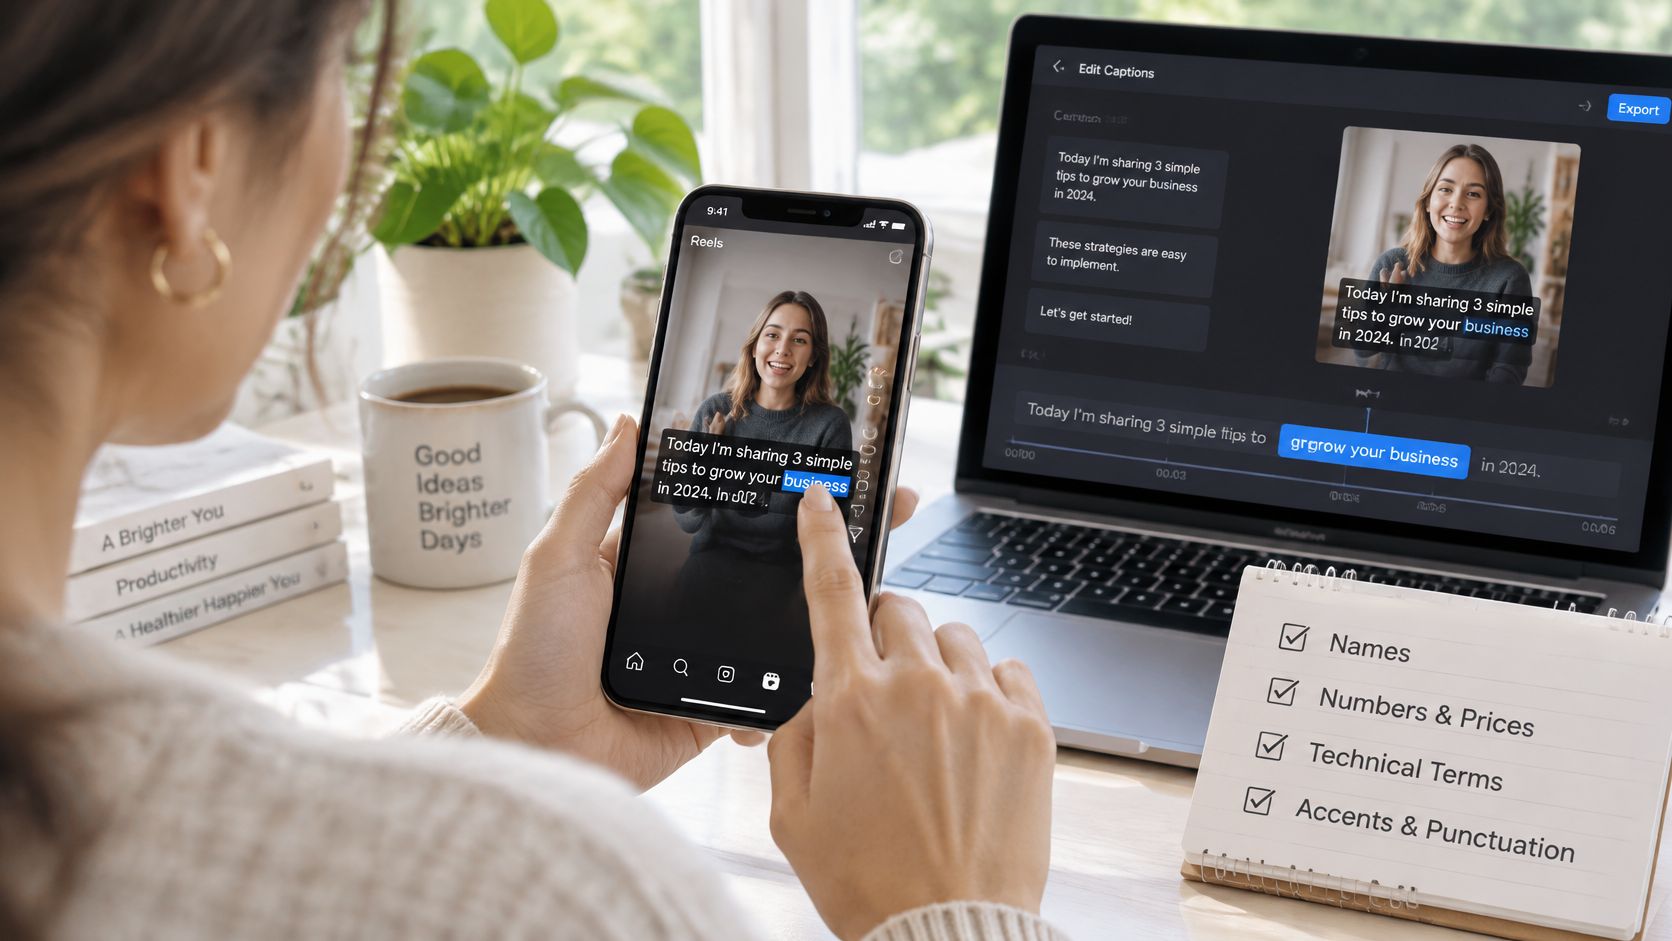
Say a bakery's Reel turns sourdough starter into sour dough star tar, or drops percent from a discount. The viewer might infer the first phrase from the footage, but the offer is no longer clear. Check people's names, brand terms, quantities, technical vocabulary, slang, fast speech, and passages that overlap music.
<a id="use-a-repeatable-review-pass"></a>
Use a repeatable review pass
- Listen at normal speed. Read the visible caption against the actual voice, not your memory of the script.
- Pause and correct. Fix wording in an editable caption tool. If Instagram's native track doesn't offer word editing, use a caption workflow that does.
- Check synchronization. Each phrase should appear as it's spoken, without lingering into the next thought.
- Preserve intent. Remove filler only when it adds nothing. Keep qualifications, negations, and relevant speaker or sound cues.
When comparing separate captioning resources, the HypedX Shorts caption tool from HypedX is another option to evaluate for short-form work. Check its editing and export controls against your workflow before committing to it.
For an additional visual walkthrough, use this video alongside your own caption review.
<iframe width="100%" style="aspect-ratio: 16 / 9;" src="https://www.youtube.com/embed/Z4bcNIIQw5E" frameborder="0" allow="autoplay; encrypted-media" allowfullscreen></iframe>Use punctuation to mark sentence endings and split text at natural phrase boundaries. If several adjacent lines need repair, rewrite the affected passage as a unit instead of patching isolated words and leaving broken grammar.
<a id="style-captions-so-they-stay-readable-on-vertical-video"></a>
Style Captions So They Stay Readable on Vertical Video
| Setting | Recommended choice | Why it matters |
|---|---|---|
| Text size | Readable on a phone without zooming | Small type looks fine in the editor and fails in the feed |
| Lines per caption | One or two lines, each a short phrase | Long blocks cover faces and interface buttons |
| Position | Center of the frame, above the lower interface | Lower and right areas hold Reels controls |
| Contrast | Light text on a dark outline or background box | Low-contrast text disappears on bright footage |
| Caption track | Editable closed captions for most Reels | Viewers can turn them off, and supported editors let you correct them |
| Burned-in text | Only when the look must be identical on every platform | Cannot be edited without re-exporting the video |
| Display time | Long enough to read at a normal speaking pace | Fast flashes are missed, especially with sound off |
Judge readability on a phone, not your editing monitor. For the vertical preview, use the exported 9:16 file and check caption visibility, timing, and viewer controls; Instagram's caption guidance also confirms that its automatically generated captions can be enabled or disabled.
Keep text within the central safe area without covering the subject's face, hands, or demonstration. A consistent position is useful, but move a caption when it obscures the thing the viewer needs to see.
<a id="choose-flexibility-or-a-fixed-appearance"></a>
Choose flexibility or a fixed appearance
An editable caption track preserves flexibility in an editor or platform that supports corrections. Don't assume that Instagram's automatic closed-caption controls include transcript editing because viewers can toggle the captions.
Burned-in captions become part of the video pixels. They give you a fixed appearance across uploads, but every wording or styling correction requires another export.
In ClipNova, our captions are transcribed from the narrator and burned into the video as each line is spoken, in the same language as the story. For a broader editing workflow, follow our guide to adding subtitles to a video.
Read the caption while watching the action. If you have to choose between them, shorten the text block or change its placement.
Apply your style, export, and preview with sound off. Adjust any line that crowds the frame, disappears against a bright shot, or changes too quickly to follow.
<a id="when-instagram-closed-captions-are-not-available"></a>
When Instagram Closed Captions Are Not Available
If the closed-caption option is missing, don't use the post description as a substitute. Viewers need synchronized text while the relevant action or explanation is happening.
Update Instagram and inspect the sharing settings again. Feature availability can differ between accounts and language settings, so reinstalling or repeatedly reopening the same screen isn't a reliable production plan.
<a id="build-a-captioned-upload-instead"></a>
Build a captioned upload instead
- Prepare a clean transcript. Generate it in a separate editor, then compare it against the finished audio.
- Correct consequential words first. Resolve names, quantities, and specialist terms before styling.
- Create short caption events. Break at natural phrase boundaries and give each phrase enough time to read.
- Place text inside the safe area. Use an outline or background box, keeping the lower interface and right-side controls clear.
- Export and inspect on your phone. Watch the finished file muted before uploading it.
A caption generator for video can help you organize that external workflow. Keep the project and timed text as your editable master, rather than saving only the rendered video.
Burned-in text is useful when native captions aren't available or you need consistent branding across platforms. The trade-off is revision: correcting the source project won't change a file you've already uploaded.
Keep the clean master without platform-specific graphics. You can then make another version without rebuilding the whole edit.
<a id="multilingual-reels-need-a-translation-check"></a>
Multilingual Reels Need a Translation Check
Turning on translation doesn't finish localization. A sentence can sound fluent while changing a product name, weakening a disclaimer, or making an offer commercially wrong.
CapsAI's guidance on Instagram auto captions highlights transcription challenges involving accents, slang, fast speech, names, and brand terms. Translating an unchecked transcript carries those mistakes into another language, where you may be less able to spot them.
<a id="separate-transcription-review-from-translation-review"></a>
Separate transcription review from translation review
Start by checking the original transcript against the audio. For dialect-heavy speech or code-switching, use a reviewer who understands the speaker's actual language use rather than forcing every phrase into a standard-language approximation.
Then have a native speaker or qualified market reviewer check each translated version. Give them the video, not just a spreadsheet of isolated sentences, so they can assess context and timing.
Build a short glossary before translation:
- Proper nouns: Specify which product, company, and person names must stay unchanged.
- Commercial details: Flag prices, measurements, offer conditions, and disclaimers for explicit review.
- Local phrasing: Explain the intended meaning of idioms rather than requesting literal equivalents.
- Calls to action: Confirm that the instruction sounds natural and tells viewers what to do.
Our captions follow the language of the voice, so a localized narration needs its corresponding caption review. A same-language transcript and a translated subtitle are different deliverables, even when they communicate the same story.
<a id="check-the-viewers-version"></a>
Check the viewer's version
Translated subtitles don't provide equivalent accessibility unless timing, speaker changes, and relevant sound cues remain clear. Also inspect the Reel on another account or device, because the available caption language may follow viewer settings.
Publish one language version at a time and record who approved it. Keep the approved transcript with the exported file so a later voiceover change doesn't leave you publishing outdated subtitles.
<a id="diagnose-missing-or-wrong-captions-and-confirm-before-sharing"></a>
Diagnose Missing or Wrong Captions and Confirm Before Sharing
| Symptom | Likely cause | Fix |
|---|---|---|
| Captions missing for some viewers | Caption availability depends on device, account, or language settings | Confirm closed captions are on, then preview on another device |
| Words out of sync with speech | Timing drifts on fast speech or music-heavy audio | Re-time the caption events in the editor and recheck at normal speed |
| Names or brand terms wrong | Automatic transcription errors on names and slang | Correct the wording in the editor before posting |
| Captions hidden behind buttons | Text sits in the lower or right interface area | Move text to the center and preview the exported vertical file on a phone |
| Translated text reads wrong | Literal translation of idioms, prices, or product names | Have a native speaker review each language version |
| Text too small or hard to read | Small size or low-contrast color | Enlarge text and add an outline or background box |
Missing captions don't always mean missing text in your project. A viewer's settings or feature availability can affect a native caption track, while a rendering problem affects the actual video file. Identify which you're dealing with before changing the edit.
Consistency deserves its own publishing check. In its 2024 E-Commerce Content Accessibility Report, Scribely reported that 78% of analyzed social-media accounts had captions on more than one video, while only 13% captioned every video.
<a id="diagnose-in-a-fixed-order"></a>
Diagnose in a fixed order
Start with the caption settings. If they're enabled, inspect the transcript, then the phone preview, and finally any translated versions. This keeps you from rewriting accurate text when the problem is visibility.
Say your caption block occupies the same space as the like and share buttons. Change its position in the source editor, export again, and inspect it with the Reel interface visible. A clean preview in your camera roll doesn't show every obstruction viewers encounter in the feed.
The type of caption determines the repair. A supported editable track can be changed without rendering the underlying footage again, while Instagram's caption settings let you change availability rather than necessarily correcting words. A mistake embedded in the video needs a fresh export and, if it's already live, a replacement upload.
In our Studio workflow, you can open the video and fix only the affected scene or line. You still need to inspect the resulting export before posting it.
If corrections keep introducing new timing problems, rebuild the affected caption passage from a clean transcript. Review at normal playback speed rather than judging synchronization only while dragging text on a timeline.
<a id="run-the-pre-share-checks"></a>
Run the pre-share checks
- Transcript accuracy: Verify names, offers, qualifications, and technical terms against the voice.
- Timing: Confirm that each caption begins and ends with the corresponding phrase.
- Contrast and readability: Inspect text over both bright and busy footage.
- Mobile safe area: Check interface overlap and whether captions hide important action.
- Muted playback: Follow the complete message without relying on audio.
Choose the Reel you'll publish this week and run these checks on the finished upload version. Publish with captions enabled, or with your reviewed captions embedded in the file.
ClipNova brings scripting, narration, visuals, captions, and music into one video workflow, with captions timed to the voice. Visit ClipNova to create your next Reel, review the generated wording, and export a captioned version ready for your final phone check.
Ready to ship your own?
Start creating viral videos with AI in under twenty minutes, no credit card required.