

Your background has disappeared, but your hair is crawling, your shoulders have a green outline, and part of your shirt looks transparent. Dragging the keyer onto the clip was easy. Working out which adjustment will fix the result is harder.
A reliable Final Cut green screen workflow starts with diagnosis. Check whether the defect is transparency, unwanted color, or a problem recorded into the footage, then change the control that addresses it. More aggressive keying isn't automatically better.
Table of Contents
- How to Key a Green Screen in Final Cut Pro
- Green Screen Keyer Settings and What They Do
- Spill Suppression, Masks and Edge Cleanup
- Common Problems and How to Fix Them
- Shooting and Lighting Specs That Make the Key Easy
- Confirm the Key Holds Before You Export
<a id="how-to-key-a-green-screen-in-final-cut-pro"></a>
How to Key a Green Screen in Final Cut Pro
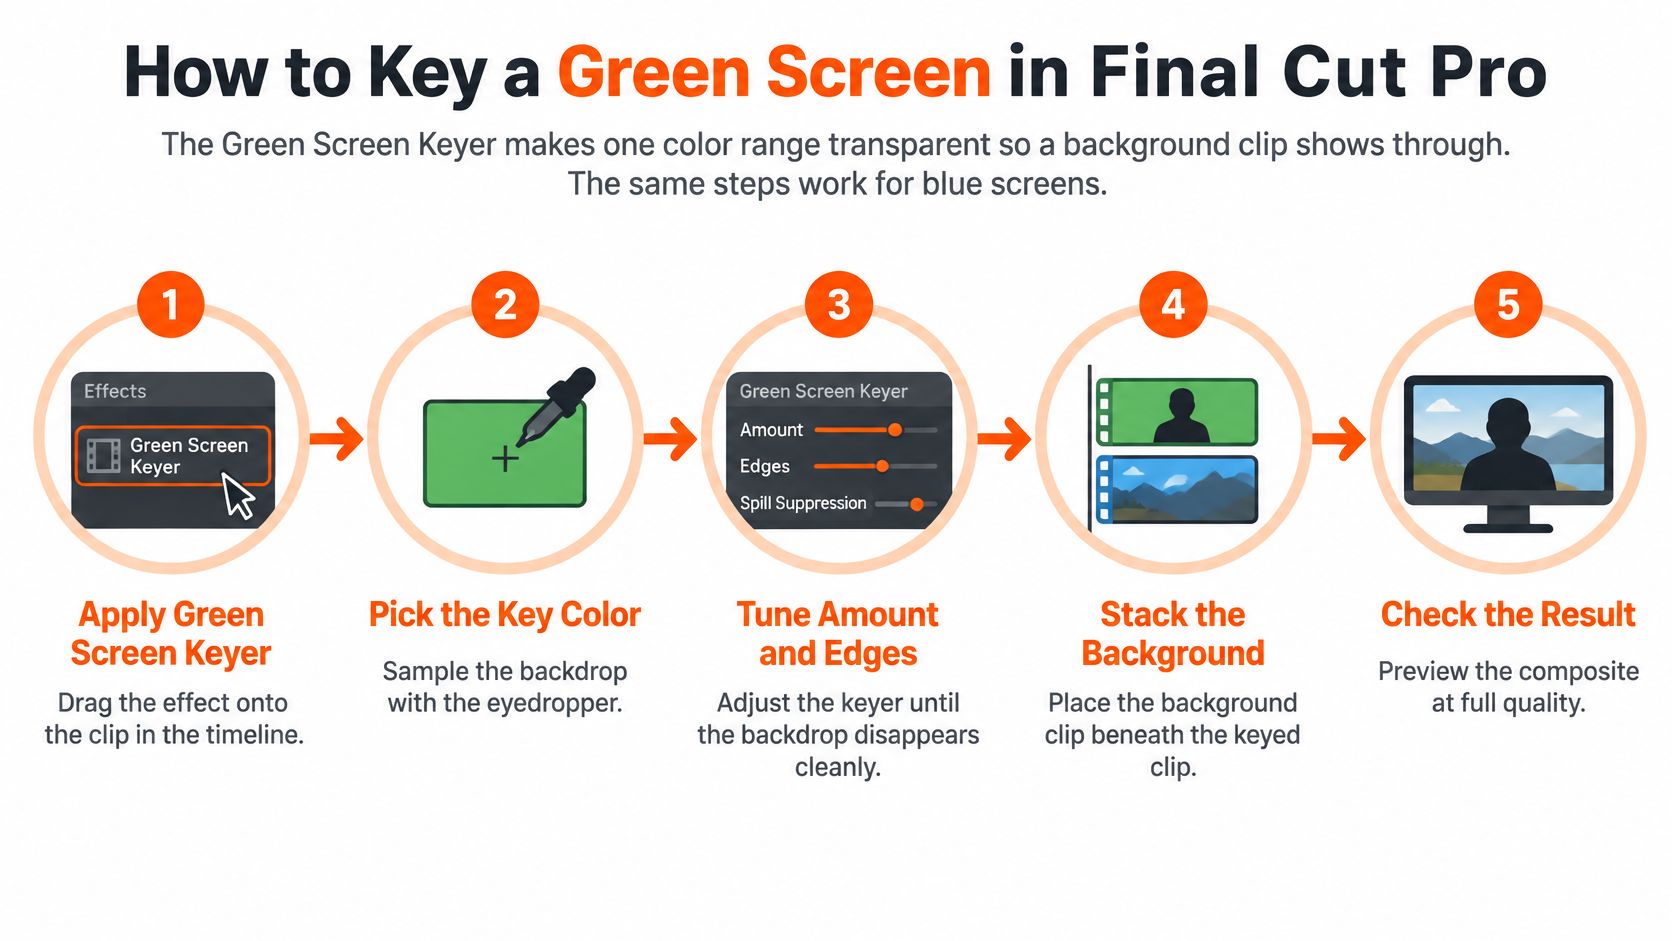
The Green Screen Keyer makes a selected color range transparent so a background clip shows through, and the same workflow works for blue screens. Build the composite before refining it so you can see what each adjustment really does.
Apple's Green Screen Keyer guide documents the layered workflow, color sampling, and separate controls for the matte's core and edges.
<a id="build-the-composite"></a>
Build the composite
-
Place the foreground in the primary storyline. Add the clip containing your subject and screen. Trim away unusable material first, but keep enough movement to test hands, shoulders, and hair.
-
Connect the replacement background beneath it. Position the background lower in the timeline and extend it beneath the entire foreground shot. If the replacement ends early, you can mistake an empty timeline area for a keying failure.
-
Apply Green Screen Keyer. Select the foreground, open the Effects browser, and find Masks and Keying. Apply Green Screen Keyer to the foreground, not the replacement plate.
-
Sample the screen deliberately. Use the onscreen sampling controls on representative screen areas, including a shadowed patch if necessary. Keep selections off skin, clothing, and hair; sampling mixed foreground and screen pixels can remove detail you meant to retain.
The process graphic provides a quick visual reference while you work.
<a id="inspect-transparency-before-appearance"></a>
Inspect transparency before appearance
-
Switch to the grayscale matte view. White represents retained foreground, black represents removed background, and gray represents partial transparency. Look for dark holes inside the subject and pale residue where the screen should disappear.
-
Correct the core before the boundary. Make the face, torso, and hands opaque before adjusting edge softness. A soft boundary won't repair a weak interior, and broad adjustments can turn an obvious hole into less obvious transparency.
-
Return to the intended background. Examine the silhouette against the actual scene, especially where hair crosses bright objects or shoulders cross dark ones. A similar-colored test background can conceal missing detail.
Don't demand pure white from every strand of hair. Fine hair, translucent fabric, and motion blur may legitimately contain gray in the matte. The important distinction is between partial transparency that belongs to the subject and accidental transparency inside an opaque surface.
Practical rule: Fix what the matte shows before trying to make the composite look prettier.
Keep playback performance separate from image quality. If you're planning an editing workstation, Godukkan's Mac Studio for GCC shoppers is a hardware-shopping reference, not a remedy for poorly captured edges.
A good first key has an opaque subject interior, a cleanly removed screen, and preserved boundary detail. It doesn't need a final grade yet; it needs dependable separation throughout the shot.
<a id="green-screen-keyer-settings-and-what-they-do"></a>
Green Screen Keyer Settings and What They Do
The matte comes before the finish. Matte controls determine what remains visible; finishing controls affect how the retained pixels blend with the background. A green-looking boundary can come from either, which is why changing every slider together makes diagnosis harder.
Keep this reference open while adjusting the effect. Treat the starting points as a sequence of checks, not a preset to copy blindly.
<a id="green-screen-keyer-controls-effects-and-starting-points"></a>
Green Screen Keyer controls, effects and starting points
| Control | What it changes | Starting point | Adjust when |
|---|---|---|---|
| Sampling and Refine Key | Defines the screen selection and refines difficult boundaries | Sample representative bright, midtone, and shadowed screen areas | Screen residue remains near an otherwise solid subject |
| Core transparency | Controls opacity within the subject | Default, then increase core opacity as needed | Holes appear in the face, shirt, or hands |
| Luma | Sets brightness tolerance in the selection | Default | Shadowed subject areas disappear or holes return |
| Chroma | Shapes color selection and its edge transition | Default, with small changes | Edges look jagged or a halo appears |
| Spill Level | Neutralizes green or blue cast | Default, with a temporary suppression-off comparison | Skin or hair looks tinted, or legitimate colors become gray |
| Spill Contrast | Changes the spill correction's tonal treatment | Default | A gray fringe remains around the silhouette |
Start with sampling and Refine Key, because an inaccurate screen selection affects everything that follows. Don't include increasingly broad color ranges just to eliminate a stubborn corner of the background. An outside mask is often safer than teaching the keyer to remove colors close to the subject.
Core opacity and Luma come next. Their purpose isn't to make the silhouette thicker; it's to retain the opaque surfaces that should never reveal the background. Watch shaded hands and dark clothing while changing brightness tolerance.
<a id="make-edge-adjustments-against-contrast"></a>
Make edge adjustments against contrast
Chroma adjustments require restraint. The controls describe a color-selection region and its transition, so narrowing or widening the selection isn't interchangeable with adding blur.
A softened edge can look acceptable against a dark wall and become conspicuous against a pale window. Judge both the shape of the boundary and the amount of background visible through it.
Leave Spill Level and Spill Contrast until you can trust the alpha matte. Otherwise, you may neutralize the color of pixels that should have been removed, producing a gray rim instead of a green one.
Start from the defaults, change a single control, and return to the matte view. If the intended defect doesn't improve, undo that adjustment rather than compensating with another slider.
<a id="spill-suppression-masks-and-edge-cleanup"></a>
Spill Suppression, Masks and Edge Cleanup
Spill suppression finishes a key; it can't rescue a broken matte. Its job is to remove reflected screen color from retained pixels, not to decide whether a shoulder should be transparent.
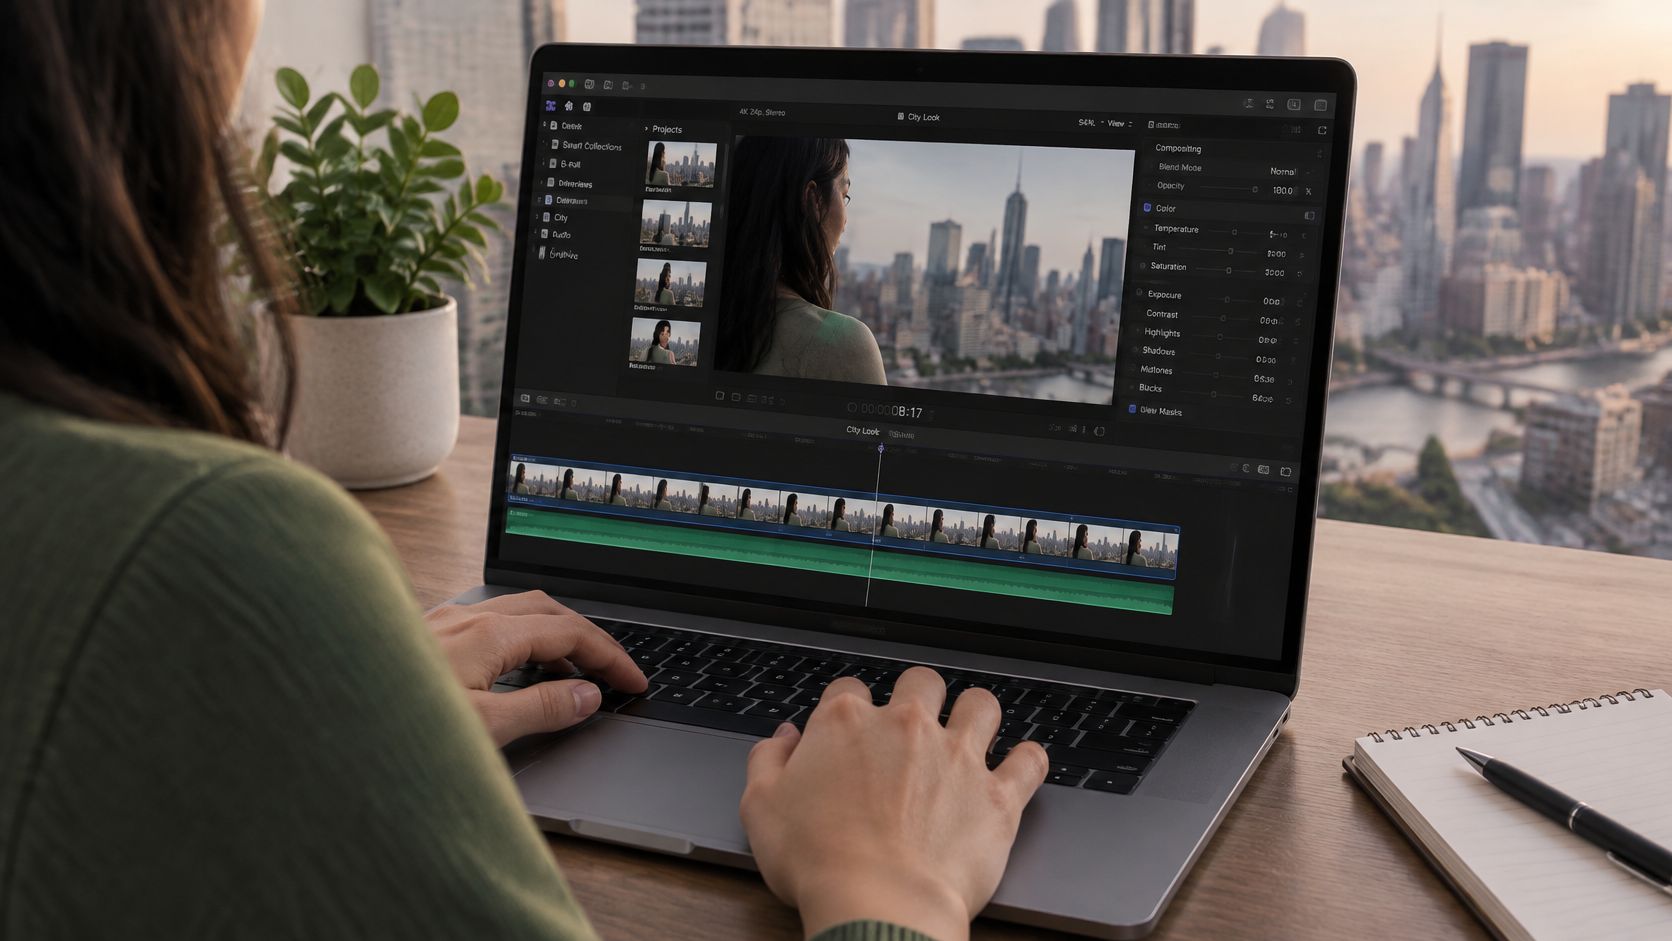
Keep the Viewer large enough to distinguish an actual color cast from a missing edge.
<a id="identify-the-defect-before-correcting-it"></a>
Identify the defect before correcting it
For the diagnostic comparison, Apple's Green Screen Keyer documentation specifies setting Spill Level to 0% to reveal the original color.
Make that comparison before altering the matte or increasing suppression. If the shoulder remains opaque but turns green, you're looking at contamination on retained pixels. If the background shows through the shoulder, you're looking at transparency.
Then use a controlled finishing sequence:
- Remove background residue. Resolve the screen selection without sacrificing the subject.
- Protect difficult regions. Use edge adjustments around hair and motion blur rather than tightening the entire silhouette.
- Verify the interior. Confirm that opaque surfaces stay opaque during movement.
- Restore suppression gradually. Stop when the unwanted cast disappears, before natural skin and wardrobe colors lose saturation.
Watch reflective objects closely. Glasses, jewelry, and glossy fabric can contain both real reflections and screen contamination, and suppressing every trace of green may make them look artificial.
<a id="mask-unwanted-objects-not-missing-pixels"></a>
Mask unwanted objects, not missing pixels
Use a simple Draw Mask to exclude a light stand, boom, or bright screen patch outside the subject. Draw it loosely enough to accommodate leaning, gestures, and loose hair, then animate it if the subject moves toward its boundary.
That outside mask limits the area the keyer needs to process. It doesn't restore a shirt that has already become transparent.
A holdout repair uses a different arrangement: a masked, unkeyed copy of the foreground restores the affected area. Keeping those jobs separate prevents a common mistake, where an editor adds a mask but still expects the same keyer to recover removed pixels.
Use the demonstration alongside your own matte and composite checks.
<iframe width="100%" style="aspect-ratio: 16 / 9;" src="https://www.youtube.com/embed/BI76Dq32FZI" frameborder="0" allow="autoplay; encrypted-media" allowfullscreen></iframe>A naturally colored edge with preserved detail is better than a perfectly neutral edge with the hair erased.
<a id="common-problems-and-how-to-fix-them"></a>
Common Problems and How to Fix Them
Flickering hair is a common complaint because a still frame can look convincing while the moving edge falls apart. Compression, source noise, and a matte that changes between frames can all cause crawling detail. Tightening the key may hide the flicker by deleting the hair, but that isn't a clean repair.
Read the symptom first, then test the likely cause. The first adjustment should answer a question, not merely make the image different.
<a id="green-screen-symptoms-causes-and-fixes-in-final-cut-pro"></a>
Green screen symptoms, causes and fixes in Final Cut Pro
| Symptom | Likely cause | Fix |
|---|---|---|
| Hair edges flicker or crawl | Compressed or noisy footage; unstable selection; over-eroded fine detail | Back off aggressive edge tightening first. Denoise before keying if noise is visible, or return to the camera original. Reshoot in ProRes or a high-bitrate recording mode if detail wasn't captured |
| Green shirt turns transparent | Wardrobe overlaps the key color | Refine the screen samples and narrow the selection's tolerance. If separation remains impossible, restore the shirt with a masked unkeyed duplicate or change wardrobe and reshoot |
| Background shows several shades | Uneven screen illumination | Add targeted screen samples first. Correct broad exposure problems before keying; relight and reshoot if correction damages subject separation |
| Gray outline surrounds the subject | Excessive spill treatment or an unsuitable Spill Contrast adjustment | Reduce Spill Level first, then ease Spill Contrast toward its default while watching the boundary |
| Holes appear in face or hands | Core isn't sufficiently opaque; shadows fall inside the key selection | Increase core opacity first, then adjust Luma tolerance to retain shaded skin |
| Dark halo appears over a bright background | Broad edge transition or foreground/background tonal mismatch | Reduce Chroma transition softness first. Then match foreground exposure and color to the replacement scene |
Re-exporting a damaged compressed file as ProRes won't recreate missing hair detail. Transcoding may make editing easier, but a cleaner original or a reshoot is the meaningful quality improvement.
<a id="recognize-when-color-separation-is-impossible"></a>
Recognize when color separation is impossible
A shirt close to the screen color is a capture problem with a potentially expensive post-production workaround. The keyer can't reliably distinguish matching pixels merely because some belong to clothing.
For a largely stationary torso, an animated holdout mask may be manageable. For loose fabric, crossed arms, and fast movement, different wardrobe is usually the better decision.
Plan those choices alongside framing and performance. The guide to making your own movies provides broader production context, while the immediate keying decision remains practical: preserve the shot with a controlled repair, or stop spending time on footage that needs recapturing.
<a id="shooting-and-lighting-specs-that-make-the-key-easy"></a>
Shooting and Lighting Specs That Make the Key Easy
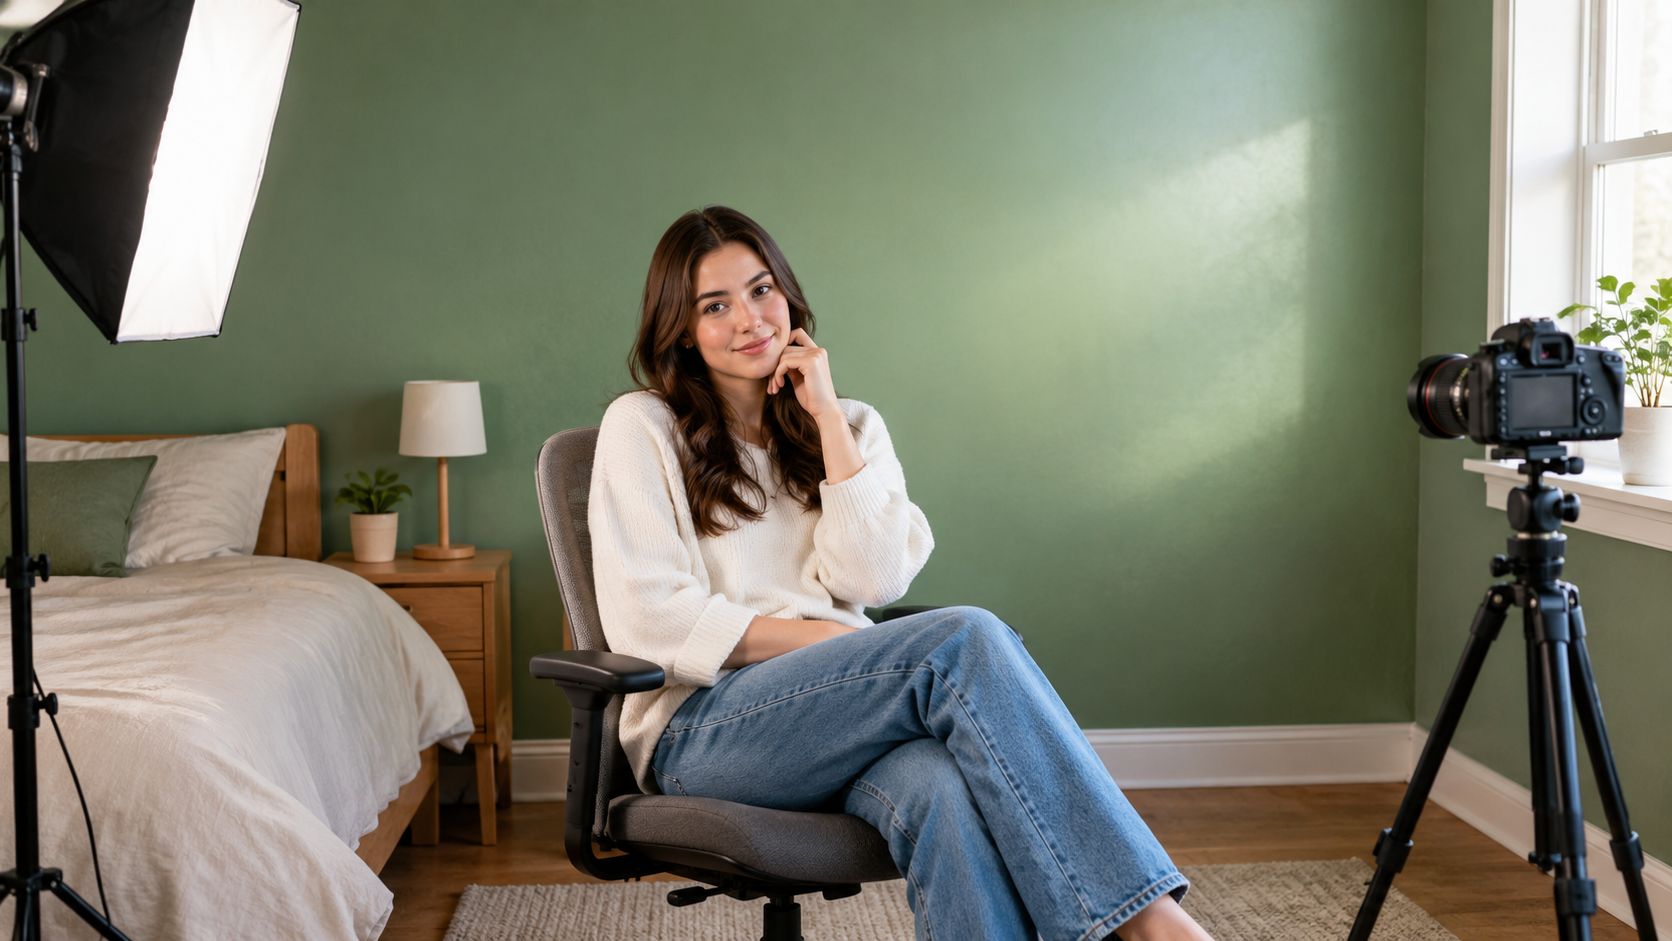
In a bedroom or office, the subject often sits almost against the green wall. A desk lamp creates a bright patch, the chair casts a shadow, and reflected green reaches the jaw and hair. No amount of careful sampling turns that into the same starting material as a separately lit subject and screen.
The cheapest fixes happen before recording. Move the chair, flatten the fabric, and redirect the lights before buying another effect.
Use the available space to create separation rather than filling every corner with equipment.
<a id="green-screen-shooting-specs-and-why-each-one-matters"></a>
Green screen shooting specs and why each one matters
| Requirement | Target | Why it matters |
|---|---|---|
| Distance from subject to screen | Move the subject far enough forward that green bounce and cast shadows visibly diminish | Keeps reflected screen color off skin and hair |
| Screen brightness evenness | Consistent exposure across the visible screen, without obvious hot spots or dark folds | Uneven light creates additional colors and brightness ranges to remove |
| Subject lighting | Separate subject key light and controlled backlight from screen illumination | Lets you shape the subject without creating screen reflections |
| Shutter speed | Short enough to retain usable moving-hand and hair detail, checked in a test recording | Limits blurred mixtures of foreground and screen |
| Recording format | ProRes or high-bitrate H.264 when available | Reduces compression damage to fine boundaries |
| Screen surface | Matte, wrinkle-free fabric or paint | Minimizes bright reflections and shadowed creases |
<a id="spend-effort-where-it-changes-the-recording"></a>
Spend effort where it changes the recording
Don't overlight the screen to make it look vividly green. A bright screen can throw more colored light back onto the subject, especially in a small room. Aim for even illumination and a well-exposed foreground rather than maximum screen brightness.
Apple's keyer guidance documents targeted sampling and spill adjustments, including the risk of gray fringing from suppression. That makes prevention valuable: less reflected green means less corrective treatment on hair, skin, and translucent objects.
Choose the replacement scene before settling the subject lighting. A soft indoor background and a hard-lit outdoor background call for different foreground treatment; this guide to choosing a green-screen video background can help frame that decision.
For short-form work, also decide which gestures and framing the finished piece needs. Crowbert's guide to create better short videos with Crowbert is useful planning context before you lock the camera position.
Before recording: Move the subject forward, check the screen for hot spots on a monitor, and key a brief test containing real gestures.
A faster shutter can improve edge definition, but it can also make movement look harsher and require more light. Judge that trade-off in the intended style of video rather than treating sharp edges as the only priority.
<a id="confirm-the-key-holds-before-you-export"></a>
Confirm the Key Holds Before You Export
A key is ready when it survives a demanding inspection, not merely when it looks acceptable in a reduced timeline preview. Test the frames most likely to expose a defect.
<a id="run-a-deliberate-final-check"></a>
Run a deliberate final check
- Inspect the matte. Confirm an opaque subject interior without unexpected holes or isolated background residue.
- Play the composite at full quality. Watch the final background, not just a temporary test plate.
- Challenge the boundary. Compare a neutral gray plate with the intended scene, then pause on fast gestures and complicated hair.
- Review native-size detail. Look for crawling edges, clipped strands, and mask boundaries without relying on a scaled-down preview.
- Compare natural colors. Toggle spill treatment and compare with its default, then retain the setting that removes contamination without draining legitimate color.
- Export a short delivery test. Use the intended framing and encoding, and watch the exported file outside Final Cut Pro.
Keep the checklist available during the final pass.

<a id="preserve-a-reusable-keyed-master"></a>
Preserve a reusable keyed master
Keep the original keyed project and reframe that composite for vertical, square, and widescreen versions. Check each crop for exposed mask boundaries instead of rebuilding the key independently.
For delivery planning, VideoTour.ai's resource listing video codecs and frame rates provides a useful specification reference. If the finished piece combines a presenter with slides, the guide to uploading a PowerPoint presentation to YouTube offers related publishing context.
The habit that prevents the most avoidable repair work is simple: record a test and key it before the actual session. A usable test tells you more than a promising camera preview.
ClipNova offers short-form video generation, captions, voiceover, and multi-aspect exports for the assets surrounding your keyed footage. Its Background Removal tool works on still images; keep moving-footage keying in Final Cut Pro. Visit ClipNova to build supporting visuals and short-form content around your finished composite.
Ready to ship your own?
Start creating viral videos with AI in under twenty minutes, no credit card required.