
A full-screen Instagram Reel uses a vertical 9:16 canvas at 1080 x 1920 pixels, with 720 pixels of resolution and 30 fps as Instagram's published minimums. Reels support videos up to 3 minutes, but getting those numbers right doesn't guarantee that viewers can see your text, faces, or cover title.
The popular advice to “just export vertically” leaves out the awkward part: Instagram displays your video in different contexts. A composition that works during full-screen playback can lose its headline in a feed preview or its main character on the profile grid. Treat the file dimensions as the starting point, not the finished layout.
Table of Contents
- The Real Instagram Reels Dimension Standard
- Core Specs Explained in Plain Numbers
- Aspect Ratio Options and Where Each One Fits
- Export Settings That Survive Recompression
- Safe Zones and the Overlay Problem
- How Crops Change Your Cover and First Frame
- Verifying Your Reel Before You Publish
- Choosing a Tool That Outputs the Right Spec
- Producing a Correctly Sized Reel from a Long Story
- Quick Reference and Your Next Step
<a id="the-real-instagram-reels-dimension-standard"></a>
The Real Instagram Reels Dimension Standard
1080 x 1920 isn't a complete production specification. You also need to know the technical floor and the publishing ceiling. Instagram accepts aspect ratios from 1.91:1 through 9:16, but the full-screen production standard is 9:16 at 1080 x 1920 pixels, with published minimums of 720 pixels of resolution and 30 frames per second, as summarized in Revid's Instagram Reel size guide.
Duration is a separate constraint. Instagram's own Reels feature documentation specifies videos up to 3 minutes. Use that documented limit when planning a publish-ready Reel rather than assuming that a longer file accepted elsewhere will work unchanged.
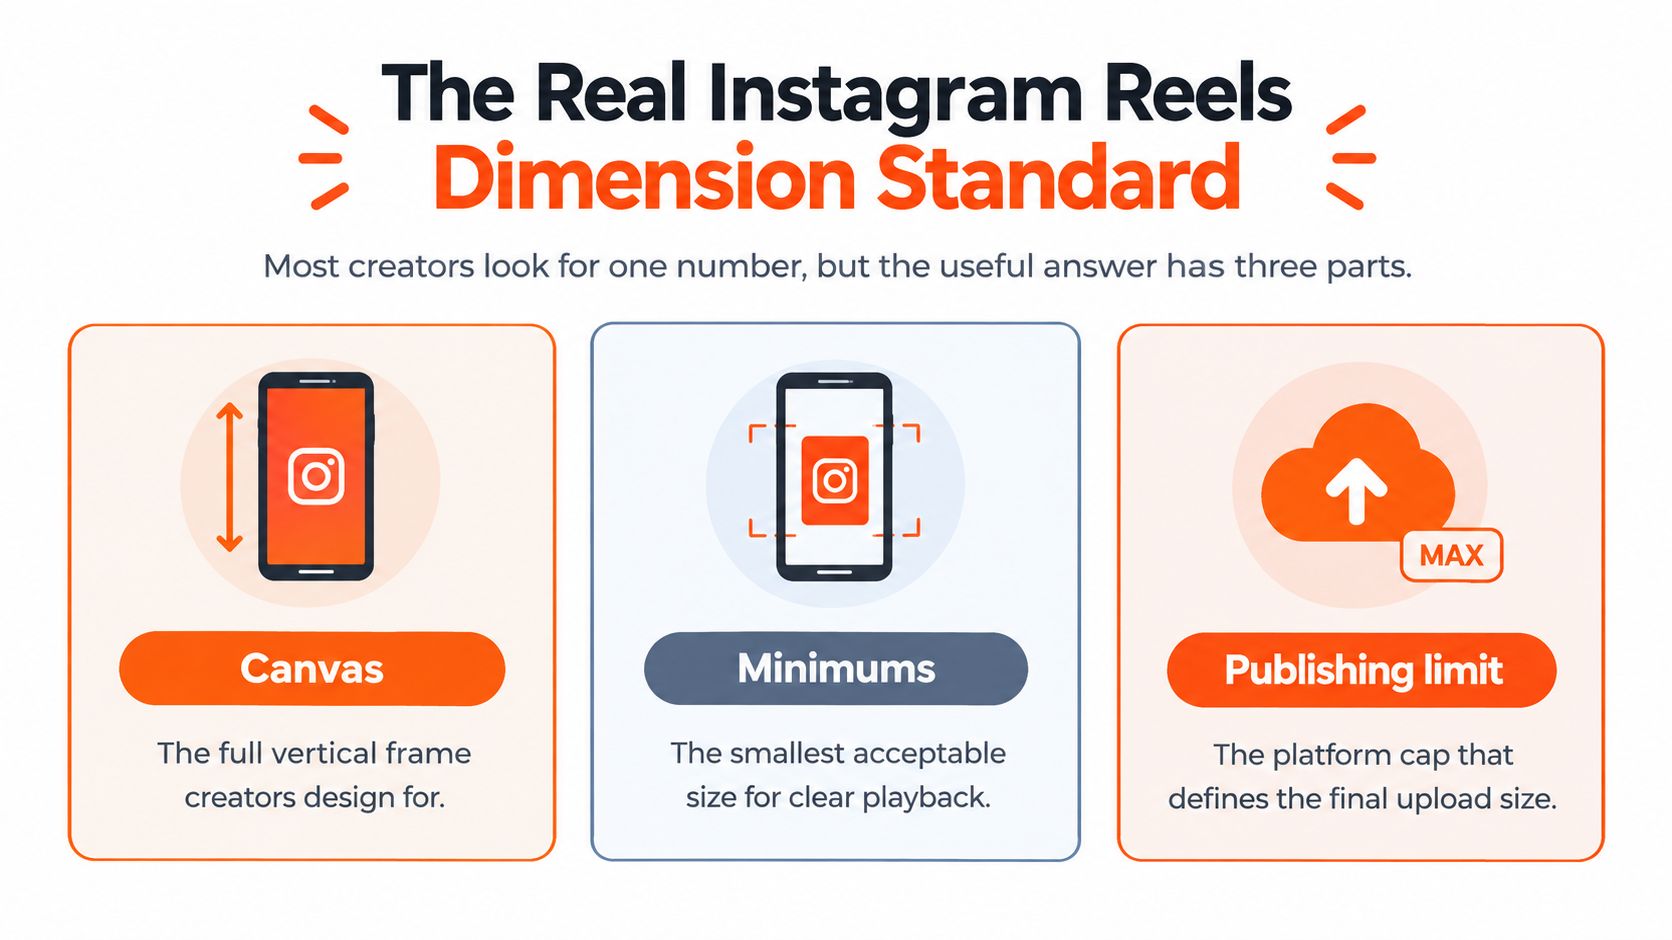
The useful specification has separate parts because each prevents a different mistake.
<a id="separate-the-file-from-its-placement"></a>
Separate the file from its placement
- Canvas: The frame you compose, including subjects, captions, and background.
- Minimums: The technical floor, not a reason to choose the lowest-quality export.
- Publishing limit: The duration constraint that determines whether a story needs adaptation.
For a supplementary export reference, keep the Reels file specs from RemotionAI alongside your publishing checklist.
Then distinguish full-screen playback, feed previews, and profile-grid covers. These aren't interchangeable views of your work. Build the complete frame for playback, but judge the title and identifying subject separately in the preview placements.
<a id="core-specs-explained-in-plain-numbers"></a>
Core Specs Explained in Plain Numbers
An aspect ratio describes shape. Resolution describes how many pixels make up that shape. Neither tells you how motion is encoded or whether the audio will travel reliably through your publishing tools.
For the canvas, 1080 by 1920 pixels at 9:16 is the practical target, while a 720-pixel-wide file is the lower practical resolution described in Buffer's Instagram sizing reference. The larger source gives captions and facial details more room before platform processing.
<a id="instagram-reels-spec-reference"></a>
Instagram Reels Spec Reference
The encoding recommendations below follow XConvert's Instagram video-format guidance, including 30 fps delivery, intentional 60 fps motion, and compatible video and audio formats.
| Spec | Recommended Value | What Breaks If Wrong |
|---|---|---|
| Aspect ratio | 9:16 | The composition may need cropping or padding |
| Resolution | 1080 x 1920 pixels | Fine details and text may look soft |
| Frame rate | Fixed 30 fps; retain 60 fps for intentional fast motion | Mismatched timing can cause judder |
| Container format | MP4 or MOV | Publishing-tool compatibility can become a problem |
| Video codec | H.264; HEVC is also identified as compatible | A supported filename alone doesn't ensure compatible video |
| Audio codec | Stereo AAC | Audio compatibility can suffer |
| Chroma subsampling | 4:2:0 | Encoding may fall outside compatible specifications |
| Pixel aspect ratio | Square pixels | Shapes and faces can appear distorted |
| Scanning | Progressive | Playback may show unwanted artifacts |
A container holds the video and audio streams. A codec compresses and decodes those streams, so choosing an MP4 filename doesn't by itself confirm the codec inside.
Chroma subsampling describes how color detail is stored. Square pixels mean the pixels don't require stretching to display the intended proportions.
Practical rule: Check the exported file's properties, not just the name of the export preset.
<a id="aspect-ratio-options-and-where-each-one-fits"></a>
Aspect Ratio Options and Where Each One Fits
Choose the placement before choosing the crop. A wide story and a vertical Reel can share a script, but they shouldn't automatically share the same composition.
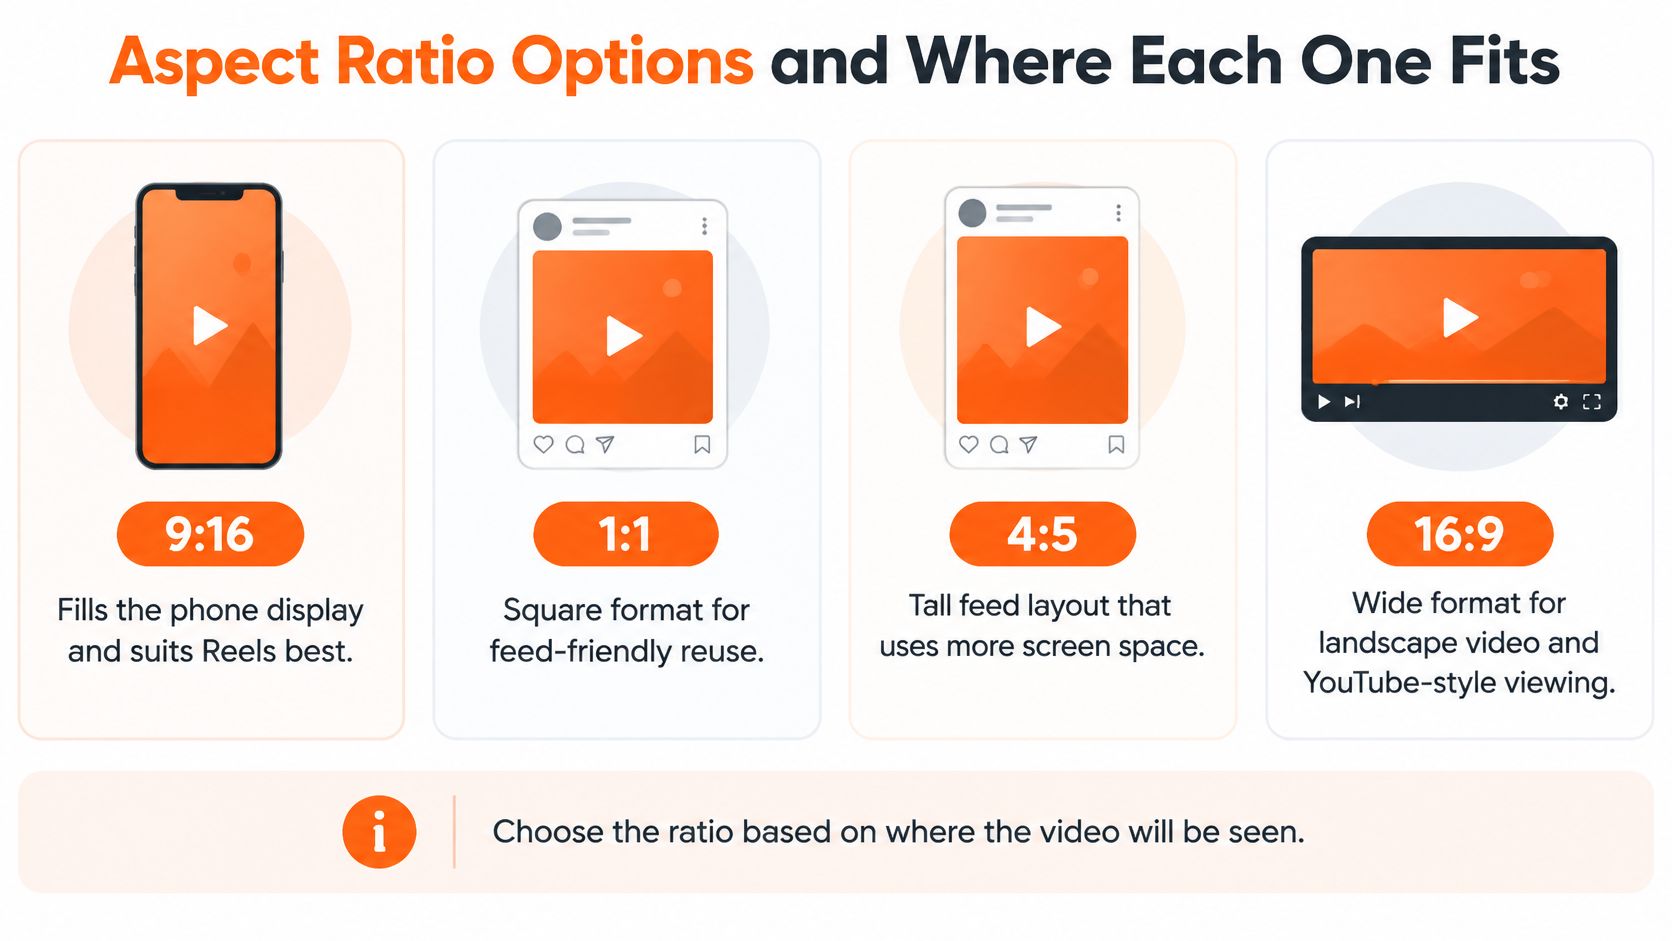
For full-screen Reels, 9:16 is the native-shaped production choice. Square and wide-format sources may be cropped, letterboxed, or displayed with unused space, as explained in Sprites' Instagram format and safe-zone reference.
Use this comparison to decide which version to prepare.
<a id="choose-by-viewing-context"></a>
Choose by viewing context
- Full-screen vertical: Compose the subject and action for the upright viewer.
- Square placement: Use a balanced central arrangement rather than cutting away the vertical frame.
- Portrait feed: Treat it as a distinct preview or feed composition, not a replacement for the full Reel master.
- Wide-screen viewing: Give wide scenes their own layout, particularly for YouTube-style presentation.
The practical trade-off is context versus subject size. Cropping a wide conversation into portrait may preserve the speaker but remove the person they're addressing. Fitting the entire wide shot into a vertical canvas preserves the relationship but makes both people smaller.
For an existing project, the video resizing tips from Photo for Video provide a useful companion resource. Decide what must remain visible before applying an automatic resize.
This video offers another way to examine the formatting decision.
<iframe width="100%" style="aspect-ratio: 16 / 9;" src="https://www.youtube.com/embed/uNLOrKT0r6E" frameborder="0" allow="autoplay; encrypted-media" allowfullscreen></iframe>Keep faces, product demonstrations, and essential gestures independent of a wide composition whenever the Reel is the primary deliverable. A different export can reuse the story without forcing the same framing.
<a id="export-settings-that-survive-recompression"></a>
Export Settings That Survive Recompression
Export quality and layout quality are separate checks. A clean file won't rescue hidden subtitles, and a well-composed scene won't rescue an incompatible encode.
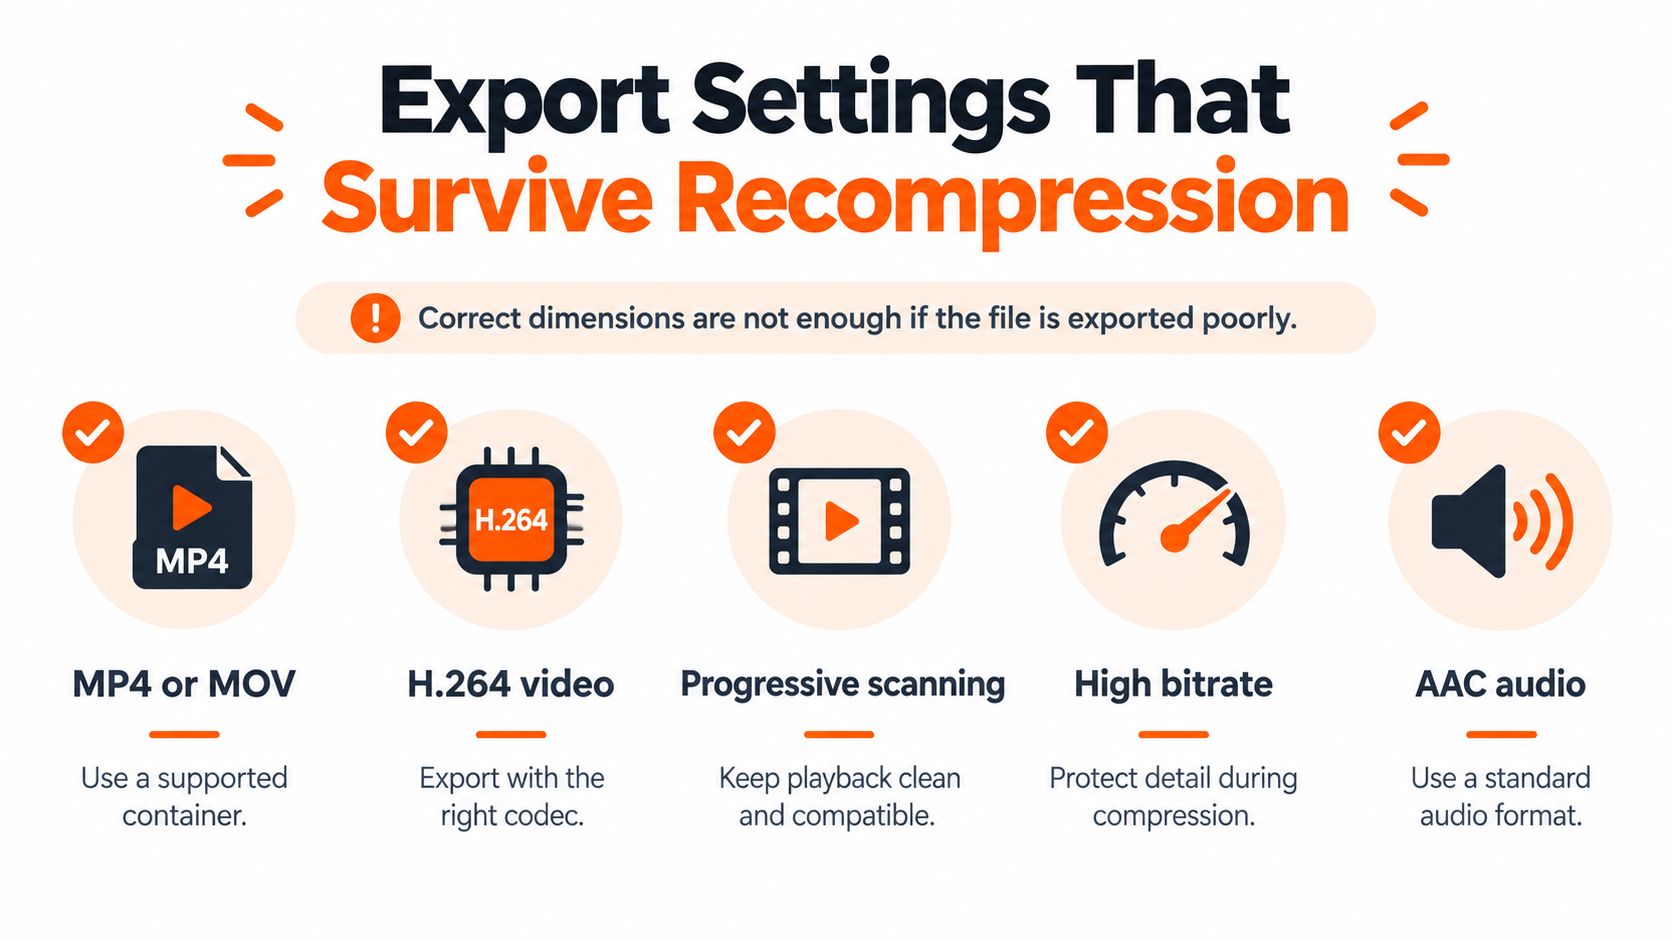
Use the encoding values in the spec reference as a saved delivery preset. Don't rely on a preset called “social” without opening its settings and checking what it produces.
The export checklist is straightforward.
<a id="before-you-render"></a>
Before you render
- Container and codec: Confirm the recommended pairing rather than checking only the file extension.
- Scanning and pixels: Keep progressive scanning and square pixels enabled.
- Motion timing: Match the intended delivery frame rate throughout the project and export.
- Audio: Include the voiceover, dialogue, and music in the final audio stream.
- Source quality: Render from the finished project rather than using a previously compressed delivery file as your new master.
Changing frame rates at the last export can create uneven motion or synchronization problems. Don't switch just because a higher setting sounds better. Retain the higher-motion option when the source and the creative decision justify it.
A higher-resolution source gives Instagram more detail to work with than the lower practical resolution. That matters particularly for small lettering, facial features, and fine background elements. It doesn't mean a heavily compressed source becomes sharp just because you enlarge its dimensions.
Avoid treating bitrate as a magic repair setting. Give the encoder enough room to preserve visible detail, then inspect the rendered captions and moving edges. No universal bitrate number is needed to recognize blocky text or a face that has lost definition.
<a id="safe-zones-and-the-overlay-problem"></a>
Safe Zones and the Overlay Problem
The useful question isn't only where the video ends. It's where the viewer can still read and recognize the important content once Instagram adds its interface.
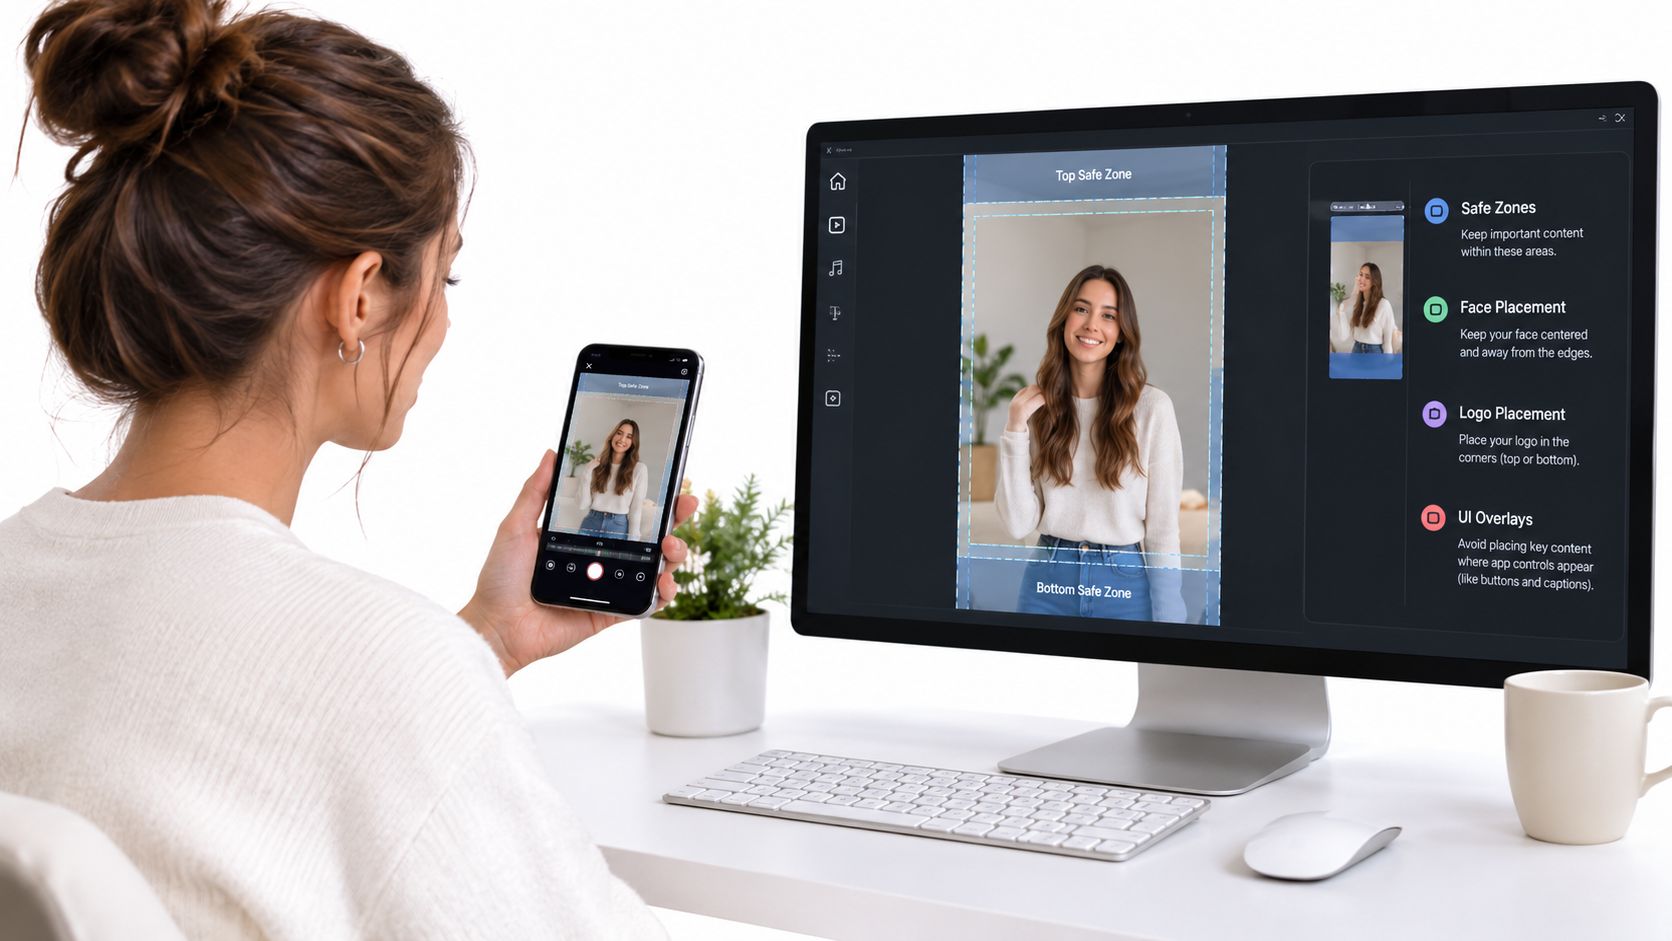
During playback, interface elements occupy the top, bottom, and right side. Safe-zone guides don't always agree on a single exclusion box, which is why Adobe's Instagram Reel size guidance is best applied as a composition problem rather than a guarantee that every point inside a template is equally usable.
Check the actual content while framing, not just the boundary lines.
<a id="use-a-content-aware-layout"></a>
Use a content-aware layout
- Faces and identifying details: Keep them comfortably central, including when a character leans or turns.
- Right-side controls: Leave this area for background rather than product labels or dialogue text.
- Subtitles: Position them above the lower caption and audio area.
- Logos and calls to action: Give them breathing room instead of attaching them to a frame edge.
A Reels ad safe zone template from Nereo can help you inspect an ad layout. Use it as a checking aid, not proof that the same arrangement will read clearly in every publishing context.
For caption preparation, follow a deliberate workflow for adding subtitles to a video. Caption readability depends on placement as well as wording and contrast.
A correctly sized video can still be unusable if Instagram's controls cover the sentence the viewer needs to understand.
Don't force everything into a cramped central pile. Separate the subject, supporting text, and subtitle region within the available middle space. Use the outer frame for scenery, texture, and atmosphere that can tolerate obstruction.
Review moving scenes, not just still frames. A face that starts centrally can drift beneath the controls later, and a short caption can fit where a longer spoken line won't.
<a id="how-crops-change-your-cover-and-first-frame"></a>
How Crops Change Your Cover and First Frame
A strong full-screen composition can make a weak thumbnail. The character may be recognizable during playback but disappear from a cropped preview because you placed them too high or too low.
For a centered 4:5 feed crop, approximately 285 pixels disappear from both the top and bottom of a 1080 x 1920 frame. A centered 3:4 profile-grid crop removes roughly 240 pixels from each end, according to BlitzReels' dimensions and crop guide.
<a id="what-the-crop-removes"></a>
What the crop removes
| Placement | Editorial risk | Better placement |
|---|---|---|
| Feed preview | A headline near the top disappears | Keep the hook near the central subject |
| Profile grid | A character's identifying features get clipped | Frame the face with room around it |
| Full-screen playback | Excessive central stacking feels crowded | Use outer space for nonessential atmosphere |
These crop measurements are useful tests, not a promise that every Instagram preview will always use the same shape. Check the crop offered in the publishing interface rather than designing against an old screenshot.
The cover and opening frame have different jobs. The cover should identify the story at a glance. The opening frame should begin the story without requiring viewers to reconstruct information that was only visible on the cover.
For a recurring-character series, put the recognizable face and episode hook together in the central region. A dramatic skyline can extend beyond it. The skyline can survive being partially removed; the character's eyes or the title usually can't.
If you're building a cover from a still, this guide to adding a photo to a video can help with the asset workflow.
Cover check: Hide the outer portions of the frame and ask whether the remaining image still identifies the story.
More canvas doesn't automatically mean more dependable space for essential information. Compose with the full frame, but make the preview understandable without its edges.
<a id="verifying-your-reel-before-you-publish"></a>
Verifying Your Reel Before You Publish
A desktop preview is useful for editing. It isn't the final viewing environment. Check the exported file, the phone presentation, and the cover crop separately because each reveals a different kind of failure.
<a id="inspect-the-file-first"></a>
Inspect the file first
Open the rendered file's properties and compare its resolution, aspect ratio, frame rate, container, and codec with the reference settings above. Confirm the running time as well. This catches a wrong preset or an accidentally exported horizontal version before you spend time judging its layout.
<a id="then-inspect-the-viewing-experience"></a>
Then inspect the viewing experience
- Play the rendered video on a phone. Watch dialogue, product details, and captions at normal viewing size. Pause where the longest subtitle appears and where a subject approaches an edge.
- Review the publishing preview. Check the relationship between your text and Instagram's interface rather than assuming the clean local player represents the final layout.
- Inspect the cover and opening separately. Test the feed and profile crop examples described earlier, then verify the actual crop controls available when publishing.
Don't let a successful file-properties check stand in for visual review. It can confirm encoding, but it can't tell you whether the title is too small to read.
Likewise, a good-looking cover doesn't confirm that later subtitles stay clear of the controls. Testing the rendered file on a phone is the quickest practical way to catch a composition problem that a spec sheet won't reveal.
<a id="choosing-a-tool-that-outputs-the-right-spec"></a>
Choosing a Tool That Outputs the Right Spec
A portrait export alone doesn't make a tool right for Reels. Compare what it delivers and where you still need to edit: a generator may create separate shots, while a story tool can assemble a finished video. The frame also has to work across surfaces, since feed, profile-grid, and full-screen views can crop the same image differently.
| Tool category | Examples | Practical distinction |
|---|---|---|
| Clip generators | Runway, Kling, Veo, Hailuo | Make individual shots; you assemble the story |
| Template editors | InVideo, Pictory | Build around stock-footage workflows |
| Faceless shorts tools | Revid, StoryShort, Zebracat | Focus on shorts rather than longer narrative production |
| Avatar tools | HeyGen, Synthesia | Make presenter-led videos rather than character stories |
| Finished story generation | ClipNova | Produces the story, scenes, narration, captions, and music together |
ClipNova creates finished videos up to 5 minutes and 1080p. It exports MP4 in 9:16, 1:1, and 16:9 for TikTok, Reels, Shorts, YouTube, LinkedIn, and X. Each render can be auto-resized to those formats in one click.
<a id="match-the-tool-to-the-remaining-work"></a>
Match the tool to the remaining work
For a project that needs continuity across episodes, ClipNova's Series feature includes story memory. Its AI Story Video Generator builds a storyboard with a hook, developing scenes, a twist, and an ending or cliffhanger. It can deliver the script, scenes, voiceover, captions, and music together. These capabilities reduce assembly work, but don't guarantee that a subject or title survives every crop.
Treat each aspect ratio as a separate layout decision. Keep faces, titles, and key action in the part of the frame that remains visible in the feed, profile grid, and full-screen view. Auto-resizing creates alternate formats, but review each version for framing rather than assuming one crop will suit every surface.
For footage-led projects, editing priorities differ from story generation. This guide to choosing a video editor for time-lapse explains what to consider when working with recorded footage.
<a id="producing-a-correctly-sized-reel-from-a-long-story"></a>
Producing a Correctly Sized Reel from a Long Story
Start with the publishing destination while the script is still flexible. It's easier to shorten a scene on the page than to remove it after narration, captions, and transitions have been built around it.
ClipNova episodes run 30 seconds, 1, 2, 3, or 5 minutes. The shorter options fit within the documented Reel ceiling; the longest option needs splitting or adaptation for that placement.
<a id="build-around-a-complete-narrative-unit"></a>
Build around a complete narrative unit
- Write or paste the episode. Give the Reel a clear situation, development, and ending or intentional cliffhanger. Don't cut a longer story at an arbitrary point just to satisfy the duration.
- Choose the vertical output before generation. Describe important staging accordingly. A conversation should remain understandable without needing both characters at opposite edges of a wide shot.
- Generate the finished video. Review the scenes alongside the narration, not as isolated images.
- Inspect captions and movement. Check long lines, speaking faces, and product demonstrations against the overlay and crop rules.
- Export and perform the phone checks. Review the delivered file rather than relying only on the project preview.
Captions in the AI Story Video Generator are transcribed from the narrator and burned in as the lines are spoken, in the same language as the story. They stay big, readable, and consistent across the video.
That makes caption placement a production decision, not something to leave until upload. Burned-in text is part of the picture. If it collides with the lower interface, the remedy is a corrected render, not a different Instagram caption.
For serialized stories, give each adapted episode enough context to stand on its own while keeping the character and plot thread consistent.
<a id="quick-reference-and-your-next-step"></a>
Quick Reference and Your Next Step
Use this lookup alongside the detailed canvas, export, and crop guidance above. The figures below consolidate those specifications rather than introducing additional upload requirements.
<a id="instagram-reels-quick-reference"></a>
Instagram Reels Quick Reference
| Item | Value | When It Applies |
|---|---|---|
| Canvas | 1080 x 1920 pixels | Full-screen production master |
| Aspect ratio | 9:16 | Vertical Reel composition |
| Published minimum resolution | 720 pixels | Technical floor, not the preferred target |
| Standard frame rate | 30 fps | Routine delivery |
| Intentional fast-motion option | 60 fps | When supported by the source and creative intent |
| Container and codec | MP4 or MOV with H.264 | Compatible export workflow |
| Audio | Stereo AAC | Final mixed audio |
| Reel duration | Up to 3 minutes | Documented publishing ceiling |
| Centered feed crop example | 4:5, about 285 pixels removed at each end | Cover and opening-frame checks |
| Centered profile crop example | 3:4, about 240 pixels removed at each end | Profile-grid checks |
Keep essential faces and text central, leave the right rail clear, and keep subtitles above the lower interface. That content-aware rule is more useful than assuming a single safe-zone rectangle will solve every layout.
The AI Story Video Generator exports watermark-free videos with full commercial rights, including vertical versions for Shorts, Reels, and TikTok and widescreen versions for YouTube. Its longer-video capability gives you room to develop a story, but the destination still determines the final cut.
The right dimensions for Instagram Reels are only useful when the rendered story survives playback, previews, and the cover crop.
ClipNova AI makes finished long AI videos with consistent characters, including the script, scenes, voiceover, captions, and background music in one pass. Visit ClipNova AI to explore the workflow, then make your first video, choose the vertical Reel format, and check the rendered frame and cover crop before publishing.
Ready to ship your own?
Start creating viral videos with AI in under twenty minutes, no credit card required.