
You've added the photo, scaled it to fill the frame, and exported the clip. On your phone, the result looks strangely soft. The subject sits beneath the captions, the logo vanishes behind the interface, and the image stays on screen long enough to interrupt the story without giving viewers a useful detail.
That workflow completes the edit, but it doesn't necessarily improve the video. To add a photo in a video effectively, you need to make four decisions before export: what job the image performs, where it sits, how long viewers need to see it, and which format protects it after platform compression.
Table of Contents
- Why Most Photo Overlays Underperform
- Preparing the Photo and Project Before You Insert
- Adding the Photo to Your Timeline and Animating It
- Picking the Right Placement Style for Retention
- Export Settings for Shorts, Reels, and TikTok
- Rights, Reuse, and Localization You Should Not Skip
- A Repeatable Checklist Before You Hit Export
<a id="why-most-photo-overlays-underperform"></a>
Why Most Photo Overlays Underperform
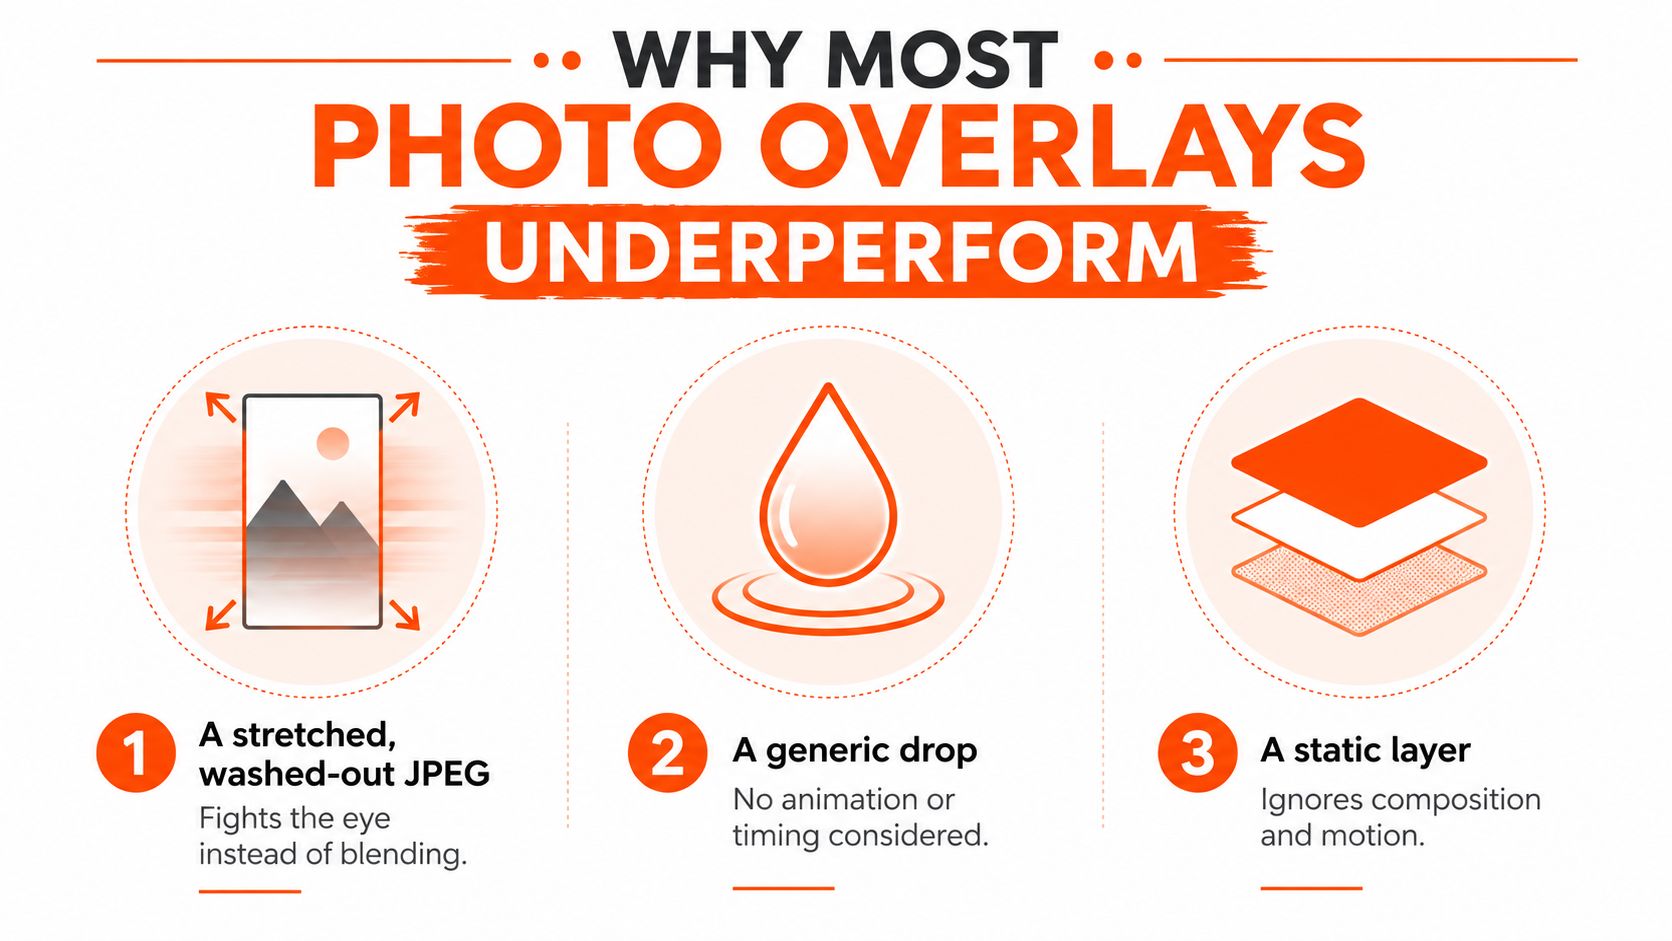
A photo overlay usually fails before the editor notices a technical problem. The creator drops the image onto the timeline, stretches it until it fits, adds a default transition, and moves on. The result may be technically correct, but it has no editorial purpose.
A washed-out image stretched across a vertical frame competes with the speaker. A portrait placed directly over a talking head hides the expression viewers were following. A product image pushed into a corner can disappear beneath captions, handles, or platform controls. In each case, the photo adds visual activity without adding information.
<a id="give-the-image-a-clear-job"></a>
Give the image a clear job
Before importing anything, finish this sentence: “The photo is here to…”
- Introduce a person or place: Show the face, location, or object the narration names.
- Prove a moment: Use a receipt, screenshot, before-and-after image, or product detail as evidence.
- Break up pacing: Replace a visually repetitive shot with a deliberate change in texture.
- Support an action: Keep a product, offer, or visual reference visible while the voice explains it.
If you can't name the job, the image is probably decoration. Decoration can work in a montage, but it needs rhythm and composition rather than a random layer dropped over moving footage.
The history of editing helps explain why this workflow feels so natural today. The move from linear tape-to-tape editing to non-linear digital editing in the 1990s gave editors instant access to frames, sequences, and still images without rebuilding physical cuts. Earlier milestones included the first practical video tape recorder in 1956 and the CMX 600 editing suite in 1967, but non-linear editing made modern photo-in-video workflows practical across professional production. This history of editing provides useful context.
Editorial rule: If the photo doesn't clarify the line, change the pace, or direct attention, remove it.
Visual sharing has also made photo-and-video combinations routine. An industry summary reports that more than 3.2 billion images and 720,000 hours of video are shared daily on social platforms, while Pew Research found that 56% of internet users had posted original photos or videos online and 47% had shared photos or videos found elsewhere. The visual-sharing figures help explain why viewers understand the format, but familiarity doesn't excuse weak placement.
<a id="preparing-the-photo-and-project-before-you-insert"></a>
Preparing the Photo and Project Before You Insert
The cleanest overlay starts with the original asset, not the version downloaded from a chat, presentation, or social post. Keep the highest-resolution master available, then scale it once to the project canvas. A source image at native or higher-than-output resolution gives the editor room to downscale cleanly, while an already reduced image may become visibly soft when enlarged.
Avoid repeated resize and re-encode passes. Troubleshooting around low-quality image overlays consistently points to downscaled source assets and aggressive encoding as common causes of softness, banding, and edge artifacts, rather than the overlay operation itself. This technical discussion of image-overlay quality is especially relevant when an image looks sharp in the media bin but weak in the exported video.
<a id="set-the-project-before-importing"></a>
Set the project before importing
Create the timeline first, then prepare the image for that canvas. Confirm:
- Canvas and orientation: Choose horizontal, square, or vertical based on the final destination.
- Frame rate: Match the primary footage unless there's a deliberate reason to convert it.
- Color handling: Use a consistent color space so the photo doesn't shift after export.
- Image proportions: Check the photo's aspect ratio before applying a crop or fit mode.
- Track structure: Place the photo on a layer above the main video, not inside a destructive replacement edit.
Save the original on a locked track or in a separate master folder. That small habit prevents a cropped, graded, or resized working copy from becoming the only version you have.
| Output Format | Min Photo Resolution | File Format | Color Profile |
|---|---|---|---|
| Horizontal video | At least the project canvas resolution | PNG or high-quality JPEG | Consistent with the project |
| Vertical video | At least the project canvas resolution | PNG or high-quality JPEG | Consistent with the project |
| Square video | At least the project canvas resolution | PNG or high-quality JPEG | Consistent with the project |
Screenshots and HEIC files can introduce unexpected color or compatibility issues in some editing pipelines. Convert a troublesome asset to PNG or a high-quality JPEG, then inspect it against the footage before animating it. If the source needs enlargement, an AI image upscaler can be considered, but upscaling can't recreate important detail that was never captured.
For teams moving photos between storage, editing, and publishing workflows, video support features can also help keep media handling connected to the broader production process. Pre-render or cache the image after it lands on the timeline so scrubbing reflects the final composite instead of a constantly recalculated effect.
<a id="adding-the-photo-to-your-timeline-and-animating-it"></a>
Adding the Photo to Your Timeline and Animating It
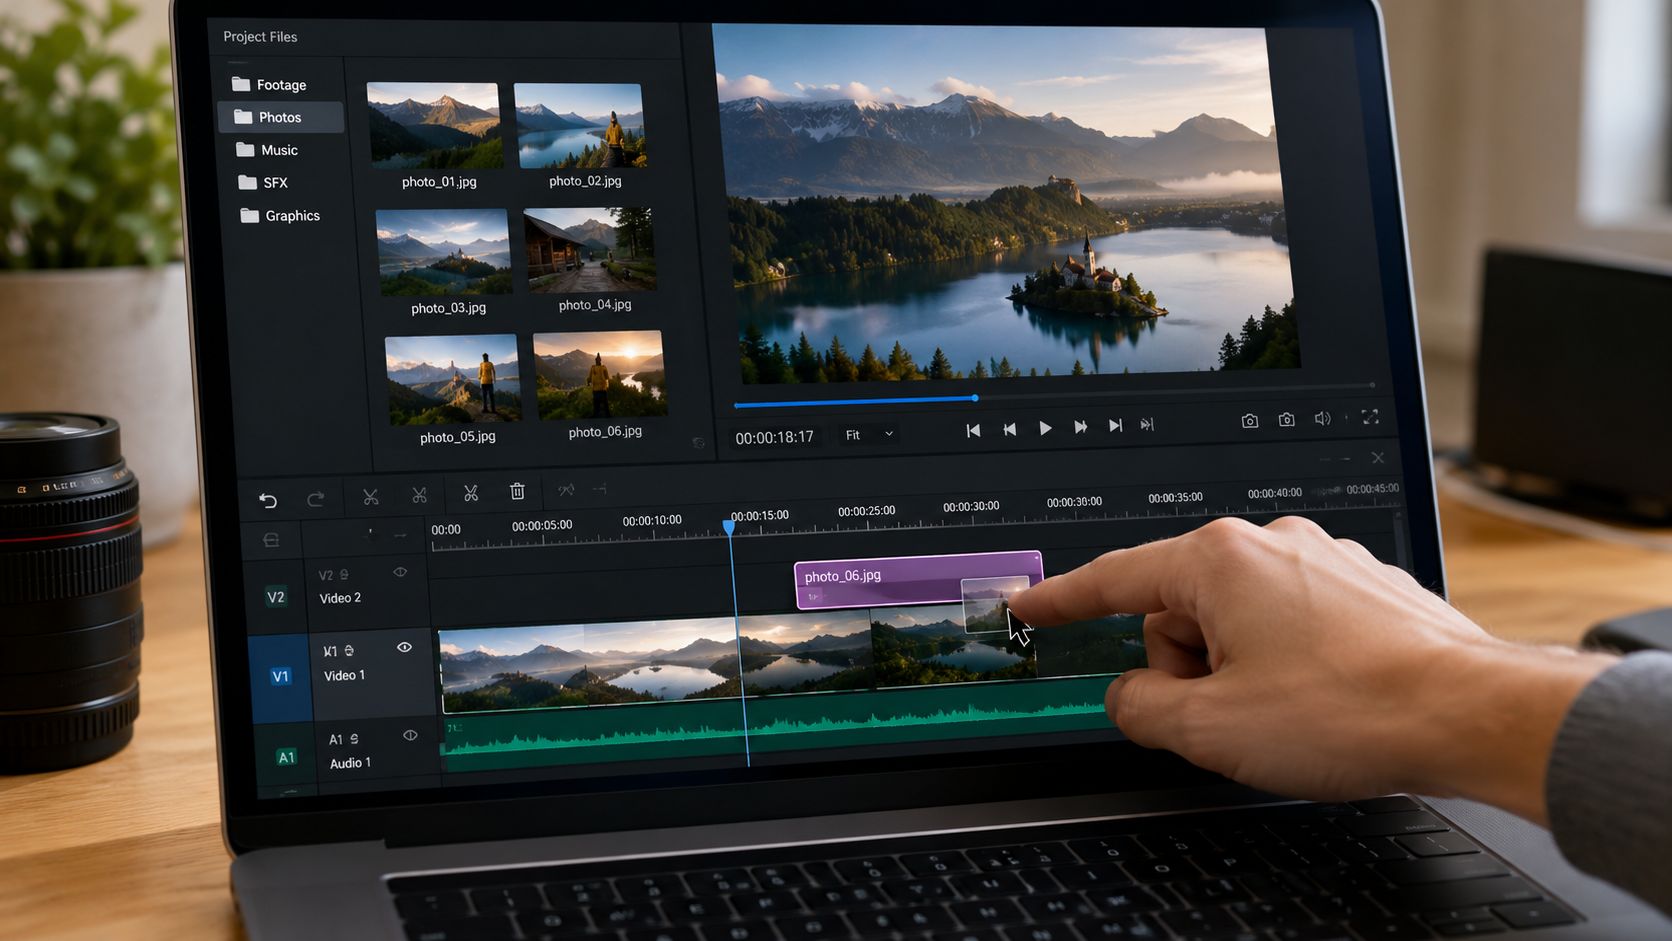
The insert itself is simple. Import the prepared still, drag it onto a track above the footage, and trim its in and out points to the spoken line, beat, or visual cue it supports. The craft comes from controlling its entrance, scale, and exit so the viewer notices the information, not the editing software.
<a id="build-the-overlay-around-the-frame"></a>
Build the overlay around the frame
Start with the crop-safe area. Keep important faces, logos, and text away from the lower part of a vertical frame, where captions, handles, and controls commonly compete for space. Check the actual platform preview rather than trusting the clean editor canvas.
For a portrait, a medium-to-large placement often works better than a tiny inset that can't be read. A logo or product detail may need only a corner anchor, but it still needs contrast and breathing room. Add a restrained shadow or thin stroke only when the background makes the edge difficult to read.
Practical rule: A photo should enter where the viewer can read it, not where the interface happens to leave an empty corner.
<a id="animate-with-restraint"></a>
Animate with restraint
Use a short eased entrance and a matching exit when motion serves the edit. A gentle fade, slide, or scale from a deliberate origin can make the image feel attached to the scene. Random spinning, elastic bouncing, and oversized zoom presets usually announce the effect and pull attention away from the message.
Keep the anchor point intentional. A face can scale from its center, while a product might rise from the lower third or slide into open negative space. Preview the transition at full speed, because a move that looks elegant frame by frame can feel sluggish or frantic in context.
For more controlled movement, guidance on smart scaling for cinematic clips is useful when the image needs to share space with moving footage. If you're turning a still into a more active visual rather than using a simple overlay, an image-to-video workflow can provide another approach, but inspect the generated motion for drift before publishing.
<a id="picking-the-right-placement-style-for-retention"></a>
Picking the Right Placement Style for Retention
Placement is an editorial choice. The same photo can clarify a story as a full-screen reveal, support a tutorial as a small inset, or weaken a scene when it covers the person viewers are trying to understand.
<a id="full-screen-freeze-frame"></a>
Full-screen freeze-frame
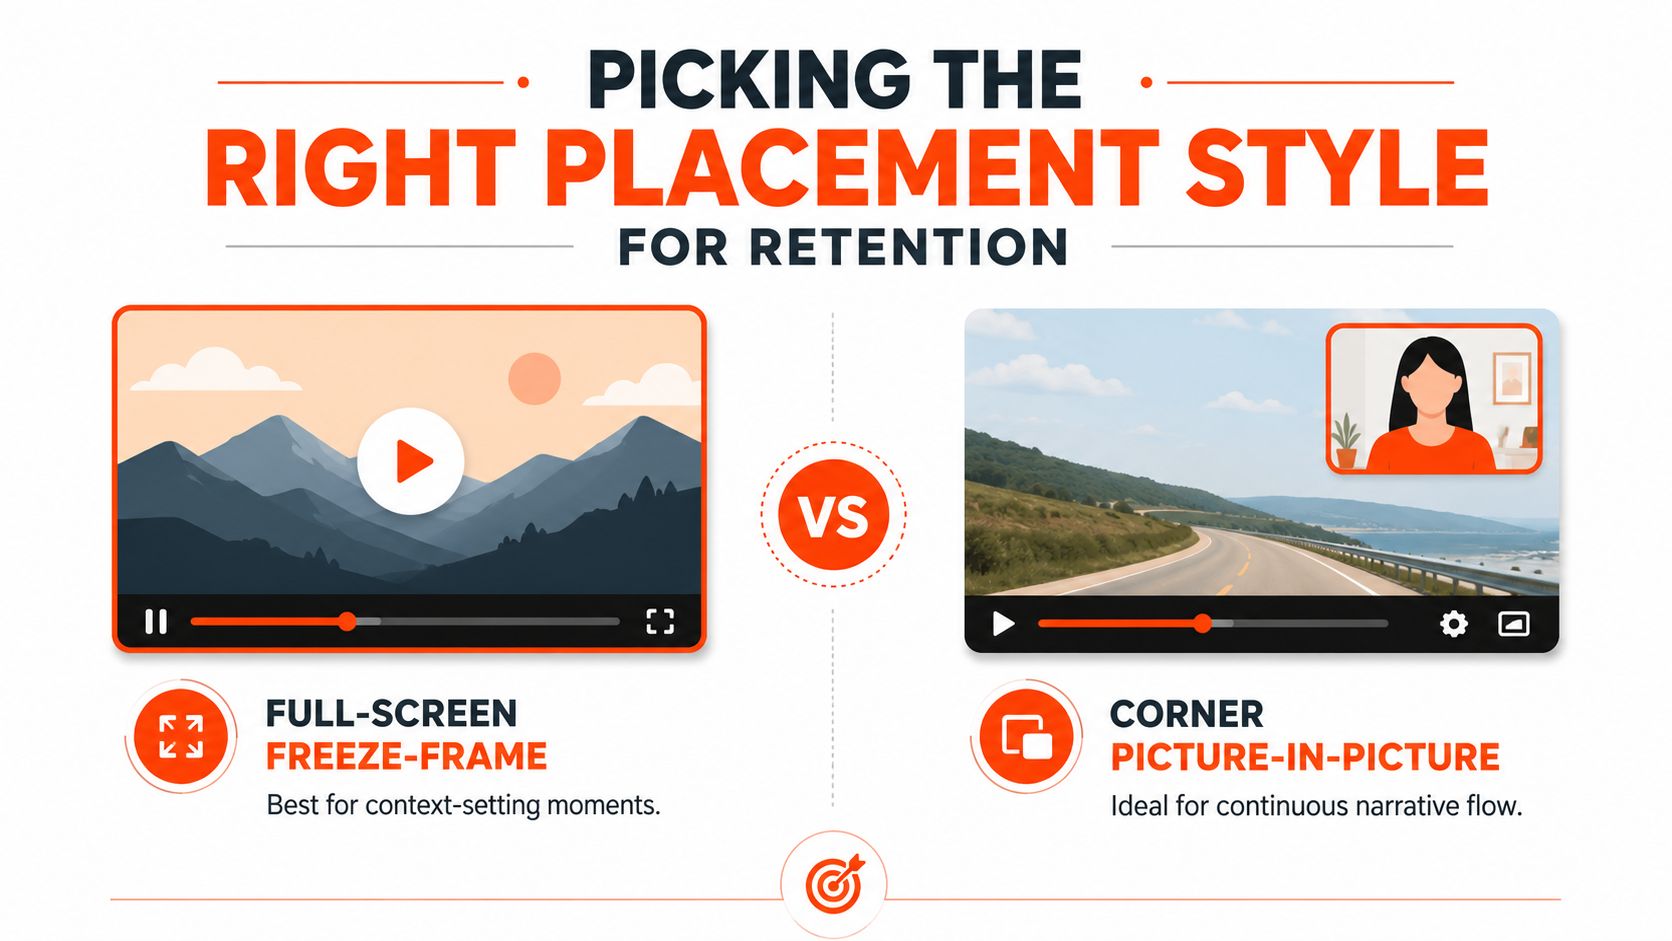
Use a full-screen still when the image itself is the information. A location, person, document, or before-and-after state needs enough uninterrupted space for recognition. Freeze the underlying action or replace it briefly, then return to motion once the viewer has understood the point.
This style works best for context-setting moments. It also creates a clear visual punctuation mark, which can help a fast sequence breathe without adding an unrelated transition.
<a id="picture-in-picture"></a>
Picture-in-picture
Picture-in-picture keeps the main video active while the photo answers a specific question. It suits tutorials, reactions, product demonstrations, and commentary where the speaker must remain visible.
Anchor the inset in open space, often toward the upper-right or lower-left, but judge the actual composition rather than applying a fixed rule. A corner that looks empty in the source footage may become unusable once captions or a call to action appear.
<a id="cutaway"></a>
Cutaway
A cutaway replaces the current shot with the photo for a short narrative beat. Use it when the image carries emotional or documentary weight, or when showing it full-frame makes the narration easier to follow.
Duration should follow the image's reading demand. A simple portrait registers quickly, while a screenshot with small text needs more time or a focused crop. Don't force every still into the same timing. The correct question is whether viewers can understand it before the story moves on.
<iframe width="100%" style="aspect-ratio: 16 / 9;" src="https://www.youtube.com/embed/ODRJkEGTI_U" frameborder="0" allow="autoplay; encrypted-media" allowfullscreen></iframe>For AI-assisted insertion, temporal stability matters as much as visual quality. Modern evaluation frameworks examine control alignment and local edits across frames, and benchmark suites use multiple metrics because identity preservation, motion smoothness, and image quality can conflict. One reported in-context video-editing evaluation recorded a 25% success rate at turn-5. The benchmark discussion supports a practical conclusion: simpler edits, clean borders, compatible aspect ratios, and a final frame-by-frame stability check reduce avoidable failures.
<a id="export-settings-for-shorts-reels-and-tiktok"></a>
Export Settings for Shorts, Reels, and TikTok
A platform will usually process the uploaded file again, so your export should arrive with a clean frame, a compatible codec, and enough visual information to survive another compression pass. Render at the final aspect ratio instead of adding black bars that force the platform to interpret the canvas again.
For vertical short-form work, set the project to a vertical canvas and confirm that the inserted photo fills or fits that canvas intentionally. Use H.264 when compatibility matters most. H.265 can be useful when the editor and destination support it reliably, but a smaller file isn't worth a failed upload or unexpected conversion.
| Platform | Resolution | Frame Rate | Codec | Bitrate |
|---|---|---|---|---|
| YouTube Shorts | 1080 × 1920 | 30 fps, or 60 fps for motion-heavy footage | H.264, H.265 where accepted | High-quality target suited to the source |
| Instagram Reels | 1080 × 1920 | 30 fps, or 60 fps for motion-heavy footage | H.264, H.265 where accepted | High-quality target suited to the source |
| TikTok | 1080 × 1920 | 30 fps, or 60 fps for motion-heavy footage | H.264, H.265 where accepted | High-quality target suited to the source |
The specific export values above are practical project targets, not universal platform guarantees. Check the destination's current upload requirements when a campaign depends on exact technical compliance. Keep audio consistent, avoid clipping, and watch the render on a phone before publishing. A desktop preview won't reveal how small the photo text becomes beside mobile captions.
Export judgment: If the image looks barely sharp in your master file, it won't become sharper after upload.
Add subtitles as a separate quality check, especially when the photo supports spoken information. A dedicated guide to adding subtitles to a video can help you keep captions legible without covering the image. For product and commerce edits, trust-building video tips can also inform how the added photo supports credibility rather than functioning as visual filler.
<a id="rights-reuse-and-localization-you-should-not-skip"></a>
Rights, Reuse, and Localization You Should Not Skip
A photo can look harmless in an edit and still create a rights problem at publication. Search results, social posts, screenshots, and third-party image packs may belong to someone else, even when anyone can view or download them. Risk increases when the video becomes an advertisement, supports a product, or is distributed across markets.
Check the license before importing the asset. Record the source, rights status, permitted use, creator or provider, and the date it entered the project. Confirm commercial use, modification, resale, attribution, and platform distribution separately, because one permission may not cover all five.
<a id="fair-use-isnt-a-shortcut"></a>
Fair use isn't a shortcut
A border, zoom, crop, or transition does not transfer ownership. If commentary, criticism, education, or comparison depends on the image, run this three-question check:
- Is the image necessary to the commentary?
- Is the amount shown necessary for that purpose?
- Could a lower-resolution or cropped version serve the same purpose?
The answers do not determine the legal result, which depends on the jurisdiction and the facts. They do expose weak justification before the edit reaches a client or paid campaign. A decorative overlay usually has a weaker case than an image directly examined, compared, or criticized.
Separate organic reuse from paid reuse. Permission for a personal post may exclude advertising, product packaging, or client work. If the status remains unclear, replace the asset or obtain written permission. Keep the approval with the project files so another editor does not make the same assumption later.
<a id="localize-the-visual-not-only-the-voice"></a>
Localize the visual, not only the voice
Create a master template with editable text layers before producing language versions. Use the video editor's duplicate-track feature to swap localized text without rebuilding the composite. Then review line breaks, font size, safe positioning, and the crop around faces, product labels, and cultural identifiers.
Translated narration does not repair wording baked into the photo. Store the original image, approved crops, localized text versions, and license record together in the asset library. That setup keeps each market version consistent, reduces rushed substitutions, and gives the editor a clear record of which image is approved for reuse.
<a id="a-repeatable-checklist-before-you-hit-export"></a>
A Repeatable Checklist Before You Hit Export
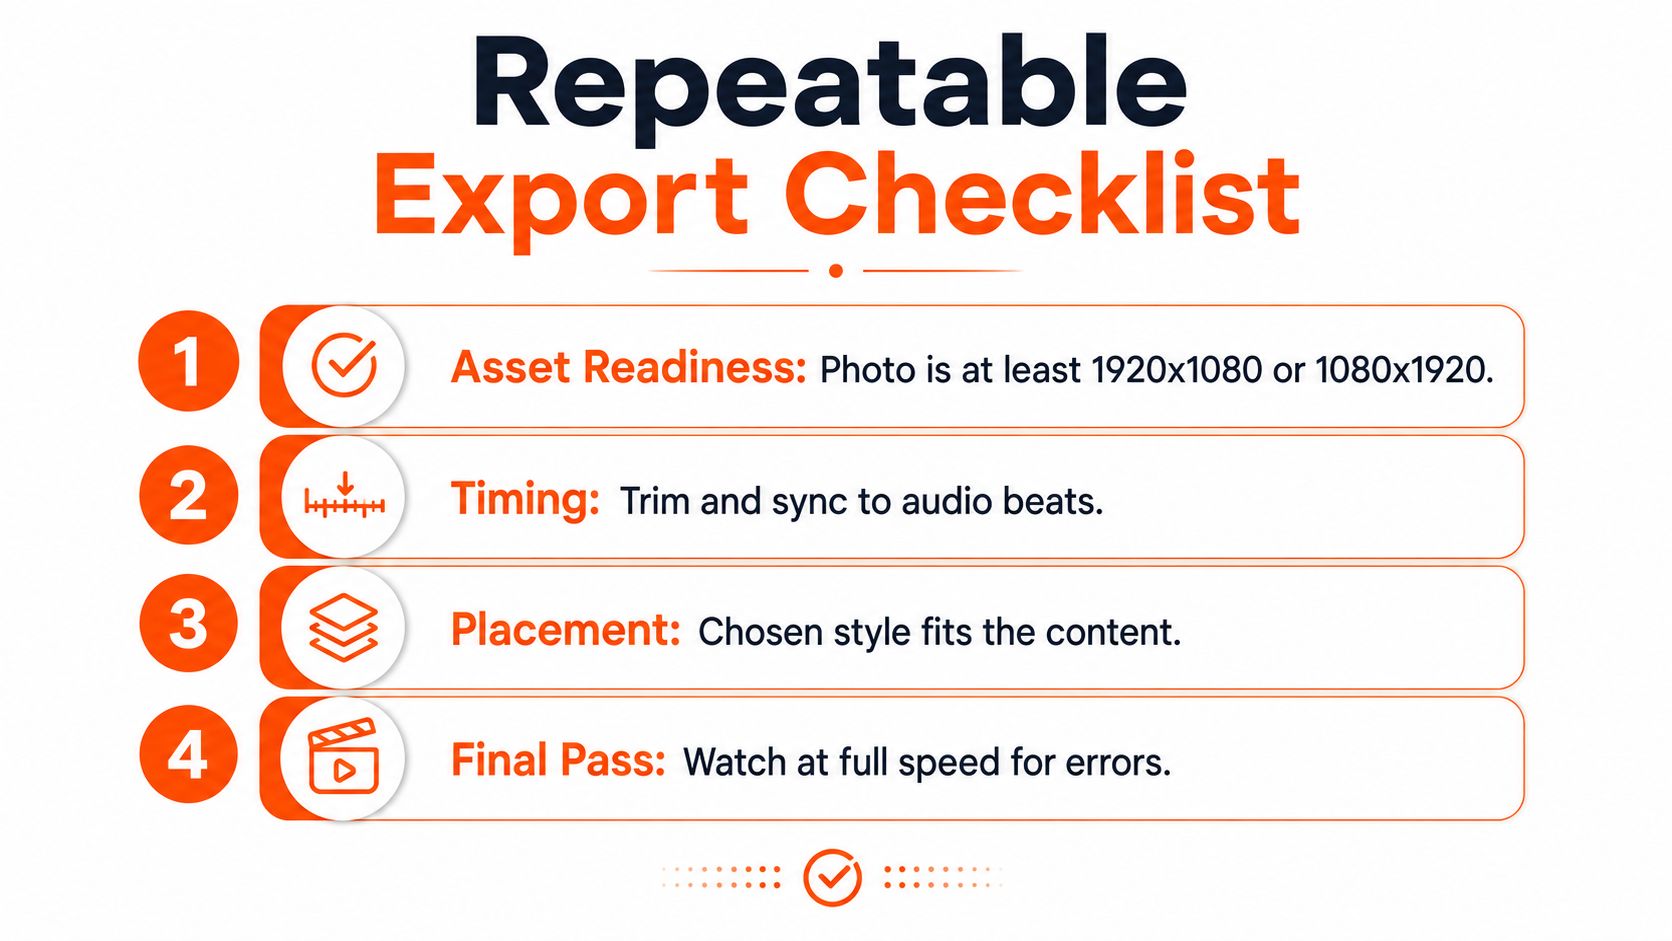
A final review should be short enough to use on every clip. Start with the asset, then inspect the timeline, placement, rights, and render. This catches more problems than another round of decorative animation.
<a id="asset-readiness"></a>
Asset readiness
Confirm that the photo is sharp at the project size, saved in a suitable format, and protected by an untouched master copy. Check every face, product edge, and important text against the crop-safe area.
<a id="timeline-timing"></a>
Timeline timing
Scrub from before the entrance through the exit. The still should appear on the correct layer, support the relevant spoken beat or visual cue, and leave without a drifting keyframe or accidental gap.
<a id="placement-and-retention"></a>
Placement and retention
Ask what the image contributes. If it introduces context, give it enough uninterrupted space. If it supports continuous narration, use a picture-in-picture position that avoids captions and controls. If it covers the speaker without adding essential information, move it or remove it.
<a id="final-pass"></a>
Final pass
Before queueing the upload, verify the destination canvas, frame rate, codec, and quality target. Check audio peaks, watch the full render at normal speed, and review it on a phone. A technically clean export can still fail editorially if the photo arrives too early, stays too long, or competes with the hook.
The larger workflow is simple: preserve the source, compose for the destination, animate only with purpose, clear the rights, and review the actual export. Adding a photo in a video is not finished when the layer fits the frame. It's finished when the image makes the story easier to understand and survives the journey to the viewer's screen.
If you want to turn still images into structured short-form clips, visit ClipNova to create photo-driven videos with generated motion, captions, voiceover, music, and multi-aspect exports in one workspace. Use it to test a clean photo overlay against a more animated image-to-video version, then choose the cut that best serves the story.
Ready to ship your own?
Start creating viral videos with AI in under twenty minutes, no credit card required.