
You've got a script in one tab and a clip generator in the other. The first five-second shot comes back better than you expected: right light, right mood, a face that nearly matches the one in your head. So you paste the next prompt. The light goes cold, the jacket changes from grey to navy, and the character you invented a minute ago now looks like a cousin of the original.
That's the gap between making shots and making a story. A story isn't a pile of good-looking clips. It's a sequence where the same person walks through the same world and something changes between the first second and the last.
The unit that holds that together is the scene. Plan in scenes and the parts that used to feel like luck stop being luck: the face, the runtime, the captions, even the label you put on the upload.
Table of Contents
- What an AI Scene Is and Why It Matters
- How to Build AI Scenes from Script to Export
- Keeping the Same Character Across Every Scene
- Aspect Ratios and Sizes for Each Platform
- Common Scene Failures and How to Fix Them
- Disclosing AI Scenes on YouTube and TikTok
- Make Your First AI Scene Video
<a id="what-an-ai-scene-is-and-why-it-matters"></a>
What an AI Scene Is and Why It Matters
An AI scene is one generated, shot-sized piece of video: a place, the characters standing in it, an action, a light source and a camera move, usually built to match a single line of narration. It's the smallest unit you can approve, reject or regenerate without disturbing the rest of the video.
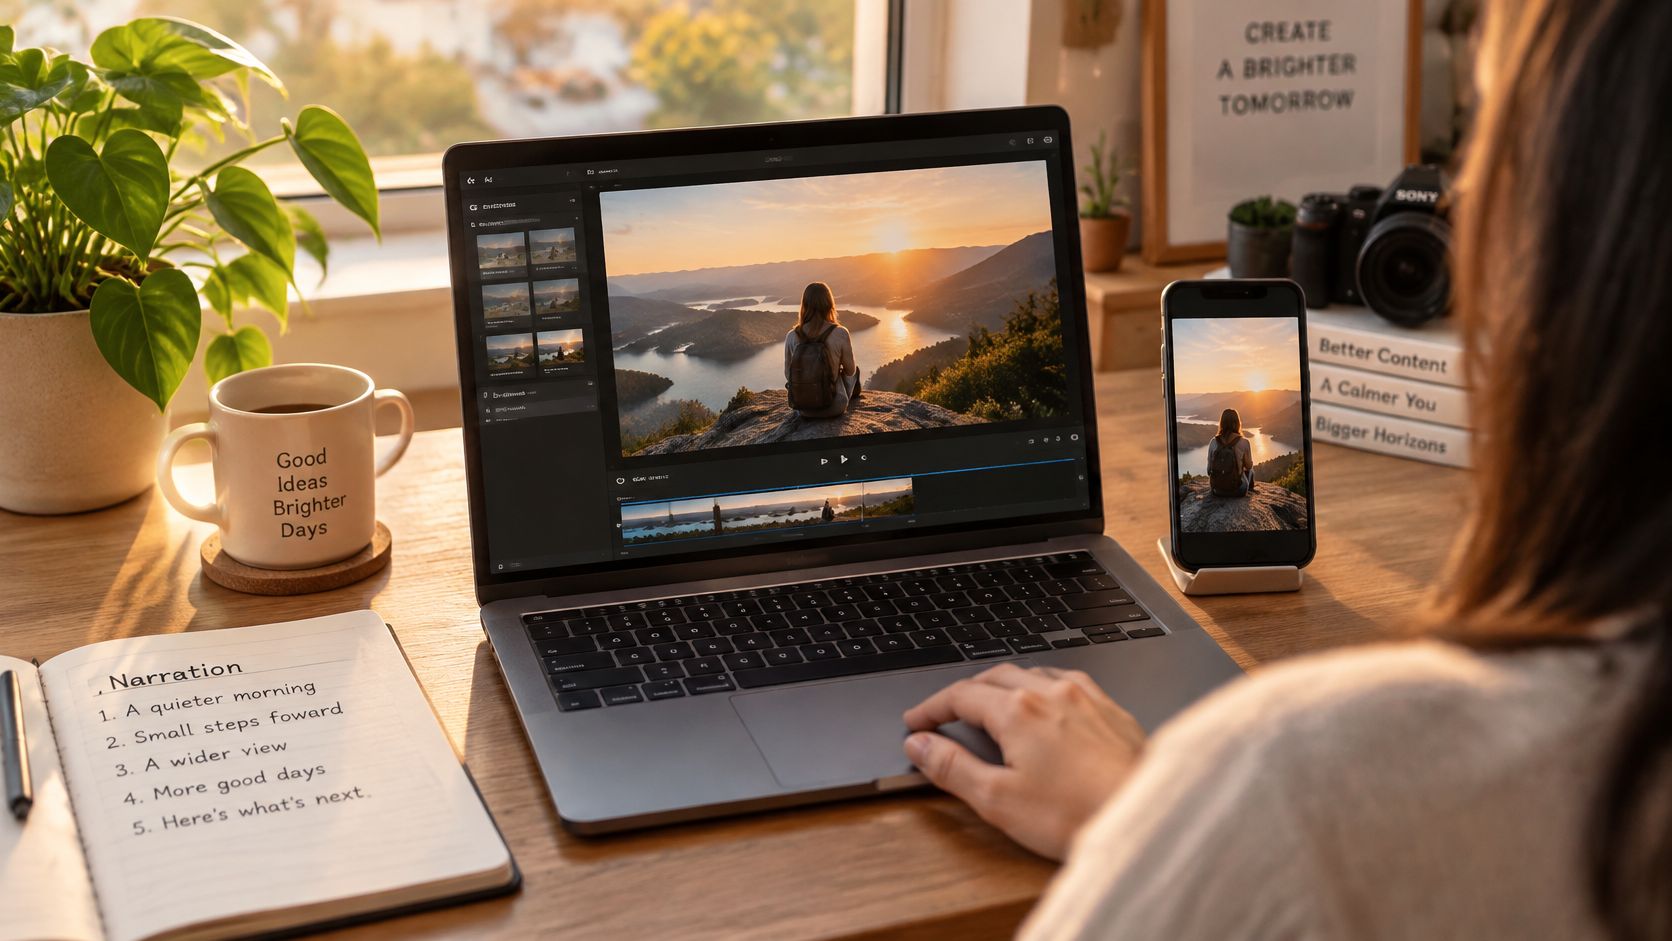
Here's the desk where that work happens, hours before the export button matters.
A comic book is the closest comparison. One panel captures a single moment from a single angle, and nobody judges an issue by one panel. A scene is that panel. The finished video is the whole issue, with voiceover, captions and music running across the pages.
What separates a scene from a clip is obligation. A standalone clip answers only to its own prompt. A scene has to answer to the one before it and the one after: the same face, the same world, matching light, and a length that fits the line it covers.
That's why serious planning happens in scenes now. In 2025, 41% of businesses reported using AI for video creation, up from 18% in 2024, according to Wistia's survey and analysis of more than 14 million videos, drawn from 100,000 businesses and 1,300 professionals. A five-minute story is dozens of connected units, not one prompt.
The limit is worth stating plainly: scenes are invented from text and reference images, so nothing in the frame is there by accident. If you don't specify the setting, the light and the wardrobe, the model invents them again on the next scene, differently.
Quick test: if your project is a story, an explainer or an animated sequence, you're building AI scenes. If it's a talking head, a screen recording or a product demo on a fixed camera, you're not, and scene planning will only slow you down.
<a id="how-to-build-ai-scenes-from-script-to-export"></a>
How to Build AI Scenes from Script to Export
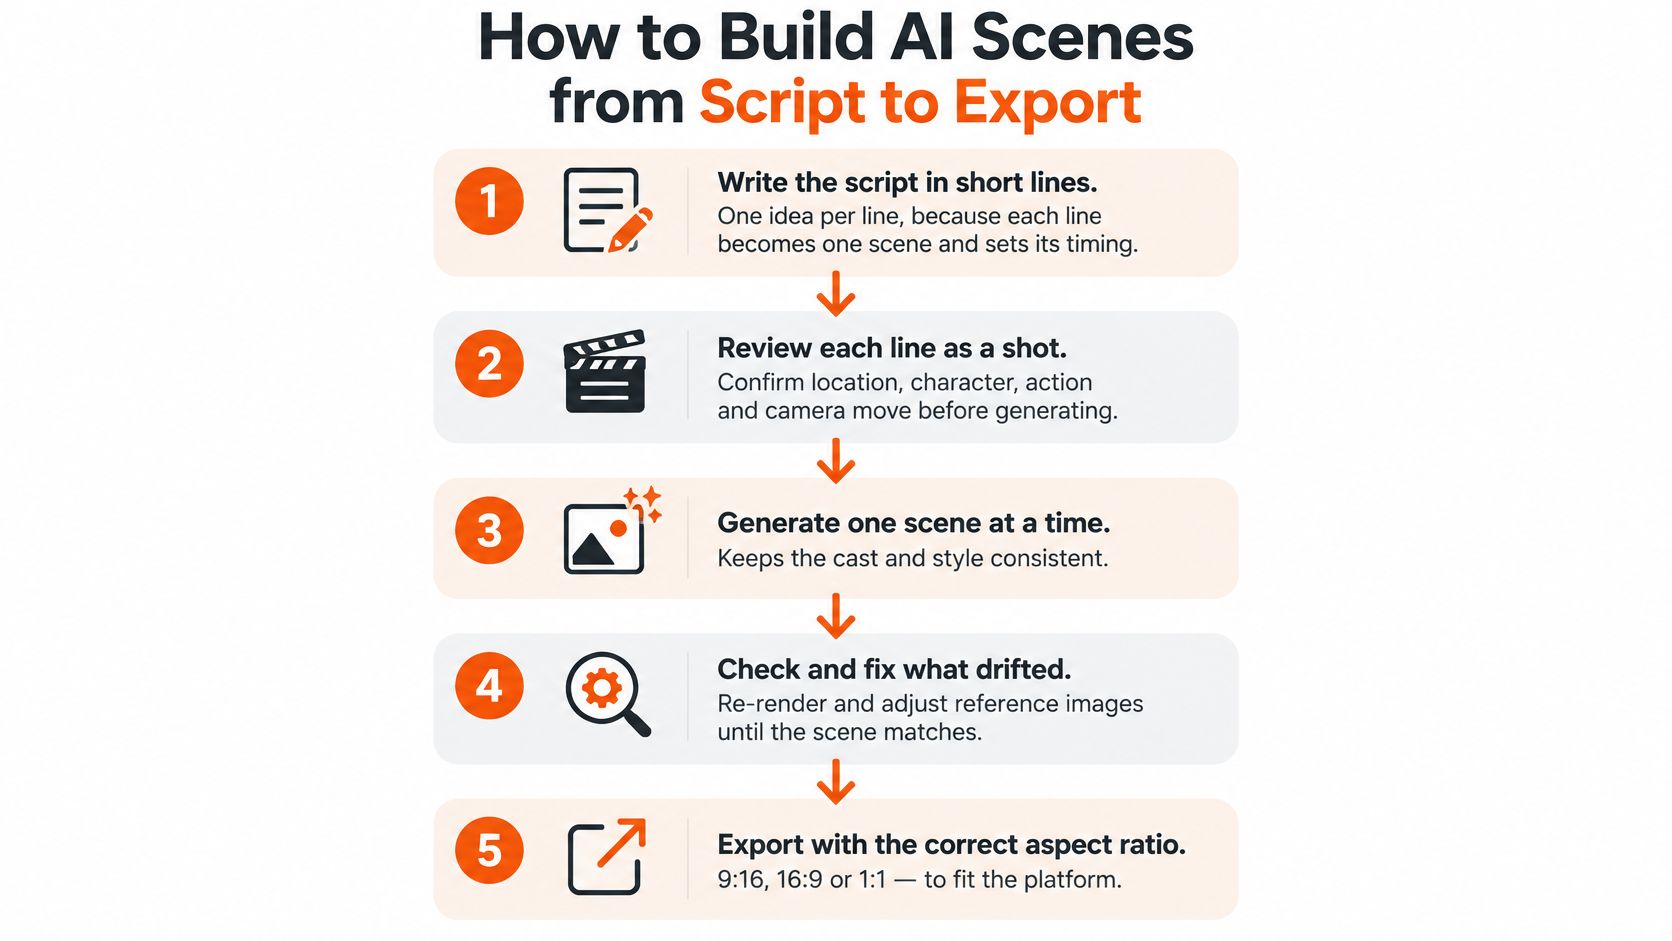
Most AI videos that fall apart don't fall apart at the generation step. They fall apart in the order the work was done, because a scene built before the character is locked has to be thrown away.
The sequence below is the one that survives contact with a real deadline.
-
Write the script in short lines. One idea per line, because each line becomes one scene and sets how long that scene has to run. The usual slip is a thick paragraph of narration that forces you to split one thought across two scenes, which then have to match each other. If the script arrives as a PDF, tips for analyzing PDFs with AI will pull clean text out of it faster than retyping.
-
Turn each line into a shot note. For every line, write down the location, who's in frame and what happens. Leave the location blank and the model invents a new planet for the next scene.
-
Fix the visual style and the frame shape before generating anything. Style decides how the whole video reads, and frame shape decides what fits on screen. Change either one after twenty scenes and you're regenerating twenty scenes.
-
Lock each recurring character first. One saved reference image per character, face and wardrobe, before the first scene exists. Skip it and you spend the review pass comparing twenty different actors.
-
Write one prompt per scene. Location, action, camera move, lighting, and the same character wording every time. The text to video prompt guide breaks down how much detail each of those needs. The common slip is a prompt that describes the mood and forgets the camera, so a moment that needed a close-up arrives as a wide shot.
-
Generate drafts in script order and review them in script order. Neighbouring scenes are the ones that must cut together, so judge them while both are fresh. Approving scenes at random is how a lighting jump survives all the way to export.
-
Regenerate only the scenes that fail. A failed scene is information about one prompt, not a verdict on the video.
-
Add narration, captions and music, then time each scene against its line. Narration runs long far more often than it runs short, and a line that outlasts its scene forces either a frozen frame or a cut mid-sentence.
-
Assemble and export one file. Watch it once at normal speed from start to finish, which catches pacing errors that scene-by-scene review hides.
<a id="what-a-finished-draft-looks-like"></a>
What a Finished Draft Looks Like
Every scene matches the line it covers. The character reads as the same person in shot one and shot forty. Runtime lands near your target without anyone padding or shaving a scene at the last minute.
If you'd rather watch the process before starting, this walkthrough follows the same order.
<iframe width="100%" style="aspect-ratio: 16 / 9;" src="https://www.youtube.com/embed/swx780Vy_OQ" frameborder="0" allow="autoplay; encrypted-media" allowfullscreen></iframe><a id="keeping-the-same-character-across-every-scene"></a>
Keeping the Same Character Across Every Scene
Characters drift because every scene is generated from scratch. Same prompt, same reference, and the model still re-decides the jaw, the hair and the shade of the jacket. Multiply that by forty scenes and you get forty close relatives instead of one character.
The drift is measurable. The Face Consistency Benchmark checks identity two ways, comparing every frame against a representative reference frame and comparing 200 randomly selected frame pairs inside each video, which separates single-frame likeness from slow decay across a sequence. Even strong systems such as HunyuanVideo and Runway Gen-3 stay substantially less consistent than real video, per the Face Consistency Benchmark results.
Subtle anchoring beats adjectives. Research on multi-shot generation lifted Multi-Shot Consistency scores from 63.2 to 68.8 with VideoCrafter2 and from 63.3 to 67.3 with Turbo-V2 by transferring identity-related attention features between shots, while text similarity and motion stayed broadly comparable, according to this study on multi-shot video generation. The same line of work found that removing visual anchoring dropped a consistency score from 7.99 to 0.55. Anchoring is what holds a face, not a longer description of it.
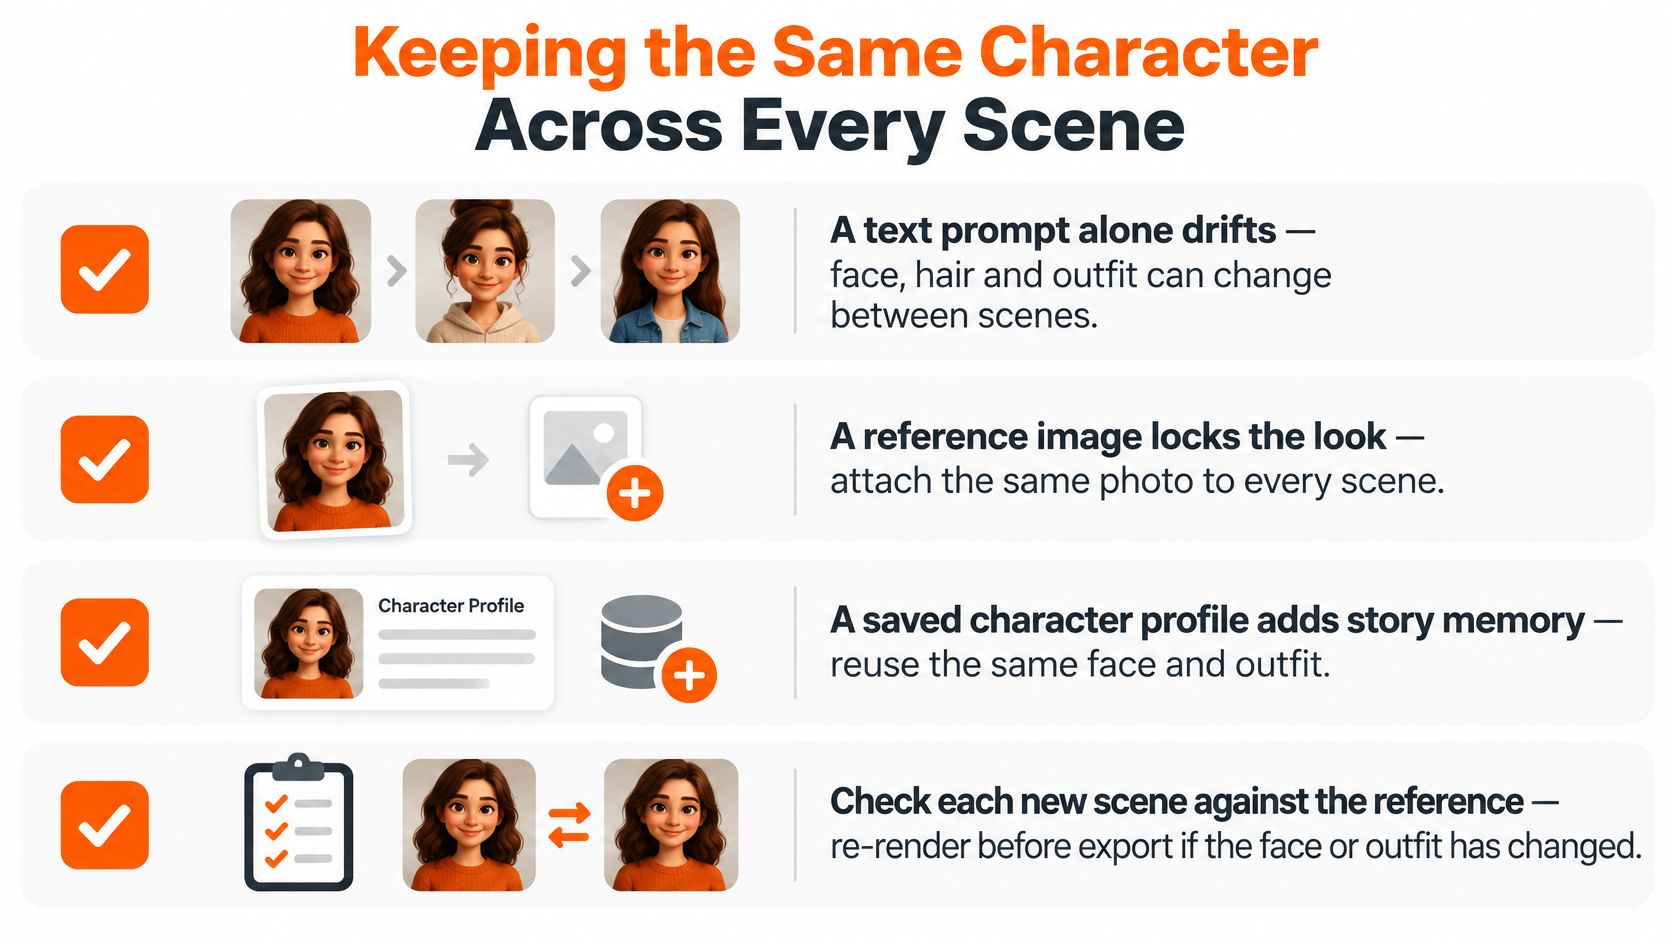
The method, in order:
- Save one reference image per character and attach it to every scene that character appears in. One clean, front-facing image beats ten flattering ones.
- Write the wardrobe into every prompt in identical words. "Grey wool coat, round glasses, short dark hair" copy-pasted, never paraphrased into "a coat and glasses".
- Carry the last frame forward when two scenes have to match tightly. Use the closing frame of scene four as the opening frame of scene five.
- Sample frames at every boundary and every close-up. Drift is most obvious when the face fills the frame, which is exactly where audiences look.
- Set a pass mark before you start, for example that most sampled frames still match the reference face, and re-render only the scenes that land below it.
If you want a drawn look rather than a photo, a character art generator from Kuraplan can produce the reference image you'll attach to every scene.
<a id="where-consistency-still-breaks"></a>
Where Consistency Still Breaks
Medium and close shots hold best. Large camera moves across the frame, long sequences and wide shots of a face are harder, because the model has less detail to lock onto. Where the story allows, stage wide shots and crowd scenes so they show less facial detail.
Once a character has to speak, identity and mouth movement split into two separate jobs. Talking avatar setups show how the two are handled together rather than one at a time.
<a id="aspect-ratios-and-sizes-for-each-platform"></a>
Aspect Ratios and Sizes for Each Platform
Choose the destination before anything else, because frame shape is the one decision you cannot undo without losing work. The ratio applies to every scene you generate, so it sets the stage the whole video plays on. Anything outside the frame does not exist for the viewer.
| Format | Aspect ratio | Pixel size | Typical use |
|---|---|---|---|
| Vertical short video | 9:16 | 1080 x 1920 | TikTok, Reels and Shorts, full screen on phones |
| Widescreen long-form video | 16:9 | 1920 x 1080 | Standard YouTube videos and episodes |
| Square feed post | 1:1 | 1080 x 1080 | Social feeds and some ad placements |
A scene composed for 16:9 and cropped into 9:16 does not just lose the edges. It loses the character: heads clipped at the forehead, hands cut off mid-gesture, props that carried the plot now sitting outside the frame. Re-cropping after generation means rebuilding the scene for the new shape, not resizing it, and that rebuild repeats for every scene where the framing was tight.
One edit runs at one ratio. A second ratio is a second version, generated for that frame from the start.
Decision rule: pick the ratio for the channel where most of your viewers will watch, then confirm that your first two scenes frame the character's face and hands comfortably inside it.
A 9:16 vertical video at 1080 by 1920 pixels is the size most platforms recommend for full-screen phone viewing, 16:9 is the widescreen standard for YouTube, and 1:1 works on several social feeds, as summarised in this video sizes and aspect ratios by platform reference.
Before committing to a full build, render one test scene in the chosen ratio and look at it on a phone held vertically. If the head sits near the top edge or the key prop falls outside, fix the framing while it costs one scene instead of forty. If most of your views arrive on phones, mobile-first short video editing tips cover the framing habits that follow from that.
<a id="common-scene-failures-and-how-to-fix-them"></a>
Common Scene Failures and How to Fix Them
Start with the failure you'll notice first: a character whose mouth is a beat behind the narration. It shows up in the first three seconds of a speaking shot, and viewers read it as broken long before they can name what's wrong.
| Symptom | Likely cause | Fix |
|---|---|---|
| Mouth movement out of step with narration | Clip length does not match the audio line | Regenerate the line at the audio length, then trim to the voice track |
| Setting changes between two shots | Location described loosely in each prompt | Repeat the same location and lighting words in every scene prompt |
| Garbled sign or text inside the frame | Image models render written text poorly | Remove on-screen text and add it as a caption or overlay |
| Face blurs during a fast camera move | Large motion across the frame | Use a slower move or a medium shot for that scene |
| Hands or props warp during an action | Complex interaction between objects | Cut to a simpler action or crop to the face and upper body |
| Caption misspells a name | Speech recognition error on names | Check captions for names, places and foreign words before export |
<a id="lip-sync-is-a-separate-job"></a>
Lip Sync Is a Separate Job
A talking character needs a clip built for the length of its speech, not a clip that speech is squeezed into. Identity consistency, pose changes, facial occlusions and stylized designs are the recurring technical challenges, which is why the OmniSync study on lip-sync generation treats the problem as its own generation and quality-control task rather than a post-production fix. Close and medium shots are the safest framing for speaking characters, because a distant mouth gives the viewer nothing to judge.
<a id="captions-take-a-manual-pass"></a>
Captions Take a Manual Pass
Automatic captions are wide but not universal. YouTube's help information, as counted by an independent video-research source, lists 67 languages for automatic captions, while automatic captions for live streams are identified as English-only. That gap is why names, places and foreign words need a human read before export.
Sometimes the cheapest repair is a sharper frame rather than a new scene; AI image upscaler software covers when that trade works and when it only enlarges the error. After any repair, watch the fixed scene with the one before and after it. A scene can look right alone and still break the cut.
<a id="disclosing-ai-scenes-on-youtube-and-tiktok"></a>
Disclosing AI Scenes on YouTube and TikTok
Disclosure is a scene-by-scene decision, not one label stapled to the whole upload. A cartoon scene and a photorealistic historical reenactment are not the same thing, and treating them the same either over-warns or under-warns your audience.
YouTube's position is more specific than most creators assume. In its July 2025 response to creator questions, YouTube's guidance on monetization policies states that AI-assisted channels can remain eligible for monetization, that realistic altered or synthetic content must be disclosed, and that clearly unrealistic animation plus production help such as scripts and captions generally doesn't need a disclosure.
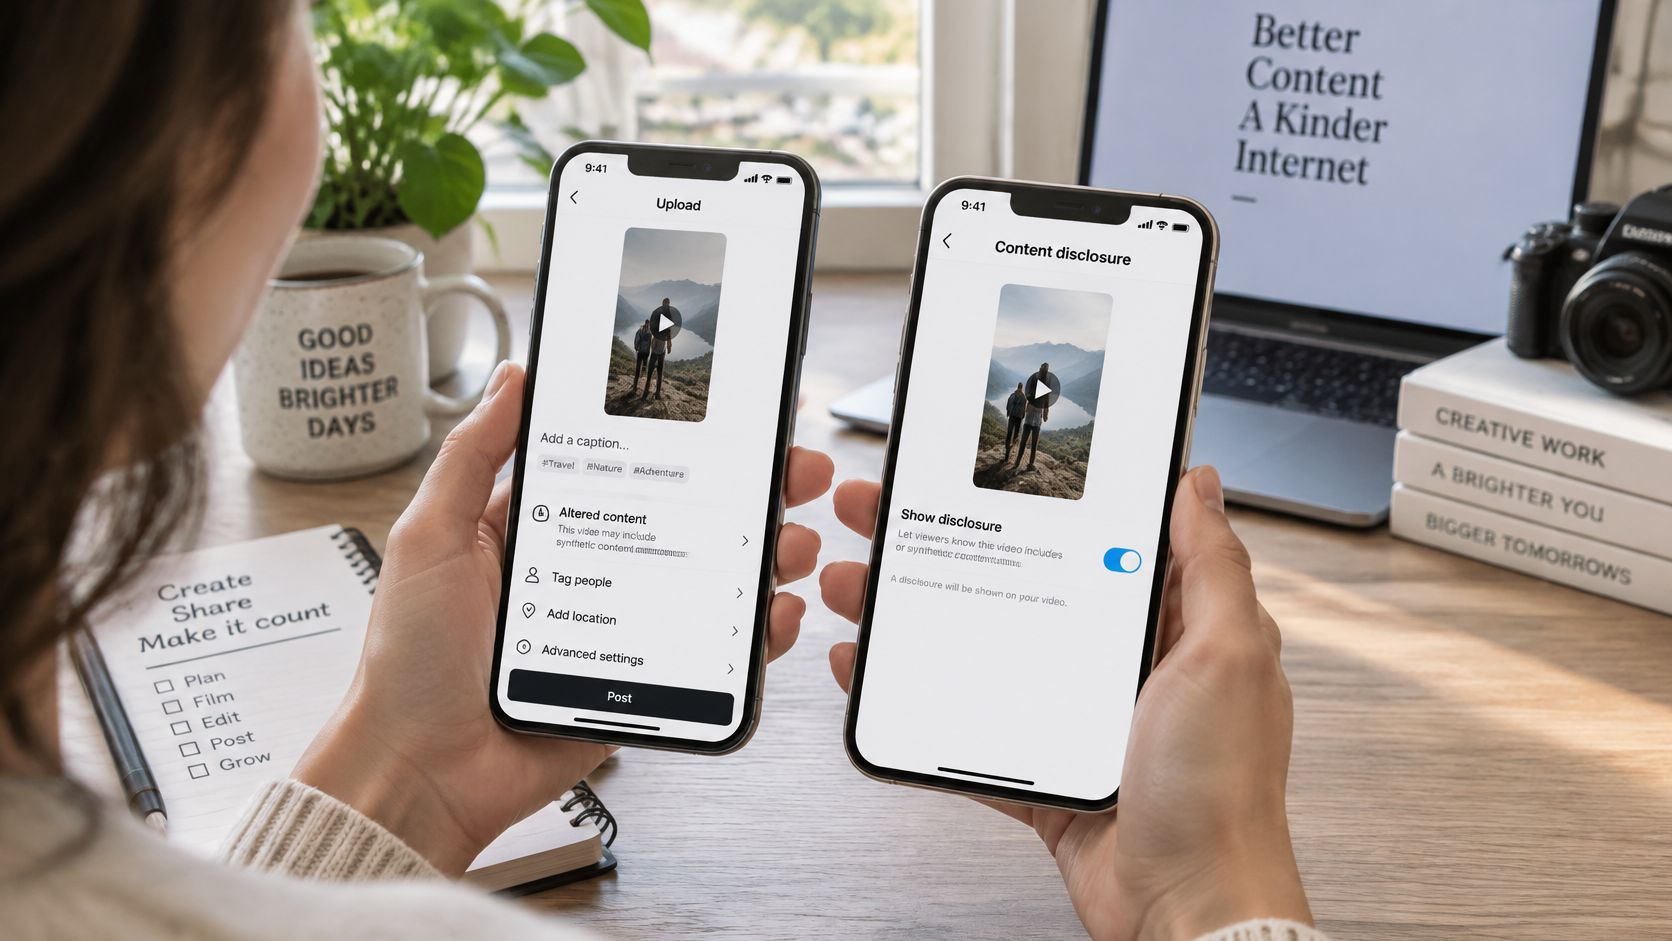
Run each scene through four questions:
- Stylized cartoon or clearly animated scene: usually no label, since no viewer mistakes it for footage.
- Photorealistic reenactment of a historical event: disclose it. History channels carry the highest risk of being taken as archive film.
- Synthetic voice imitating a real person: disclose it, and think hard before doing it at all.
- Fabricated news-style event: label it clearly in the scene's own context, not only in the description.
Keep the wording short and factual, in the description or the upload disclosure field.
Scenes in this video were created with AI.
Bible stories, history episodes and kids content need more visible transparency, because realistic-looking scenes are the easiest to mistake for real footage. A European Parliament briefing on generative AI reports that children have more difficulty identifying deepfakes than adults, and that only 9% of adults feel confident detecting them. Rules also change, so check the current settings inside YouTube and TikTok before each upload and keep a simple record of which scenes were synthetic.
<a id="make-your-first-ai-scene-video"></a>
Make Your First AI Scene Video
Pick one short story or episode, two to three minutes long, and finish it before you start a second. Write it as lines or paste an existing script, choose the ratio for your main channel, save every recurring character, then generate and review scene by scene.
ClipNova AI runs those steps in a single generation: script, scenes, characters, voiceover, captions and background music assembled into one file, for videos up to 5 minutes at up to 1080p, with narration in 18 languages and 9:16, 16:9 or 1:1 output. Saved characters keep the same face and outfit in every scene, Series carries a cast of up to 8 characters across episodes with story memory, and characters can talk with lip sync. Plans start at $19/mo with commercial rights.
Set it against the alternatives plainly. Clip generators such as Runway, Kling, Veo and Hailuo make single shots. Template editors such as InVideo and Pictory assemble stock footage. Faceless shorts tools such as Revid, StoryShort and Zebracat stop at short videos. Avatar tools such as HeyGen and Synthesia make presenters, not stories.
Two honest limits. Longer projects belong in episodes rather than one long file, and every scene still gets a consistency check and a disclosure decision before it goes out.
ClipNova AI takes the workflow in this guide and runs it end to end: your script becomes scenes with saved characters who keep the same face and outfit, voiced, captioned and scored, up to 5 minutes at up to 1080p in 9:16, 16:9 or 1:1. Build one short episode first, review it scene by scene, and label the scenes that need it. Make your first video at ClipNova AI.
Ready to ship your own?
Start creating viral videos with AI in under twenty minutes, no credit card required.