
The popular advice is to pick a video editor for time lapse, speed up your footage, add music, and export. That advice skips the work that usually determines whether the result looks polished. Time-lapse production can involve assembling a still-image sequence, controlling RAW adjustments, smoothing exposure changes, stabilizing movement, simulating camera motion, creating speed ramps, and preparing several delivery formats.
The right choice depends on the problem in front of you. Before rendering, check the source footage, the severity of flicker, whether the camera moved, your operating system, your tolerance for a technical learning curve, and the destination format. This roundup includes dedicated time-lapse applications, full non-linear editors, specialist plugins, stabilization software, and lightweight social tools. They aren't interchangeable.
For fast short-form packaging, ClipNova is relevant when a finished time-lapse needs AI-assisted assembly, captions, music, voiceover, and exports for different aspect ratios. It isn't a replacement for specialist RAW processing, serious deflickering, or gyro-based stabilization. It belongs later in the workflow, after the difficult image and motion problems have been solved. Creators building a broader production stack can also compare it with this 2026 YouTube creator toolkit.
Table of Contents
- 1. LRTimelapse
- 2. DaVinci Resolve Studio
- 3. Adobe Premiere Pro
- 4. Adobe After Effects
- 5. Final Cut Pro
- 6. RE:Vision Effects DEFlicker
- 7. Digital Anarchy Flicker Free 3.0
- 8. Panolapse
- 9. GoPro Player and ReelSteady
- 10. CapCut
- Top 10 Time-Lapse Video Editors Comparison
- Build a Repeatable Time-Lapse Pipeline
<a id="1-lrtimelapse"></a>
1. LRTimelapse
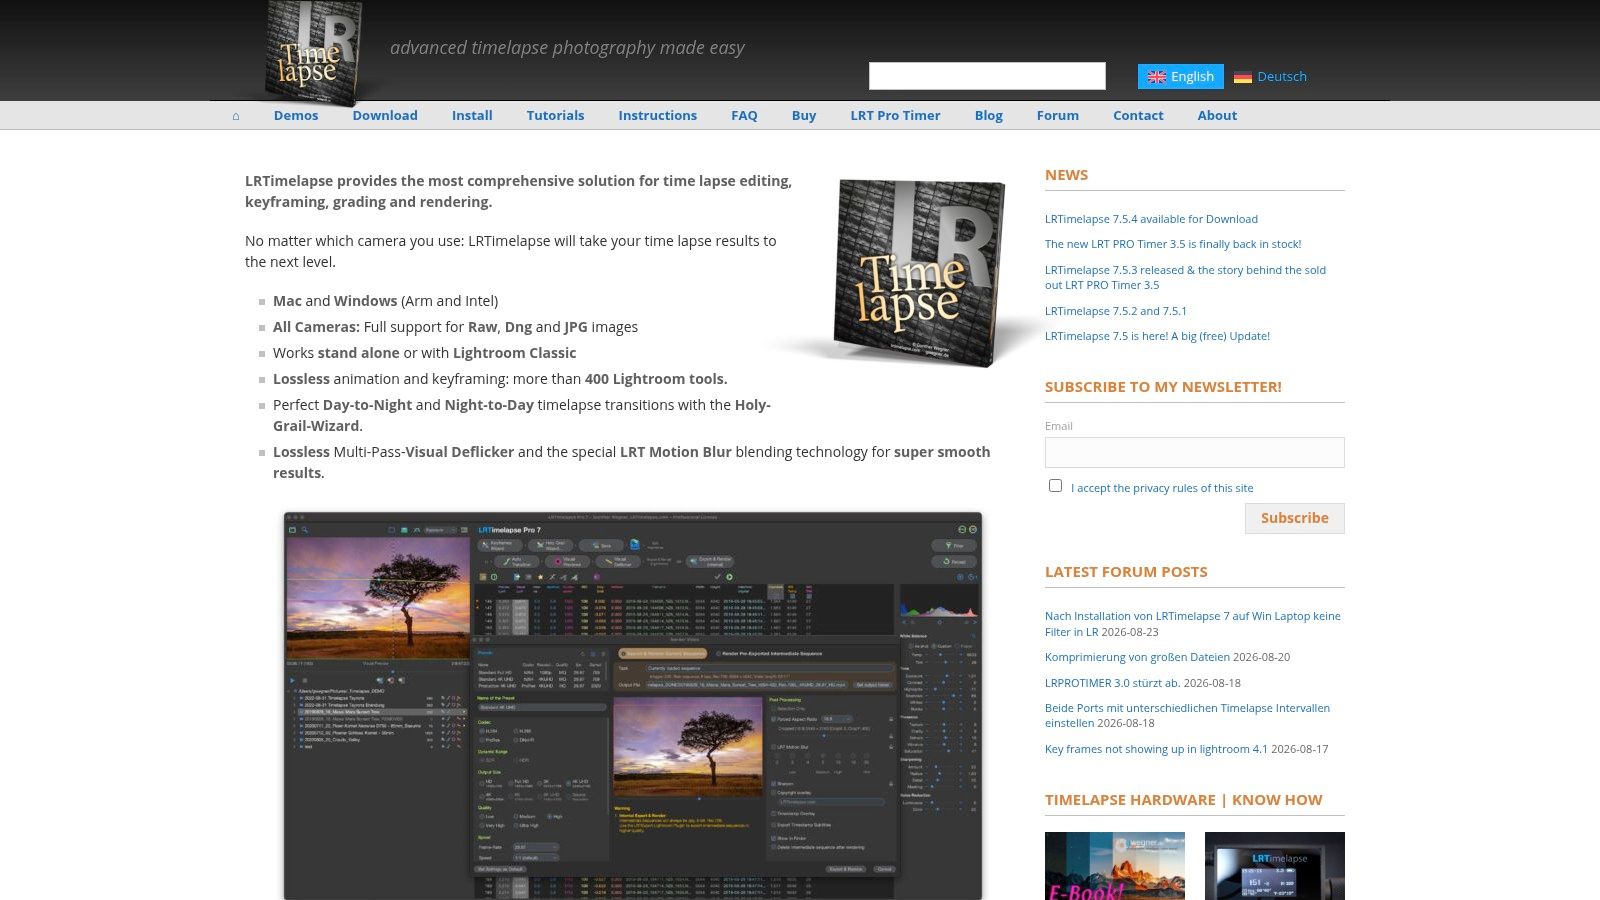
LRTimelapse is the specialist choice when the sequence itself is the project. It handles RAW and JPEG image sequences, connects closely with Lightroom Classic, and gives editors a stills-focused pipeline for exposure changes, color adjustments, and high-quality video output. That makes it a better fit for a sunrise, sunset, or long-duration scene than a general editor that interprets a folder of images as a clip.
Its Visual Deflicker workflow is designed to smooth changing exposures, while the Holy-Grail Wizard helps manage day-to-night transitions. Keyframing Lightroom adjustments across a sequence gives you more control than applying one correction to the entire finished video. Batch rendering, HDR support, color-managed workflows, and outputs such as H.264, H.265, ProRes, and DNxHR also make it suitable for demanding delivery pipelines. You can review the developer's current capabilities on the LRTimelapse website.
<a id="where-it-earns-its-place"></a>
Where it earns its place
The advantage is control before the sequence reaches an NLE. You can resolve uneven exposure and develop the source images consistently, rather than trying to hide problems after the frames have already become video. That matters especially for day-to-night work, where a fixed exposure correction usually creates new problems as ambient light changes.
The trade-off is complexity. LRTimelapse works best when you understand Lightroom Classic, keyframes, metadata, and rendering choices. Its licensing tiers are displayed in EUR, so the final cost in USD can vary with exchange rates.
Practical rule: Use LRTimelapse when image quality and exposure continuity matter more than getting a quick social edit on the timeline.
After the sequence is rendered, a general editor can handle titles, sound, and pacing. If you're starting from individual photos, this guide to adding a photo in a video offers a simpler entry point, but it won't replace LRTimelapse's still-image controls.
<a id="2-davinci-resolve-studio"></a>
2. DaVinci Resolve Studio
DaVinci Resolve Studio solves a different problem. It's a complete editing, color, audio, and visual-effects environment, with a native ResolveFX Deflicker effect in the Studio edition. If you want to assemble a time-lapse, repair exposure flicker, grade it, add titles, and finish the piece without leaving one application, Resolve Studio is a strong all-round workflow.
The free edition remains useful for editing and grading, but the native deflicker effect is a Studio-only feature. That distinction should shape your purchase decision. You shouldn't choose the free version assuming it includes the same time-lapse cleanup tools as Studio.
Resolve's color-management options are valuable when the time-lapse needs a cinematic grade rather than a basic speed treatment. Its Fusion page also provides a path into compositing and motion graphics, while cross-platform support covers macOS, Windows, and Linux. Collaboration features through Blackmagic Cloud can help teams review a project without moving the entire edit into another platform. The DaVinci Resolve Studio product page lists the current feature set and licensing details.
<a id="the-limitation-to-plan-around"></a>
The limitation to plan around
Resolve Studio is more editor than dedicated sequence-development tool. It can clean up and finish a time-lapse effectively, but it doesn't provide the same Lightroom-centered RAW keyframing workflow as LRTimelapse. You'll also need to manage cache, timeline resolution, and effect processing carefully when working with large still sequences.
Its one-time Studio licensing model can be attractive for editors who don't want a recurring subscription. Before committing, test your camera files and deflicker settings on a short section, then confirm that the output holds detail after grading and compression. When the final file needs size reduction, use a deliberate video compression workflow rather than repeatedly exporting through different apps.
<a id="3-adobe-premiere-pro"></a>
3. Adobe Premiere Pro
Premiere Pro is the practical choice for editors who treat time-lapse as one component of a larger content package. It handles sequence assembly, sound design, captions, titles, review, and delivery across different aspect ratios. Its Time Remapping controls also make it useful when the time-lapse needs a gradual acceleration, deceleration, or transition into normal-speed footage.
You can change clip speed through Time Remapping, Rate Stretch, or Speed/Duration controls. Keyframes allow the pacing to change within a shot instead of forcing the whole clip to run at one rate. That flexibility works well for a travel montage, product process, construction sequence, or social edit where attention needs to shift between shots.
Premiere Pro's wider Adobe ecosystem is a major advantage. Editors can move into After Effects for compositing, use familiar review tools through Frame.io on current plans, and keep the finishing process within a workflow many teams already understand. The Premiere Pro website provides the current plan and feature information.
<a id="what-premiere-pro-doesnt-solve-alone"></a>
What Premiere Pro doesn't solve alone
Premiere Pro doesn't include a native one-click deflicker designed specifically for time-lapse cleanup. You'll need to correct flicker manually, add a third-party plugin, or send the problem to Resolve Studio or After Effects. That can add render time, extra licenses, and more decisions before delivery.
The subscription model is another trade-off. It makes sense for teams already using Adobe applications, but it's harder to justify if your only requirement is assembling a still sequence and smoothing exposure changes.
A good Premiere workflow separates cleanup from editorial. Repair the sequence first, then build the music, captions, and platform versions.
Use Premiere Pro when editorial flexibility matters more than having a dedicated time-lapse control panel. It's especially effective when the same source must become a polished long-form edit and several social cutdowns.
<a id="4-adobe-after-effects"></a>
4. Adobe After Effects
After Effects is the specialist option for compositing and precision. It imports still-image sequences, lets you interpret their frame rate, and provides granular control over time remapping, frame blending, effects, masks, expressions, and motion graphics. For a straightforward speed-up, it's more software than you need. For a time-lapse combined with tracked graphics, layered artwork, or complex compositing, that depth becomes useful.
The application can interpret a still sequence at the playback rate you choose, which gives you direct control over how the captured intervals become motion. Time-remapping controls can create custom speed changes, while frame blending can help shape transitions when the sequence is combined with other footage. The plugin ecosystem also includes specialist tools such as RE:Vision Effects DEFlicker and Digital Anarchy Flicker Free.
<a id="choose-it-for-finishing-not-convenience"></a>
Choose it for finishing, not convenience
After Effects gives you pixel-level control, but that control comes with a heavier workflow. Compositions, precomps, effects, caches, and high-resolution layers can make a simple time-lapse unnecessarily slow to manage. It's also less comfortable than an NLE for assembling a large sequence of editorial decisions, music cues, and deliverables.
The strongest use case is a handoff from Premiere Pro. Build the overall edit in Premiere, send only the shots needing compositing or advanced treatment to After Effects, and return the results through a controlled round trip. That keeps the compositor focused on shots where its precision matters.
The After Effects product page is the right place to verify current host integration and features. For deflicker, test a representative section rather than judging the plugin on a single clean frame. Flicker often changes with movement, brightness, and the length of the analysis window.
<a id="5-final-cut-pro"></a>
5. Final Cut Pro
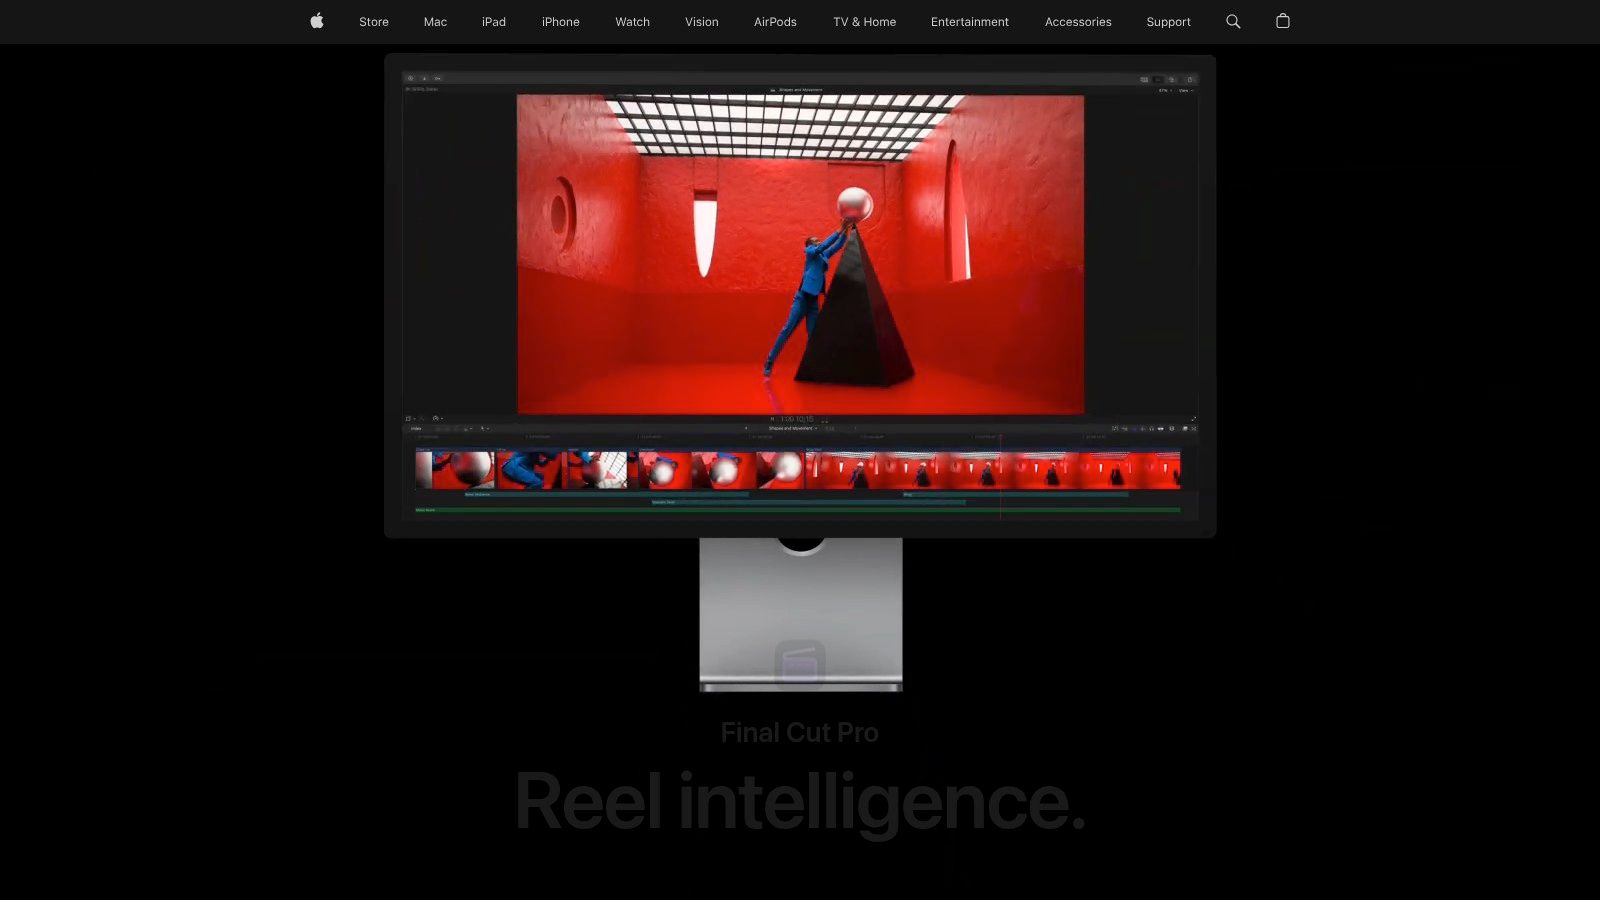
Final Cut Pro fits editors who work on macOS and want a fast timeline for time-lapse montages, travel films, and social exports. Its retime editor makes variable speed and speed transitions approachable, so you can shape the rhythm of a shot without building a complicated effect stack.
The application also provides strong media organization and quick delivery options for different formats. That helps when one time-lapse needs to become a wide edit, a square post, and a vertical version. Apple-optimized performance is a practical advantage for editors working on Apple hardware, especially when the project contains several high-resolution clips and layered titles.
<a id="the-macos-decision"></a>
The macOS decision
Final Cut Pro is macOS-only, so it's not suitable for a cross-platform team that needs the same project environment on Windows or Linux. It also lacks a native dedicated deflicker effect for this specific use case. If exposure flicker is severe, you'll need a third-party plugin or a separate cleanup stage.
That doesn't make it a weak time-lapse editor. It means you should decide whether your main need is editorial speed or specialist correction. Final Cut Pro is comfortable for trimming, retiming, sound, titles, and delivery. It's less complete as a single application for RAW sequence development and advanced flicker repair.
Visit the Final Cut Pro website for current platform and feature details. If you already edit on a Mac and only occasionally produce time-lapse, its familiar retime workflow may be more valuable than adding a dedicated application.
<a id="6-revision-effects-deflicker"></a>
6. RE:Vision Effects DEFlicker
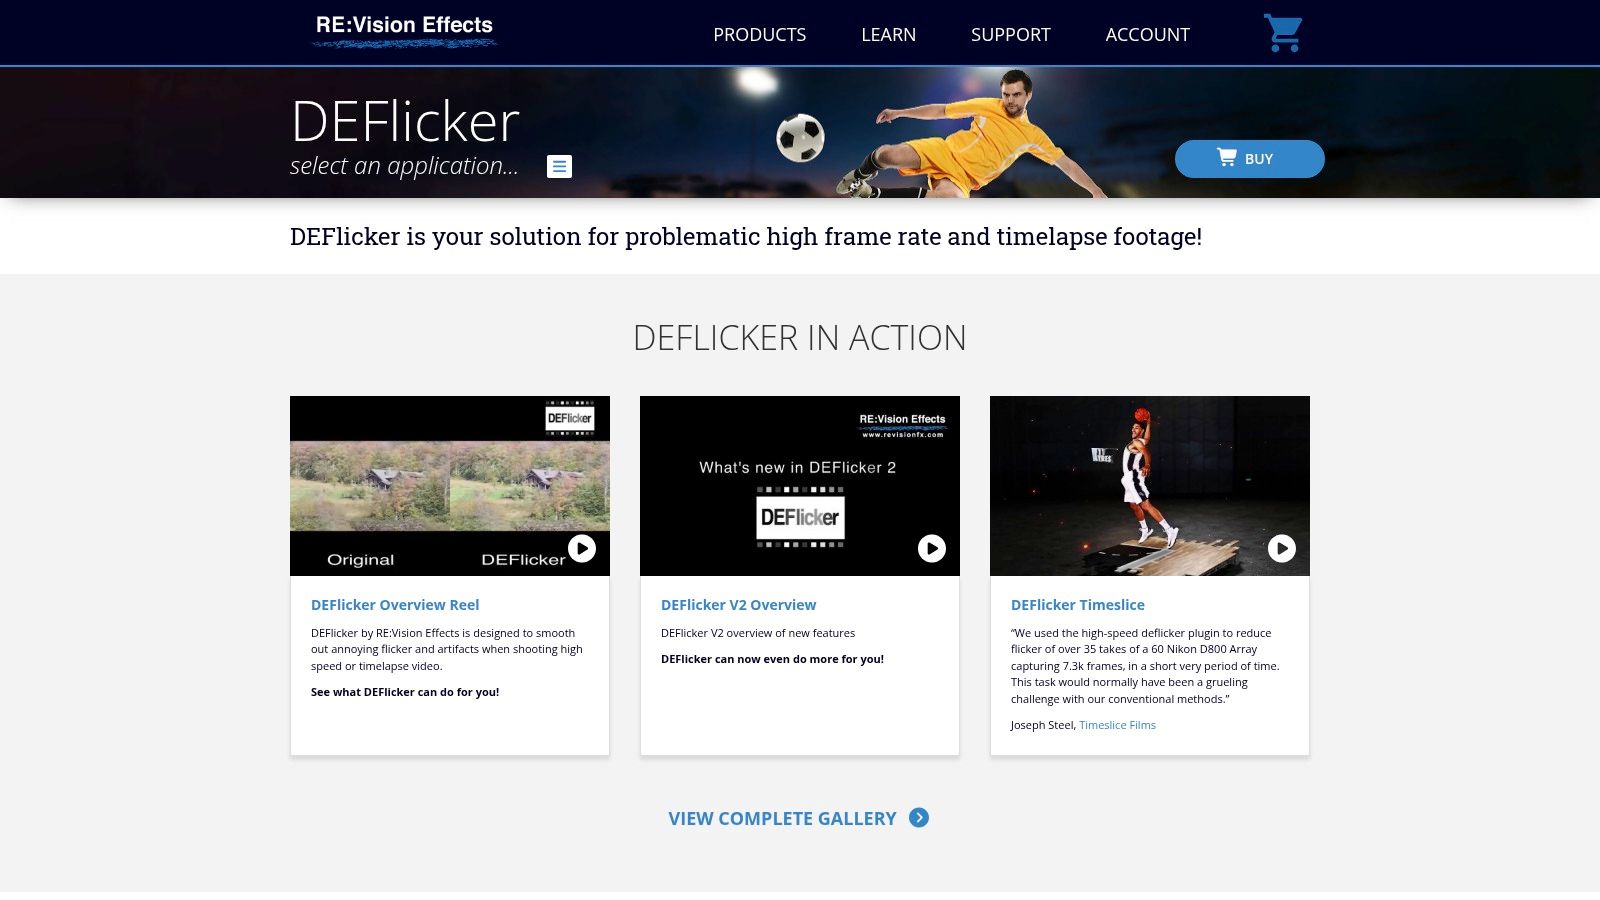
RE:Vision Effects DEFlicker addresses the most visible technical failure in many time-lapse projects, exposure flicker. It's a plugin rather than a standalone editor, so it works inside a host such as Premiere Pro, After Effects, Final Cut Pro, Motion, or DaVinci Resolve. That makes it useful when you like your existing timeline and don't want to rebuild the project in a dedicated application.
The plugin is designed for time-lapse and variable-exposure problems, with controls that let you adjust how the analysis responds to changes across frames. It supports a multi-host workflow, which is useful for a production team with different editors or for an individual who moves between an NLE and a compositor.
<a id="when-a-plugin-is-the-better-purchase"></a>
When a plugin is the better purchase
A dedicated deflicker plugin makes sense when the rest of your pipeline already works. You can keep your existing bins, cuts, audio, captions, and delivery presets while adding a focused repair stage. Detailed parameters also help when an automatic setting produces unwanted changes in moving areas or uneven lighting.
The cost is processing time and tuning. Native tools can feel faster to deploy, while DEFlicker may need careful parameter choices for difficult sequences. Render a short test before applying it to the entire project, and compare shadow detail, highlights, and moving subjects rather than checking only average brightness.
The RE:Vision Effects DEFlicker page explains supported hosts and the available product options. It's a strong choice for editors who need specialist flicker control but want to stay inside Premiere, After Effects, Final Cut Pro, or Resolve.
<a id="7-digital-anarchy-flicker-free-30"></a>
7. Digital Anarchy Flicker Free 3.0
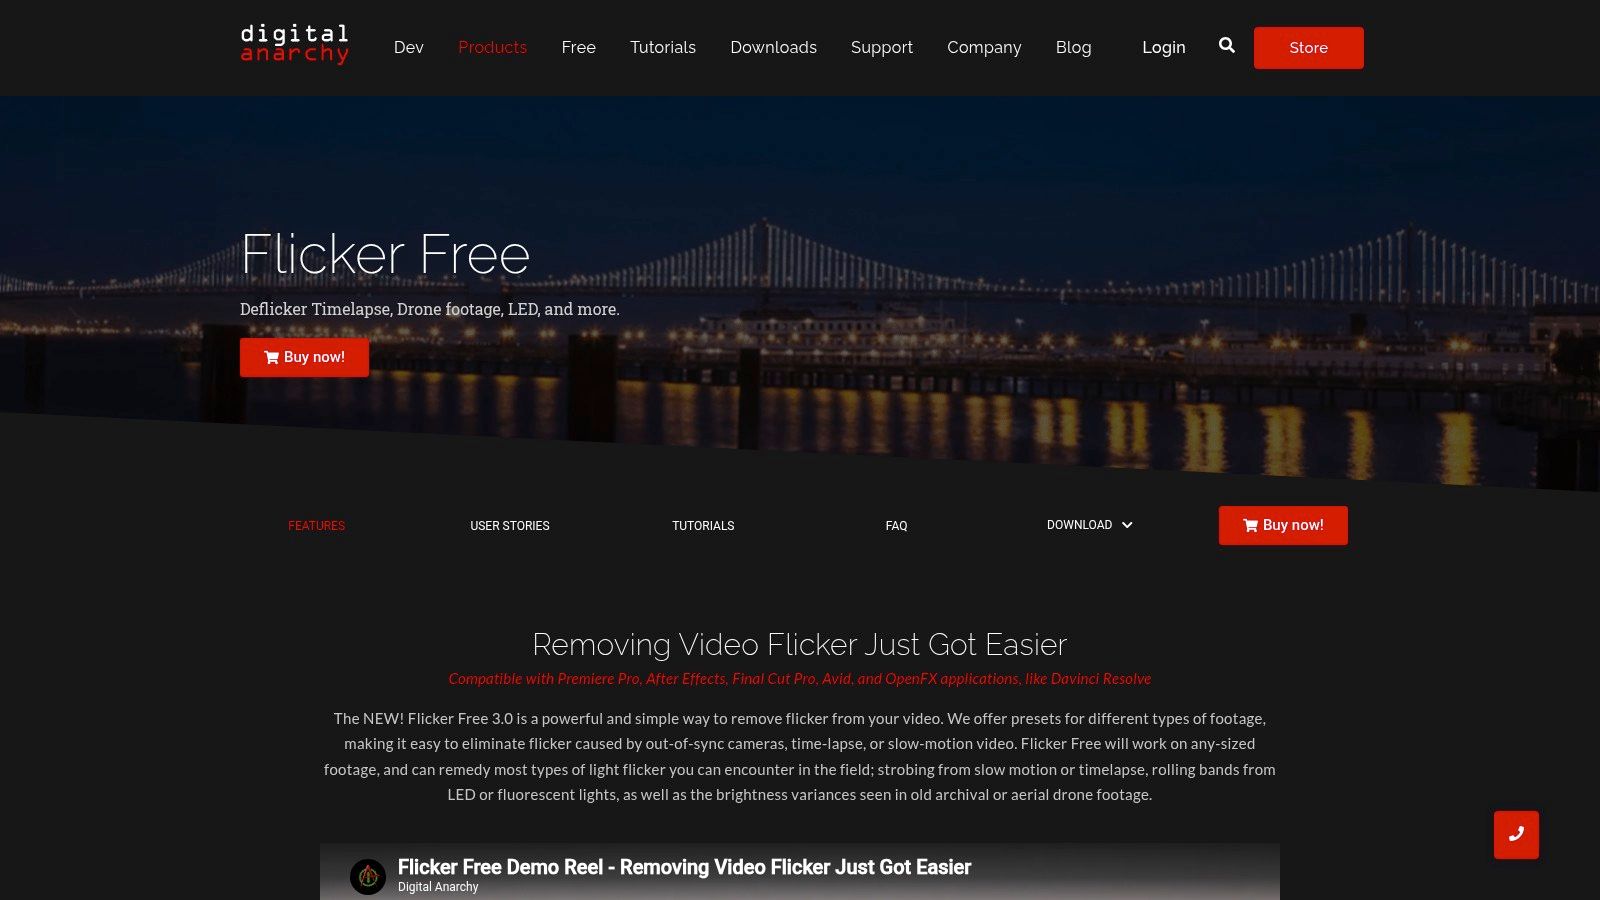
Digital Anarchy Flicker Free 3.0 takes a more accessible approach to the same cleanup problem. It runs in Premiere Pro, After Effects, DaVinci Resolve, and Final Cut Pro, and provides presets alongside controls for exposure flicker, LED-related artifacts, rolling banding, and other uneven illumination.
Its motion-compensated analysis is important because time-lapse frames often contain movement. A deflicker process that looks only at brightness can affect moving subjects or create a soft, unstable result. Flicker Free's analysis and adjustment options give you a way to balance correction against motion detail.
<a id="easier-access-still-needs-judgment"></a>
Easier access still needs judgment
Presets reduce the time needed to get a first result, which helps editors who don't want to learn a specialist deflicker interface before seeing whether the shot is recoverable. GPU acceleration can also make previews and exports more practical on supported systems. The Digital Anarchy Flicker Free page includes current host and documentation information.
The plugin isn't a substitute for correct exposure management in the original sequence. Heavy settings can increase render time, particularly on high-resolution projects, and difficult flicker may still require manual tuning. Review the full frame at normal playback and at a slower inspection speed. A clip can look stable in highlights while retaining distracting brightness shifts in shadows or architectural lines.
Use Flicker Free when you want a host-based repair tool with a gentler learning curve. Choose another route if your main need is RAW keyframing, full grading, or simulated camera movement.
<a id="8-panolapse"></a>
8. Panolapse
Panolapse solves a creative limitation rather than a cleanup failure. A locked-off still sequence can be technically clean and still feel static. Panolapse adds simulated rotational pans and zooms with perspective-aware movement, giving a static camera sequence the visual impression of a moving camera.
That makes it useful for architecture, artwork, and process scenes where the original capture didn't include a motorized slider or head. Its workflow is narrower than a full NLE, but that narrowness is also the appeal. You can focus on the virtual camera path instead of building the motion from scratch with keyframes in a larger application.
The tool also includes basic deflickering, RAW metadata interpolation, and batch export. It can export to H.264 and MOV formats, while the Panolapse website provides tutorials and product information.
<a id="simulated-movement-has-limits"></a>
Simulated movement has limits
Perspective-correct movement can make a sequence more engaging, but it can't recreate genuine parallax from a camera that physically moved through space. If foreground and background objects need to shift relative to each other, a digital pan won't create missing spatial information. Excessive zooming can also expose limited source resolution or make the movement feel artificial.
Panolapse is therefore best used with restraint. Set a clear focal point, use a controlled path, and check the edges for warping or unwanted cropping. The free version is limited to 720p output, so verify whether that fits your delivery requirement before building the final sequence.
Choose Panolapse when the problem is a static composition that needs believable motion. Choose an NLE or compositor when the project needs complex layering, sound, titles, or detailed finishing.
<a id="9-gopro-player-and-reelsteady"></a>
9. GoPro Player and ReelSteady
GoPro Player with ReelSteady is built for movement-heavy footage, particularly hyperlapse and time-lapse clips captured with action cameras or other gyro-enabled systems. Its role is stabilization, not still-sequence development. If the camera operator walked, handled the camera, or captured motion without a rigid support, stabilizing the source before editorial work can produce a more usable result.
The desktop workflow combines advanced stabilization with lens correction, 360-degree reframing, and batch export. ReelSteady and HyperSmooth Pro processing are especially relevant when ordinary software stabilization struggles with action-camera motion or when the clip needs correction before speed changes amplify every bump.
<a id="stabilize-before-you-amplify-movement"></a>
Stabilize before you amplify movement
Speeding up shaky footage makes unwanted movement more obvious. Stabilizing first gives the later editor a cleaner foundation for cropping, retiming, and adding music. It also lets you judge how much framing loss the stabilization introduces before you commit to a social crop.
The trade-off is specialization. ReelSteady is mainly oriented toward GoPro or gyro-logged footage, so it isn't the general solution for DSLR RAW sequences or ordinary video without useful motion data. The stabilization add-on is also a paid in-app purchase. Check the GoPro website for current software and compatibility information.
Use this tool when motion data and stabilization are central to the shot. Don't add it automatically to a locked-off sequence. Unnecessary stabilization can crop the frame, alter intentional camera movement, and create a less natural result.
<a id="10-capcut"></a>
10. CapCut
CapCut is the fast social-delivery option. It's available on desktop, web, and mobile, with straightforward speed controls, Speed Curve presets, custom curve editing, templates, captions, and platform-oriented export settings. For a creator who needs a quick vertical time-lapse with music and text, its low barrier to entry is a real advantage.
The app works well when the source is already clean and the creative brief is simple. Import the clip, set a normal or curved speed treatment, place the subject in the safe area, add captions or overlays, and prepare the destination version. Cross-device access can also help when the edit begins on a phone and finishes on a desktop. The CapCut website provides access to its current platform options.

<a id="dont-confuse-speed-with-cleanup"></a>
Don't confuse speed with cleanup
CapCut is not a specialist deflicker, RAW development, or stabilization environment. It can make a clean time-lapse feel current through pacing, music, captions, and format changes, but it won't replace LRTimelapse, Resolve Studio, or a dedicated plugin when the source contains serious exposure problems.
The Pro tier and available features can vary by region and platform, so check the current terms before planning a team workflow. For simple visual treatments, creators can also compare it with an app with video filters, especially when the main requirement is fast formatting rather than technical restoration.
Choose CapCut for rapid publishing and lightweight social edits. Move the sequence into a specialist tool first when flicker, dropped frames, irregular pacing, or camera movement needs deliberate repair.
<a id="top-10-time-lapse-video-editors-comparison"></a>
Top 10 Time-Lapse Video Editors Comparison
| Tool | Core features ✨ | Best for 👥 | Key strengths 🏆 | Ease / Quality ★ | Price / Value 💰 |
|---|---|---|---|---|---|
| LRTimelapse | Holy‑Grail day→night smoothing, visual deflicker, RAW color pipeline, batch ProRes/H.264 | Time‑lapse pros & photographers | Industry‑standard day→night results; tight Lightroom color fidelity | ★★★★☆, steep learning, pro outputs | Paid license (EUR tiers) 💰 |
| DaVinci Resolve Studio | ResolveFX Deflicker, pro color/grading, NLE + Fusion, cross‑platform | Colorists & filmmakers | Native high‑quality deflicker (Studio), pro grading, one‑time license | ★★★★☆, powerful; Studio required for deflicker | One‑time Studio fee, strong long‑term value 💰 |
| Adobe Premiere Pro | Time remapping, precise speed controls, plugin ecosystem, Frame.io | Editors & Adobe ecosystem users | Familiar timeline, tight Adobe integrations | ★★★★☆, intuitive; relies on plugins for deflicker | Subscription (recurring) 💰 |
| Adobe After Effects | Image‑sequence import, pixel‑level time‑remap, extensive plugin support | Compositors & motion‑graphics artists | Granular compositing and advanced plugin fixes | ★★★☆☆, steep learning; heavier renders | Subscription (recurring) 💰 |
| Final Cut Pro | Retime editor (variable speed), Apple‑optimized performance, export presets | macOS creators & Apple Silicon users | Very fast on Apple hardware; intuitive retime workflow | ★★★★☆, macOS‑only; no native deflicker | One‑time purchase (macOS) 💰 |
| RE:Vision DEFlicker | Dedicated deflicker plugin, multi‑host support (Premiere/AE/FCP/Resolve) | Users needing in‑host professional deflicker | High‑quality results with detailed parameter control | ★★★★☆, extra render time; manual tuning often needed | Paid plugin license 💰 |
| Digital Anarchy Flicker Free 3.0 | GPU‑accelerated deflicker, motion compensation, presets | Fast fixes for GPU‑equipped editors | Easy presets + GPU speedups for quick turnaround | ★★★★☆, quick to learn; may need tuning on tough cases | Paid plugin; demos available 💰 |
| Panolapse | Perspective‑correct pans/zooms, basic deflicker, batch export | Hobbyists & solo creators adding motion | Fast, realistic simulated camera motion without hardware | ★★★☆☆, lightweight; free 720p limit | Affordable; free tier (720p) 💰 |
| GoPro Player + ReelSteady | Advanced stabilization, lens correction, 360° reframing, batch export | Action‑cam & gyro‑logged hyperlapses | Best‑in‑class stabilization tailored to GoPro footage | ★★★★☆, simple workflow; paid stabilizer unlock | Free app + paid stabilization add‑on 💰 |
| CapCut | Speed Curve ramping, templates, cross‑device, social export presets | Casual creators & social‑first users | Very low barrier; fast vertical/social exports | ★★★☆☆, very easy; fewer pro deflicker tools | Mostly free; Pro tier varies by region 💰 |
<a id="build-a-repeatable-time-lapse-pipeline"></a>
Build a Repeatable Time-Lapse Pipeline
A reliable workflow starts by identifying the failure you need to prevent. LRTimelapse is the natural fit for demanding RAW sequences, exposure keyframing, and day-to-night transitions. Resolve Studio is better when you want native deflickering alongside editing, grading, and finishing. Premiere Pro and Final Cut Pro suit broader editorial work, while After Effects belongs where compositing, motion graphics, and pixel-level control justify a more involved setup.
Dedicated plugins make sense when you already have a preferred host. RE:Vision Effects DEFlicker and Digital Anarchy Flicker Free can keep flicker repair inside Premiere Pro, After Effects, Final Cut Pro, or Resolve, but both deserve a short test render before you process the complete sequence. Panolapse addresses simulated camera movement. GoPro Player with ReelSteady addresses stabilization for GoPro and gyro-based footage. CapCut is the quickest route when the source is clean and the main job is social packaging.
Time-lapse has a documented history reaching back to the 1870s. Eadweard Muybridge's multi-camera experiments began after he was hired in 1872 to investigate a horse's movement, and the method later entered film language through work by Georges Méliès in 1897 and F. Percy Smith in 1910, as documented in this history of time-lapse photography. The underlying principle remains familiar, capture frames at intervals and assemble them into motion, but modern workflows add color management, stabilization, captions, sound, and platform variants.
A practical pipeline looks like this:
- Organize the source: Separate image sequences, video clips, audio, proxies, and exports before editing.
- Develop and correct first: Apply consistent color treatment to stills, especially when working with RAW files.
- Deflicker before heavy effects: Repair exposure variation before adding aggressive grades, motion graphics, or repeated compression.
- Stabilize selectively: Use ReelSteady or another appropriate tool only when camera movement harms the shot.
- Create movement carefully: Use Panolapse or keyframed transforms when a static frame needs visual energy.
- Retiming and cropping: Set pacing for the destination, then prepare 9:16, 1:1, and 16:9 versions without hiding the subject.
- Inspect at full resolution: Check edges, highlights, shadows, moving objects, and frame pacing instead of trusting a small preview.
- Export a short test: Confirm flicker, sharpness, audio sync, captions, and crop before starting the final batch.
For the final publishing stage, ClipNova can complement the specialist tools by adding captions, music, voiceover, variants, and multi-aspect exports. Its role is to turn a finished time-lapse into a reusable short-form content asset, not to replace the software responsible for RAW control, deflickering, or stabilization.
If your time-lapse is technically clean and ready for publishing, ClipNova can help turn it into short-form variants with captions, music, voiceover, and 9:16, 1:1, or 16:9 exports. Visit ClipNova to package one finished sequence for multiple channels without rebuilding every social version by hand.
Ready to ship your own?
Start creating viral videos with AI in under twenty minutes, no credit card required.