
You've recorded the narration, polished the slides, and exported the presentation. Then YouTube finishes processing the file and the result looks wrong: small text has turned soft, a video clip is missing, or the narration no longer matches the slide changes. The upload button wasn't the problem. The failure usually happened earlier, during export, encoding, or account validation.
The practical answer to how do I upload PowerPoint to YouTube has three parts: create a dependable video file, match YouTube's technical requirements, and test the edge cases PowerPoint doesn't handle cleanly. Once those decisions are right, uploading is routine.
Table of Contents
- Why Your PowerPoint Upload Probably Failed Before You Started
- Exporting PowerPoint as a YouTube-Ready Video
- Matching YouTube's Technical Specifications
- Uploading the Exported Video to YouTube
- Edge Cases That Break PowerPoint-to-YouTube Workflows
- Making Your PowerPoint Video Accessible and Reusable
<a id="why-your-powerpoint-upload-probably-failed-before-you-started"></a>
Why Your PowerPoint Upload Probably Failed Before You Started
A PowerPoint file isn't a YouTube video. YouTube accepts video files, so the deck must first be rendered into a format that contains the slides, timings, narration, transitions, and supported media. Microsoft's current workflow makes that conversion native, but native doesn't mean every element in a presentation will survive unchanged.

A common failure looks like this. The presenter records narration and slide timings, exports the deck, and opens the resulting file. The slides appear, but the text is blurry after processing, an online video area is blank, or the audio gradually drifts away from the visuals. Uploading the same file again won't fix the source problem. YouTube transcodes the file, and weaknesses in the original encoding become more visible during that process.
<a id="the-three-decisions-hidden-inside-the-question"></a>
The three decisions hidden inside the question
Export decision: PowerPoint needs to create a video rather than a presentation package. Recorded timings and narrations must be included, or the deck may play at an unsuitable pace or without commentary. Microsoft documents the native path as PowerPoint's Create a Video export workflow.
Technical decision: The resulting file should use a YouTube-compatible container, codec, resolution, audio format, and frame-rate strategy. A technically accepted file can still produce poor playback if its source has low bitrate, the wrong aspect ratio, interlacing, or variable frame rate.
Platform decision: YouTube applies account and upload limits. A long lecture can be perfectly exported and still be blocked because the channel isn't verified or an institutional account restricts YouTube access.
Practical rule: Diagnose the file before diagnosing YouTube. Watch the exported video locally, inspect its dimensions and audio, and confirm that every media element appears before starting a long upload.
The upload stage is therefore the least interesting part of the workflow. If the local export is clean and fits YouTube's intake requirements, the platform usually has a straightforward file to process.
<a id="exporting-powerpoint-as-a-youtube-ready-video"></a>
Exporting PowerPoint as a YouTube-Ready Video
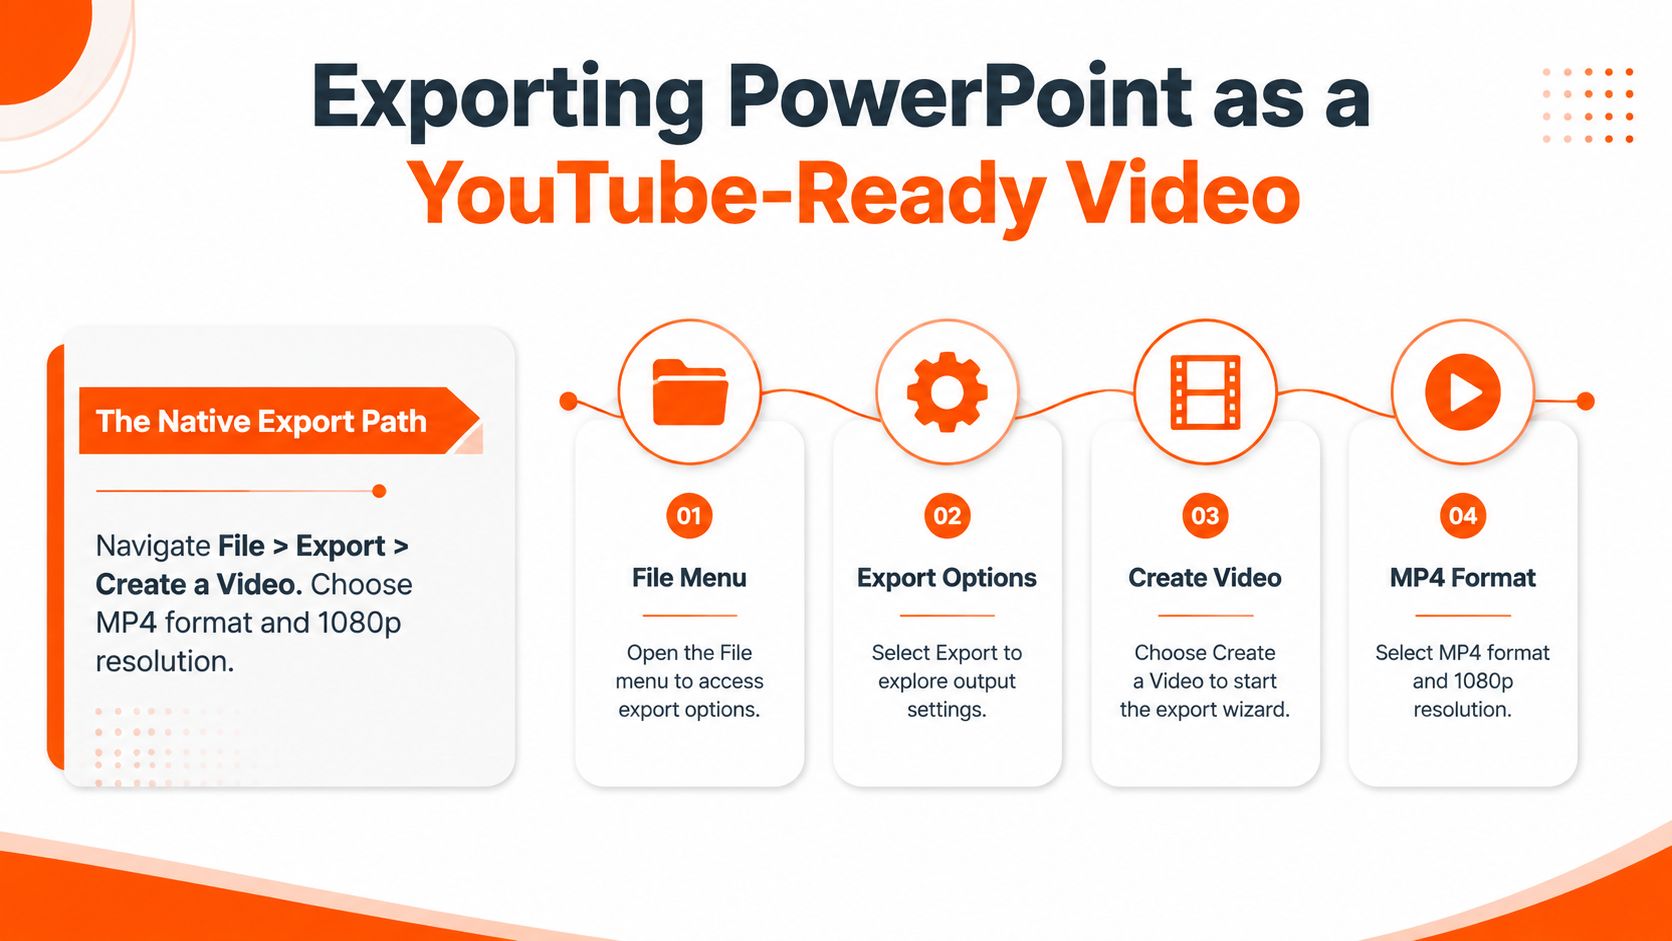
PowerPoint's native exporter is the right starting point for most slide-based videos. On current versions, use File > Export > Create a Video. This avoids a separate screen recorder for many projects and lets PowerPoint render the presentation with its recorded pacing and narration.
<a id="the-native-export-path"></a>
The native export path
- Open the finished presentation and save a working copy.
- Select File, choose Export, then choose Create a Video.
- Pick the highest practical quality that matches the source. Full HD, 1080p is a reliable default for ordinary presentations. Choose Ultra HD, 4K when the deck contains small text, detailed diagrams, or source material designed for that resolution.
- Select Use Recorded Timings and Narrations if the presentation contains narration or manually recorded slide timing.
- Create the video and wait for PowerPoint to finish rendering the entire file.
On Mac, the export dialog offers MP4 or MOV and quality choices of Ultra HD, 4K, Full HD, 1080p, HD, 720p, or Standard, 480p. Choose MP4 for the simplest YouTube path. YouTube lists MP4 among its preferred or optimized upload formats, so there's little reason to introduce MOV unless another production system specifically requires it.
A presentation with no recorded timings needs a deliberate pacing choice. Don't assume YouTube will infer how long each slide should remain visible. PowerPoint's video export relies on the timing and narration settings you provide, so preview the deck in Slide Show mode before rendering.
For a broader production reference, the video from slides workflow is useful when a deck needs more than a direct PowerPoint render, such as redesigned scenes, additional voiceover, or repurposed formats.
<iframe width="100%" style="aspect-ratio: 16 / 9;" src="https://www.youtube.com/embed/tjC8I4jLZNw" frameborder="0" allow="autoplay; encrypted-media" allowfullscreen></iframe><a id="frame-rate-and-aspect-ratio-choices"></a>
Frame rate and aspect ratio choices
Keep the presentation in a standard 16:9 layout when the intended destination is modern YouTube playback. Match the export frame rate to the source where possible, or use a standard 30 fps workflow for a conventional slideshow. YouTube accepts standard frame rates including 24, 25, 30, 48, 50, and 60 fps, as documented in its recommended upload encoding settings.
The key test is not the export dialog alone. Open the finished MP4 and check small labels, animations, transitions, narration starts, and the final slide. PowerPoint's exporter removes much of the need for screen recording, but it can't repair a crowded slide or an online asset that isn't available as local media.
<a id="matching-youtubes-technical-specifications"></a>
Matching YouTube's Technical Specifications
YouTube's technical envelope gives you clear targets for the exported file. For a PowerPoint video, the practical combination is MP4 container, H.264 video, and AAC-LC or Opus audio. YouTube's official video upload specifications identify MP4 as the preferred container and H.264 as the recommended video codec.
Resolution affects readability, especially when a viewer watches a text-heavy deck on a smaller screen. PowerPoint supports 1920×1080, 1080p, and 3840×2160, 4K, so you can usually stay on a standard YouTube path without manually re-encoding the presentation.
<a id="benchmark-the-exported-file"></a>
Benchmark the exported file
| Spec | Recommended Target | Why It Matters |
|---|---|---|
| Container | MP4 | YouTube identifies MP4 as the preferred container, which provides a broadly compatible intake path. |
| Video codec | H.264 | This aligns with YouTube's recommended video encoding settings. |
| Audio | AAC-LC or Opus | These are among YouTube's recommended audio formats for upload processing. |
| Resolution | 1920×1080 or 3840×2160 | These targets preserve slide readability and match PowerPoint export choices. |
| Frame rate | Match the source or use 30 fps | Consistent progressive handling helps reduce timing and synchronization problems. |
| 1080p SDR bitrate benchmark | Around 8 Mbps | This provides a useful reference for text-heavy presentations before YouTube transcodes the file. |
| 1080p at 60 fps or HDR | Around 12 Mbps | Higher-motion or HDR variants need a higher benchmark than ordinary 1080p SDR. |
| 4K SDR bitrate benchmark | Around 35 to 45 Mbps | Detailed slides and embedded video benefit from a stronger source before processing. |
| Maximum upload size | 256 GB | The file must stay within YouTube's accepted upload boundary. |
| Maximum duration for verified accounts | 12 hours | Long lectures and webinars can fit within this outer limit when the account is verified. |
| Maximum duration for unverified accounts | 15 minutes | An unverified channel can block a long presentation even when the file is valid. |
The bitrate figures are benchmarks, not a reason to inflate every export blindly. A simple static deck doesn't need the same data rate as a presentation filled with animated charts and embedded video. Higher quality also produces larger files, so storage, transfer time, and upload reliability become part of the decision.
For a wider explanation of containers, codecs, and playback targets, consult this ultimate YouTube format guide. Before uploading, use a media inspection tool to confirm the file's dimensions, codec, frame rate, and audio stream. If the file is too large for a practical transfer, a careful pass through video compression tools can reduce size, but avoid aggressive compression that makes text unreadable.
<a id="uploading-the-exported-video-to-youtube"></a>
Uploading the Exported Video to YouTube
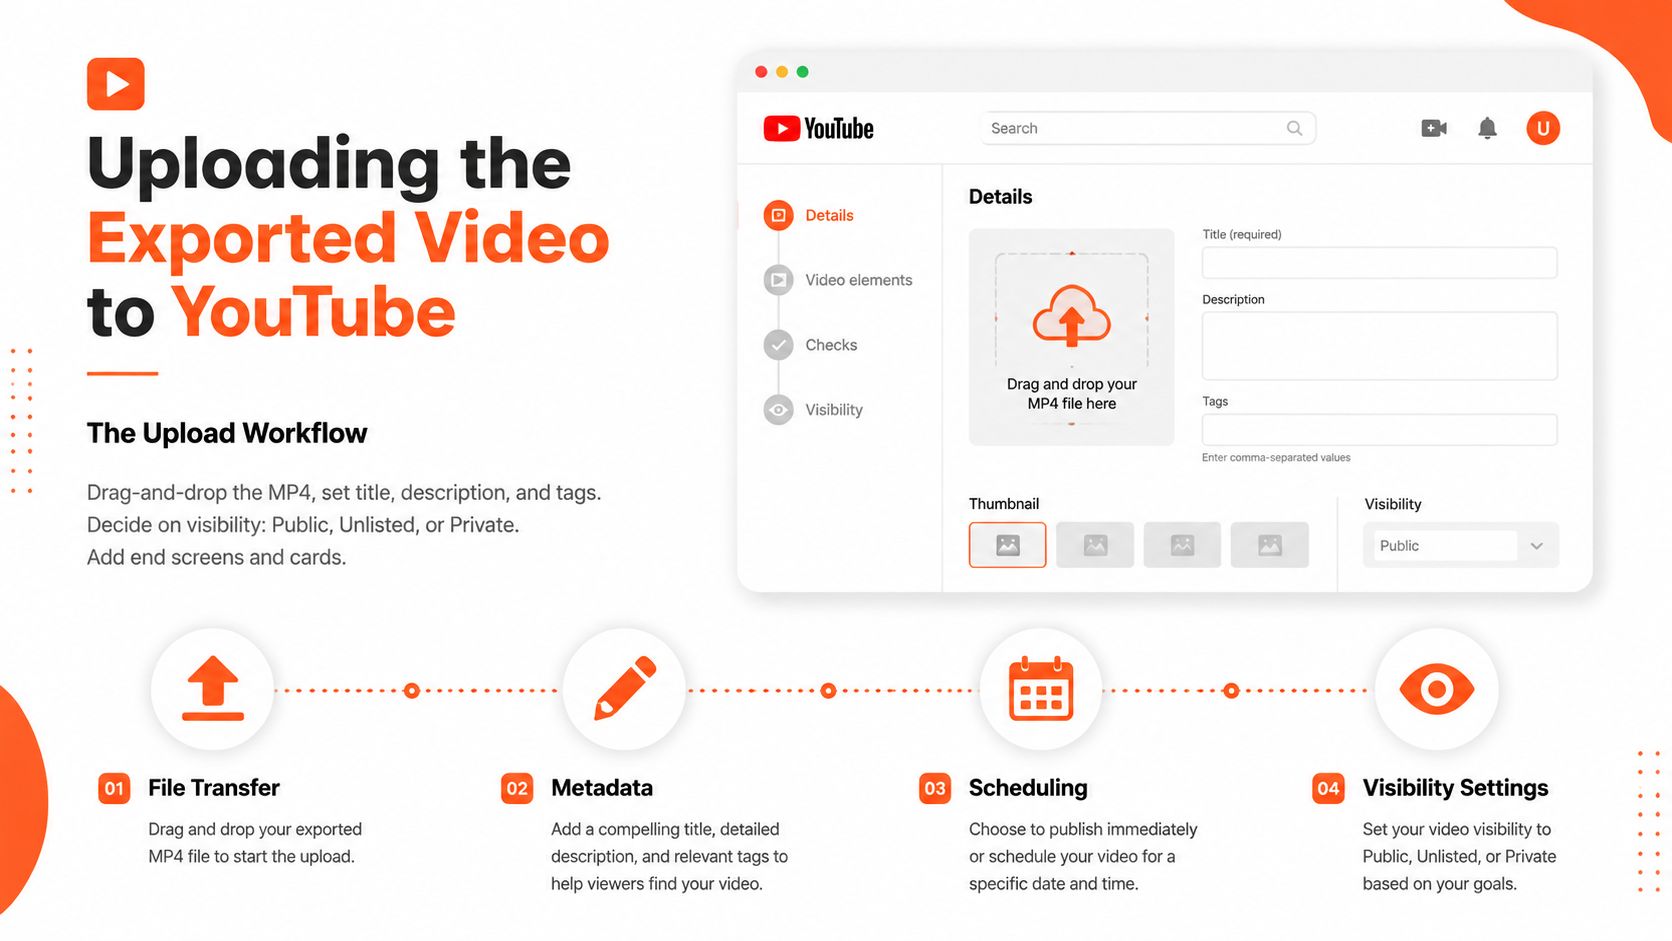
Once the MP4 passes a local quality check, open YouTube Studio and start the upload from the create or upload control. Select the exported file, then keep the browser session active while YouTube transfers and processes it. A reliable connection matters more for large presentation videos because the export is typically one complete file rather than a collection of smaller slide assets.
<a id="a-repeatable-publishing-checklist"></a>
A repeatable publishing checklist
Start with account access. Verify the channel before attempting a long lecture or webinar. YouTube's stated duration boundary for unverified accounts is 15 minutes, while verified accounts can upload videos up to 12 hours, subject to the platform's other rules. The maximum file size is 256 GB. These limits are documented in YouTube's upload guidance and summarized in the technical benchmarks above.
Write metadata for the viewer, not the file. Put the presentation's subject and audience in the title. Use the description for the agenda, supporting links, speaker information, and any disclosure about included media. Slide-based videos often need more context than a conventional talking-head upload because the title alone doesn't explain the presentation's full value.
Choose visibility deliberately. Use Private while checking the processed video. Use Unlisted when sending the presentation to selected colleagues or clients. Choose Public when the title, description, thumbnail, captions, and playback have been reviewed.
Check the processed version. Scrub through the first slide, a dense slide, an animated transition, every embedded media section, and the ending. YouTube processing can expose weaknesses that weren't obvious in the local file.
Teams automating publishing may also benefit from understanding the YouTube integration for SaaS, especially when a presentation is part of a larger content system. For a one-off upload, YouTube Studio remains simpler than building an API workflow.
<a id="edge-cases-that-break-powerpoint-to-youtube-workflows"></a>
Edge Cases That Break PowerPoint-to-YouTube Workflows
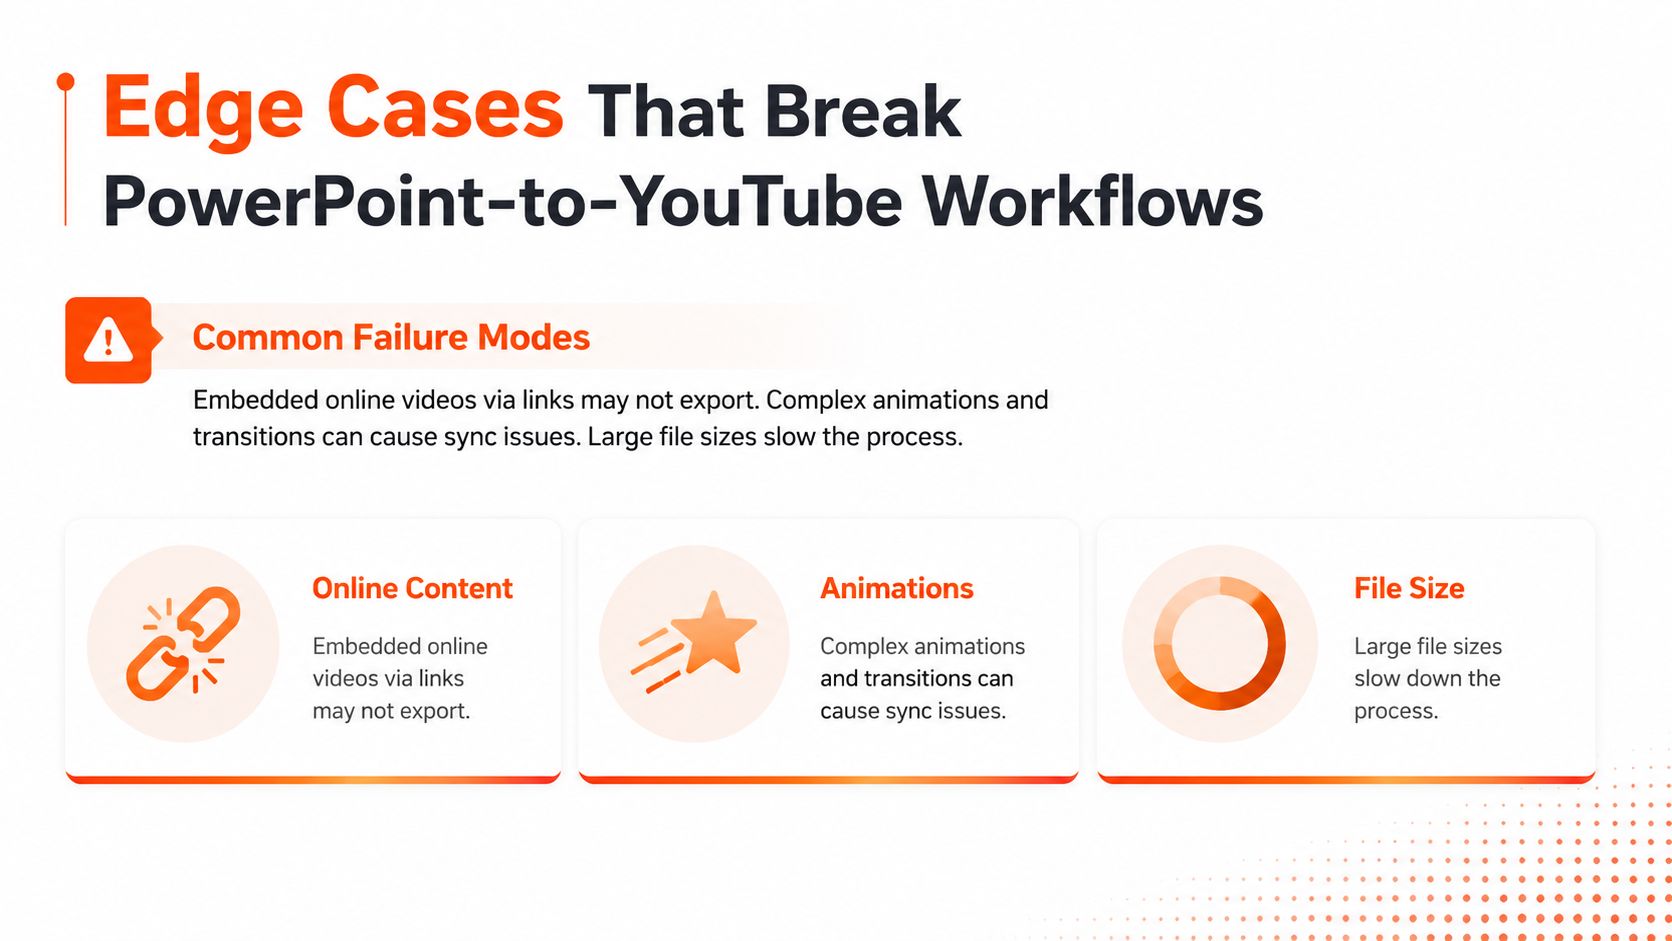
The most misleading assumption is that anything visible during a PowerPoint slideshow will become part of the exported video. Online videos inserted through links or embed codes are a major exception. They depend on web-hosted playback rather than behaving like ordinary local media, so the exported presentation may omit them or leave an unusable placeholder.
<a id="diagnose-the-source-before-changing-settings"></a>
Diagnose the source before changing settings
- Online video disappears: Remove the linked playback element and replace it with a local video file that you're authorized to use. Export a short test and confirm the clip appears before rendering the complete presentation. Microsoft's discussion of online video and PowerPoint export behavior highlights why linked content behaves differently from embedded media.
- Long upload is rejected: Check account verification and organizational restrictions. Some institutional Google accounts may not permit YouTube uploads, so a technically correct MP4 can still fail at the account level.
- Text looks blurry: Inspect the source resolution and bitrate before blaming YouTube. A low-bitrate export gives the transcoder less detail to preserve, particularly across fine text, thin lines, and animated diagrams.
- Audio drifts or stutters: Check for variable frame rate, interlaced source material, or inconsistent timing. Export progressively, keep the frame-rate approach consistent, and verify that narration remains synchronized in the local file.
- The transfer stalls: Higher-quality exports create larger files. For files above roughly 20 GB, legacy browser upload paths can be less reliable, according to independent YouTube specification guidance at YouTube video specs.
Complex animations deserve their own test. A transition that looks smooth in Slide Show mode can render differently in video, so inspect motion-heavy slides after export rather than assuming the preview represents the final MP4.
<a id="making-your-powerpoint-video-accessible-and-reusable"></a>
Making Your PowerPoint Video Accessible and Reusable
A YouTube-ready presentation needs more than a clean picture and synchronized narration. Keep the recorded timings and narrations enabled during export, then add captions in YouTube or prepare a caption file as part of the production process. Captions improve access for viewers who can't use audio, and they give you a foundation for translation without recording the entire presentation again.
Design for the screen where the audience will watch. A 16:9 layout is a dependable choice for standard YouTube playback, but a slide may need larger type, stronger contrast, and less dense text than it used during a live presentation. A presenter can explain a crowded slide in a room. A viewer watching alone needs the slide to communicate clearly without that physical context.
Localization also changes the edit. Translated narration can run longer or shorter than the original, so timings should be reviewed rather than copied blindly. Captions, translated descriptions, and alternate voiceovers can extend one deck into several audience-specific versions. A dedicated caption generator for video can help prepare readable subtitle assets before publishing.
ClipNova fits into this broader reuse workflow as an AI studio that can generate voiceovers and captions, translate and re-voice content in 32 languages, and export in 9:16, 1:1, and 16:9 formats. Use it when the PowerPoint export is only the starting asset and the project also needs localized or platform-specific versions.
If you're ready to turn a slide deck into a cleaner publishing pipeline, use ClipNova to add narration, captions, localization, and alternate aspect-ratio exports around your PowerPoint content. Export the final MP4, inspect it locally, and upload the version that matches your audience and YouTube's technical requirements.
Ready to ship your own?
Start creating viral videos with AI in under twenty minutes, no credit card required.